Boot Covers & Parts Help

RamenN00dl3

Active Member
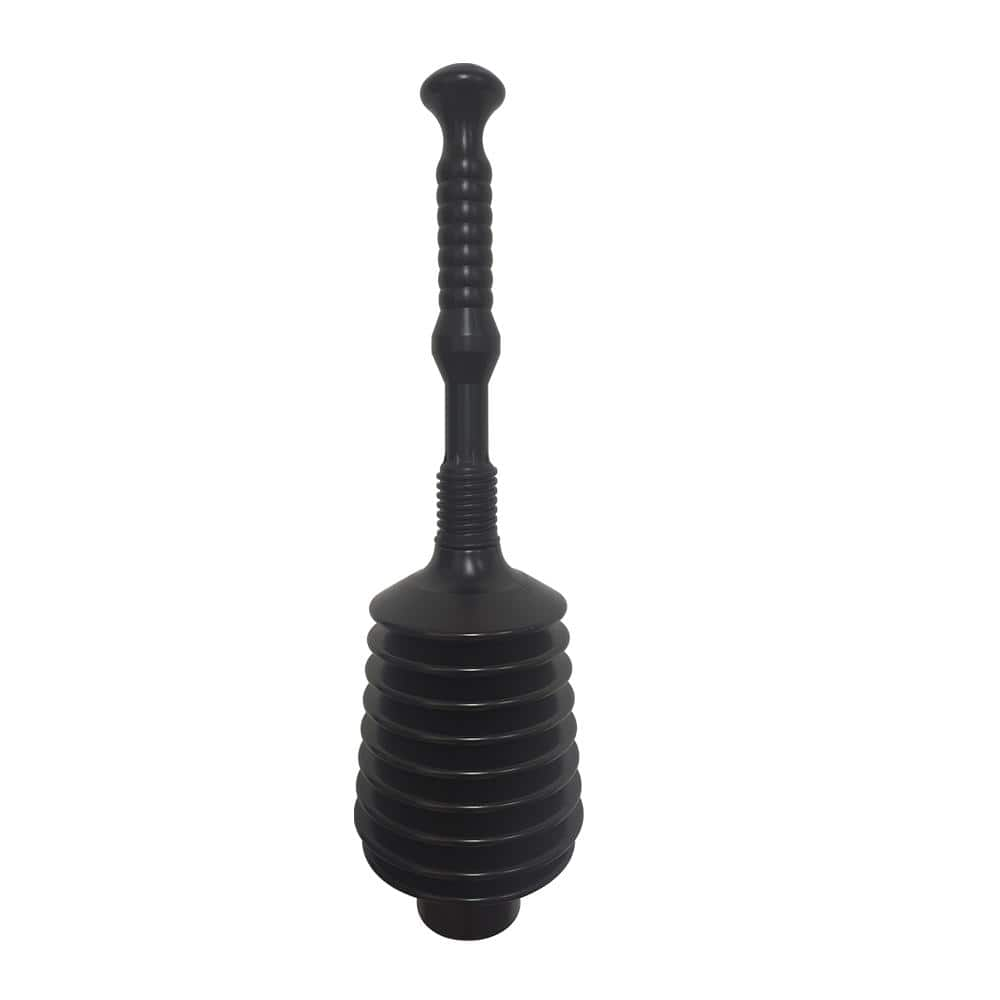
Currently working through some details on my 3D-printed build and hoping to get some advise. For my boots, I've got the base shoes and scaled the cover parts accordingly, but I'm not sure what to use to cover the middle of the shoe or how to attach the parts to the shoe. I've seen some folks use a sort of rubber hose looking thing, something maybe like this, but I'm unclear exactly how I should do that. I know some people just glue directly to the shoe, but there aren't a lot of contact points so that feels like a failure point. I've also seen straps under the shoe itself, but that also feels like it could wear away with enough use. The 3D parts do not have a bottom for reference.

Aside from that I will probably attach the lace cover part to the heel with elastic straps so it's tight but can be moved a bit if needed. Access to the actual laces isn't necessary as these are essentially slip-ons.

Any tips for boot construction? I didn't see a whole lot in the tutorials or soft parts sections, and for whatever reason I feel like this gets overlooked in a lot of people's posts.

For reference, I'm building MoeSizzlac's Mark VI suit files.

2023-07-30 13.15.17.jpg

2023-07-30 13.15.21.jpg


Thanks!
 
For my chief suit (foam) I just glued directly to the shoe. I do have to reinforce the glue regularly but I've never lost part of the shoe surprisingly. I didn't end up putting anything in that middle section to cover the laces, and for 95% of pictures you can't even see it. And when you can it's very subtle. Though I think using a corrugated hose of something would certainly make it better.
 
For the middle section of the Mark VI boot, it actually used to be very common back in the early days to get a cheap, like $5, toilet plunger and cut it in half to use as that ribbed gasket looking part. It already tampers in, so it fits the shoe very well:

People will also have the front part attached to the back part with elastic strapping. This pulls the front and back pieces together and keeps them on the boot as the two aprts are being pulled towards each other.
 
I have some details on how I assembled my boots here:

I used Shock Boots for the middle section
 
For my chief suit (foam) I just glued directly to the shoe. I do have to reinforce the glue regularly but I've never lost part of the shoe surprisingly. I didn't end up putting anything in that middle section to cover the laces, and for 95% of pictures you can't even see it. And when you can it's very subtle. Though I think using a corrugated hose of something would certainly make it better.
I'm curious, with the foam attached directly to the shoe, do you have any issues with mobility/rigidity of the shoe? I could see that being a potential issue if the shoe moves in a different direction than the glue. I'm thinking I may fill the voids between the shoe and the print with foam and then glue the foam directly to the shoe, but the concern I have with that is the natural flexing of the shoe will definitely make that a less than desirable connection. I am also hoping I can make it a non-permanent attachment, but I think I'm kidding myself thinking I'll use the shoes for anything else. That said I appreciate your insight, I've definitely watched your YouTube video a few times now for reference!

For the middle section of the Mark VI boot, it actually used to be very common back in the early days to get a cheap, like $5, toilet plunger and cut it in half to use as that ribbed gasket looking part. It already tampers in, so it fits the shoe very well:

People will also have the front part attached to the back part with elastic strapping. This pulls the front and back pieces together and keeps them on the boot as the two aprts are being pulled towards each other.
Oooh that's a super interesting way of doing it, definitely seems like the cost-effective route, at least compared to the other option I was looking at. Any tricks to getting it attached to the other parts? Or just glue/epoxy the hell out of it?

As for the elastic strapping, the only issue I can see is that because there isn't a bottom to the prints, I can see the front of the boot popping up and over the shoe, and then being pulled towards the back ,and the whole thing sort of retracts up and away from the shoe unless there is something holding it down, so to speak. Not sure if that makes sense, I can just see the tension pulling everything up in addition to together, which could lead to it coming off the shoe. I'm almost thinking I could do some combination of elastic strap front to back, but also glue a buckle or something on the inside that is attached to the shoe somehow... I'll have to do some more thinking on that but thank you for the insight!

I have some details on how I assembled my boots here:

I used Shock Boots for the middle section
Thank you for sharing this! This is definitely a helpful resource, I really appreciate the close-ups of the shoes! Looks like you used the same files so this is very helpful. I will definitely look into the Shock Boots you linked, that may be the best option given what I'm considering. Your suit looks awesome by the way!
 
I'm curious, with the foam attached directly to the shoe, do you have any issues with mobility/rigidity of the shoe? I could see that being a potential issue if the shoe moves in a different direction than the glue. I'm thinking I may fill the voids between the shoe and the print with foam and then glue the foam directly to the shoe, but the concern I have with that is the natural flexing of the shoe will definitely make that a less than desirable connection. I am also hoping I can make it a non-permanent attachment, but I think I'm kidding myself thinking I'll use the shoes for anything else. That said I appreciate your insight, I've definitely watched your YouTube video a few times now for reference!
When I get home from work I'll have to send a quick clip of how it moves. Because the toe bit is quite small it doesn't really have a problem moving in the same way as the shoe. Also, I pretty much completely filled in the gap between the shoe and the foam with hot glue. Also, thanks for watchin my video! I'm always happy when someone finds it even a little bit helpful. :)
 
When I get home from work I'll have to send a quick clip of how it moves. Because the toe bit is quite small it doesn't really have a problem moving in the same way as the shoe. Also, I pretty much completely filled in the gap between the shoe and the foam with hot glue. Also, thanks for watchin my video! I'm always happy when someone finds it even a little bit helpful. :)
I should say videos, both the full MC build video and the visor tutorial have been super helpful!
 
Have you considered rescaling the boots **disproportionately** ? Make them the width you have but 150%-200% in length to give you better coverage?

Might also consider looking for a different set of boot armor files. Not every modeler does things the same way.
My first thought looking at your photo is there is a part missing. There isn't: That's what is in the file set. But it looks like it.

If you look at this set from a different designer, there is a toe, heel, and two middle portions. So there's like 3 points of articulation in the boot armor as well as arch support for your foot which I don't see in your photo at all: Its just toe and heel with no ball of the foot.
1690843926949.png
 
i made a whole cover for my boots. ive got a couple videos showing how i did them on my thread
Oh Electraknite! I've watched your YouTube videos as well! I was always a little bummed that they didn't cover the entire build but I like all the detail work. I like the velcro approach, I'm just thinking that will be difficult with my build since the foam has a lot more flexibility to it. Maybe I can work it in on the back of the heel and top of the boot tip to help keep them in place, along with elastic that others have mentioned... Either way I appreciate the insight! Love the way your Jun turned out and I particularly love the undersuit; Definitely not something I have the skillset for but wish I did!

Have you considered rescaling the boots **disproportionately** ? Make them the width you have but 150%-200% in length to give you better coverage?

Might also consider looking for a different set of boot armor files. Not every modeler does things the same way.
My first thought looking at your photo is there is a part missing. There isn't: That's what is in the file set. But it looks like it.

If you look at this set from a different designer, there is a toe, heel, and two middle portions. So there's like 3 points of articulation in the boot armor as well as arch support for your foot which I don't see in your photo at all: Its just toe and heel with no ball of the foot.
View attachment 334039
I had considered that, and I wasn't really sure how it would all look until I actually printed everything out. Since these are the Mark VI boots, and looking at the references I have, I wasn't too worried about the missing part since in the game the spartans have what looks to be a sort of flexible middle anyway, hence mentioning the rubber tube piece.

Boot 02.png
2023-07-30 13.15.17.jpg


The game proportions do feel a bit stubby given the spartan's height, but I think I'll be able to fill in that area one way or another without too much of an issue. I actually did end up scaling the tip piece differently from the heel and lace cover in order to get it to fit the shoe. I think it was something like 115% vs 85% on the heel, something like that. I think once that middle section gets filled in with whatever I use it will look proportional at least.

That said I'm starting to kick myself for not considering adding any height with the shoe. That hadn't really occurred to me beforehand, but I don't want to reprint the boots again to gain an inch or so. I'm certainly not fooling anyone into thinking I'm a legitimate Spartan-II at 5'-10", I don't think I'll do much better at 5'-11" ha!
 
Just a thought.... Take that boot as-is and wear them for 10 hours around the house just like you would at a convention.
I just suspect that having support under the toe and heel but not the middle of your foot is going to be exhausting for your feet. Your foot is an unsupported bridge between two pylons.
If its comfortable, you're good. If its not, you know before convention day. Its a test that costs you nothing.

> That said I'm starting to kick myself for not considering adding any height with the shoe.

Then add more sole without reprinting the entire boot. Glue on a 1" thick foam sole for both height and cushion and traction. Or print a sole you can glue and screw to the armor.

I'm 5'10 as well so I empathize with your situation about wanting to gain some height
Maybe I didn't explain properly, there isn't anything under the shoe. The armor is just a shell around the sides, no bottom. The shoes are comfortable enough as is, but I agree an unsupported arch would kill me. I may add a layer of foam to the bottom eventually for a little height, just not the most important part of this build to me.
 
> there isn't anything under the shoe. The armor is just a shell around the sides, no bottom.

ohhhhh... gotcha
 
We used the same file for our build for the DragonCon parade two years ago. We used elastic and attached the toe to the heel, just slightly closer together (so there's tension) and that held them to the shoe plus the elastic allowed for the flex while walking.
PXL_20230812_013727102.jpgPXL_20230812_013736816.MP.jpgPXL_20230812_013727102.jpgPXL_20230812_013736816.MP.jpgPXL_20230812_013800829.jpg
 
We used the same file for our build for the DragonCon parade two years ago. We used elastic and attached the toe to the heel, just slightly closer together (so there's tension) and that held them to the shoe plus the elastic allowed for the flex while walking.
View attachment 334411View attachment 334412View attachment 334411View attachment 334412View attachment 334413
So I see elastic under the shoe, and the heel of the shoe looks like it's freely hanging inside the cover, so is it just the tension and friction keeping the covers in place? Any issues you've run into with this setup? I appreciate the close-up shots, definitely gives me a good look.
 
All it was was the tension of the elastic and didn't have any issues. For this next build I'm doing the same, but might add some Velcro to the heel and toe for added security to the boot.
 
All it was was the tension of the elastic and didn't have any issues. For this next build I'm doing the same, but might add some Velcro to the heel and toe for added security to the boot.
I was thinking that I could add some velcro to help stabilize the toe and heel parts, good call.
 
Last edited:
This thread is more than 8 months old.

Your message may be considered spam for the following reasons:

  1. This thread hasn't been active in some time. A new post in this thread might not contribute constructively to this discussion after so long.
If you wish to reply despite these issues, check the box below before replying.
Be aware that malicious compliance may result in more severe penalties.
Back
Top