Ok, starting a new thread with progress from my new (first) prop build.
This thread will contain pictures of progress!!!
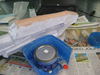
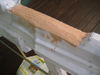
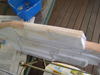
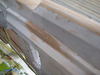
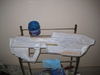
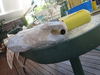
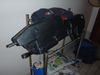
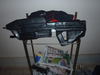
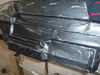
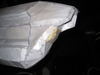
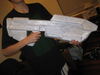
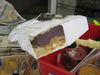
Start:

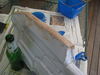
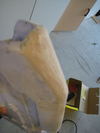
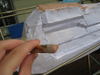
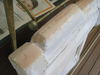
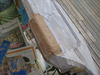
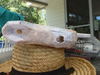
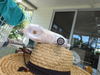
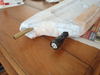
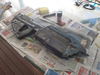
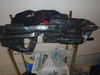
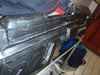
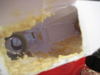
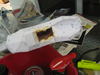
Adding Expanding Foam for structure:


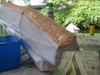
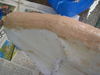
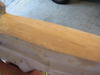
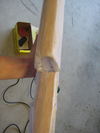
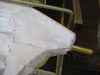
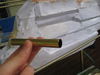
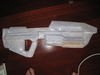
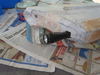
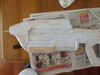
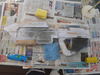
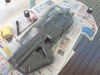
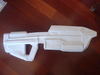
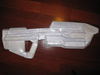
After Resining the model twice:


More pics coming soon as i make progress on the model!
This thread will contain pictures of progress!!!
Start:
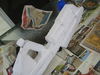
Adding Expanding Foam for structure:
After Resining the model twice:
More pics coming soon as i make progress on the model!
")