oversight1
New Member
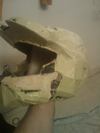
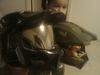
Here are some pics on the progress of my suit.....helmet is almost done....just need to add some leds and a little more paint detail.
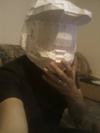
pepakura finished.
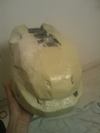
 rondo added.

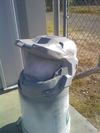
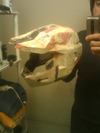
 sanded down

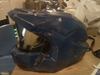
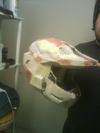
 painted...needs visor

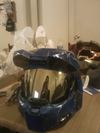
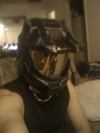
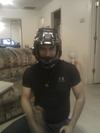
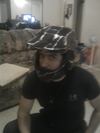
 90% done...visor installed


pepakura finished.
Attachments
-
 MOBILEPICS176.jpg30.4 KB · Views: 326
 -
 MOBILEPICS201.jpg40.4 KB · Views: 329
 -
 MOBILEPICS202.jpg31.8 KB · Views: 333
 -
 MOBILEPICS205.jpg43.5 KB · Views: 306
 -
 MOBILEPICS203.jpg48 KB · Views: 309
 -
 MOBILEPICS217.jpg42.5 KB · Views: 296
 -
 MOBILEPICS220.jpg38.5 KB · Views: 304
 -
 MOBILEPICS215.jpg41.6 KB · Views: 335
 -
 MOBILEPICS216.jpg42 KB · Views: 312
")