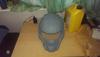
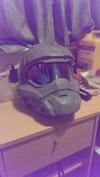
So my landlord has made it clear I can't fiberglass/paint etc in the property (eugh) so anyway since my ODST build is at home I thought I'd start on my original project plan, Reach Armour!
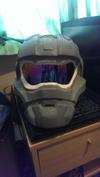
This is what I'm aiming for:

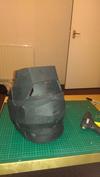
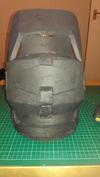
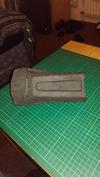
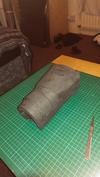
So Today I got everything cut out for the chest, went through 20 knives and got it finished in about 6-8 hours, I lost track of when I started. Anyway the chest!
I used the version 4 template
front

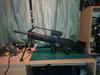
side

sideish

back

The back is a little messy, but I plan to clean it up prior to painting.
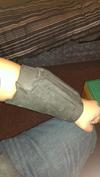
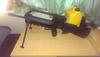
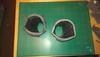
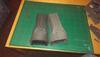
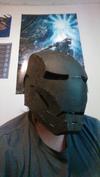
Also ironman (bored)

Think I'm getting somewhat better handling foam, but still causes heartache alot!
This is what I'm aiming for:
So Today I got everything cut out for the chest, went through 20 knives and got it finished in about 6-8 hours, I lost track of when I started. Anyway the chest!
I used the version 4 template
front
side
sideish
back
The back is a little messy, but I plan to clean it up prior to painting.
Also ironman (bored)
Think I'm getting somewhat better handling foam, but still causes heartache alot!
Attachments
-
 Vanity_635288756082221626_zps30fd85b5.png822.9 KB · Views: 93
 -
 IMG_20140224_2037081_zps6e5175da.jpg53.3 KB · Views: 90
 -
 IMG_20140224_2037181_zpsee5d9703.jpg49 KB · Views: 91
 -
 IMG_20140224_2037001_zpse8fc77eb.jpg54.5 KB · Views: 95
 -
 IMG_20140224_2037371_zpsecd52c23.jpg34.7 KB · Views: 80
 -
 IMG_20140215_1350221_zps7c564bc6.jpg63.8 KB · Views: 80
")