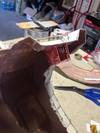
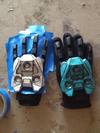
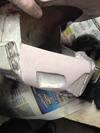
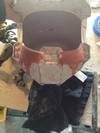
Not sure where you are at now in regards to the thighs, but as per the pictures you posted, I'd say that the thigh seemed to be a bit large. The shin armor seems fine compared to the thighs, could you post a picture wearing the old (original) thighs with the new shins? That might help determine if the shins are too big. They will be out of proportion with the thighs, which is something that will need to be accounted for when judging the picture, but what I'm concerned with is how it sits on your leg, is it too high? too low? both? (both would definitely mean it is too big). The main reason I think the new thigh was too big is because I saw a rather large gap, plus, it seemed to be hanging low enough that it would cause issues with the shin.
I would also suggest that you can make the inner side of the thigh out of foam. Doing this also provides some padding in case the thigh is a little bit spacious inside.
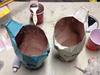
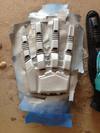
Also, I gotta admit that your Pepakura models are coming out really clean looking. Seems like you take your time with them and do your best not to rush through them.
")
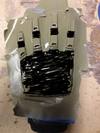
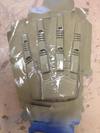
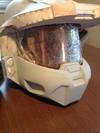
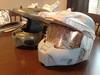
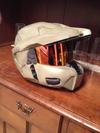
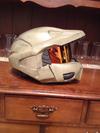
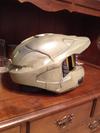
On the helmet, how did you add the details with the black air hoses on the helmet? Is that from the pep file or did you find some tubing or something to improve the look and style of the helm?
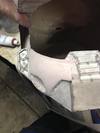
Constructive Criticism: Assuming those are LEDs on the sides of the helm, I would suggest that recessing them back a tad bit into the helmet and adding covers for them, OR adding sections of craft foam around each of them -- expanding the areas out around them so they aren't just sticking out from the helmet would improve the look of the helmet.
Can't wait to see more!