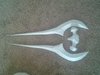
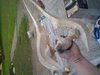
Got this file from pepakurapros.com Took about 3 hours off and on to cut, fold and glue. I started out using a glue stick to keep the blade extensions nice and flat. I love hot glue, but sometimes it builds too much height. Towards the end I switched to hot glue due to curves taking too long to dry. Added hot glue to the tips to hold the points. So far I really like it. I'm going to resin it and then drill small holes to fill with expanding foam. I don't want it too heavy. Depending on how the resin turns out though I may just fill it and mold it. I've never done a mold before though so we'll see. One part of the blade turned in a bit. I'm going to attempt to straighten it before resin, if not I'll fix it in bondo.

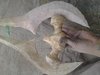
close up

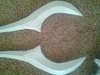
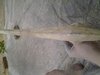
the twist


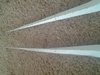
close up

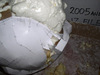
the twist