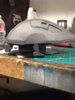
So I decided to start a new post with the direction I decided to go.
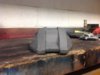
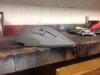
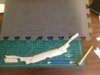
I used the shared files for foam. I had to modify most of the templates slightly to match how I thought it should look.
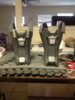
Here is what I have so far. I started with the shins.
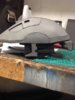
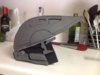
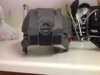
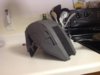
This is my first build. I'm pretty happy with the results so far. I built the left shin first and I think the right one was a lot better and went together more quickly. I spent about five hours on one shin. I have three kids and a wife so I thought that was pretty good.
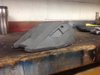
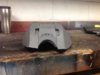
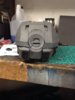
I used the shared files for foam. I had to modify most of the templates slightly to match how I thought it should look.
Here is what I have so far. I started with the shins.
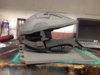
This is my first build. I'm pretty happy with the results so far. I built the left shin first and I think the right one was a lot better and went together more quickly. I spent about five hours on one shin. I have three kids and a wife so I thought that was pretty good.
")