Hello everyone! Figured I've been on the site for about a month now getting great advice from the community here so it was time to share what I've been working on. I'm in the middle of my first foray into Eva foam: COG armor from Gears of War 3. I figured it would be a simpler build for me as a noob before attempting to tackle a full body suit like Halo or Iron Man. My goal is to have this all done by mid-October for the first of several Halloween events I'll be attending.
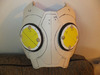
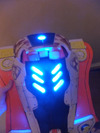
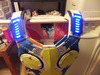
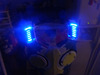
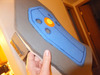
Instead of going as a specific Gear (like Marcus or Baird) I'm going to be some other never-before-seen COG, but one without a helmet. This gives me a little creativity in my eyewear (more on that later) and prevents me from having to worry about wigs, shaving, etc. This also will give me the freedom to make small adaptations to pieces and combine pieces from several Gears, seeing as this was common among COGs in the game.
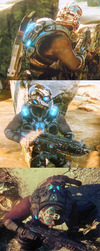
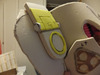
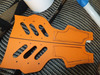
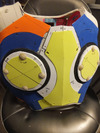
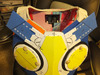
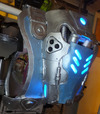
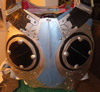
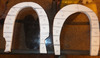
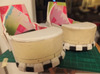
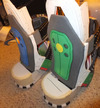
I'm basing the chest armor on the standard 'COG Gear/Golden Gear' armor (almost the same as Baird's, but with differences in coloring).

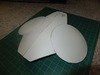
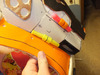
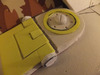
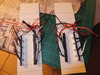
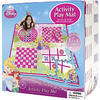
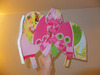
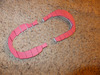
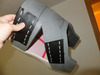
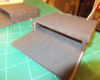
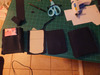
I had a difficult time finding those big EVA foam sheets where I live, but browsing through the clearance section at Walmart I found a bunch of these on clearance.

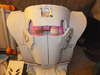
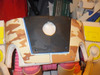
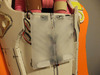
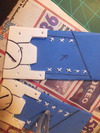
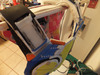
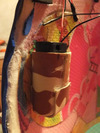
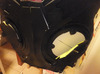
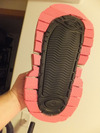
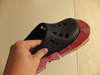
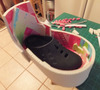
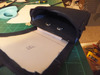
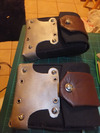
They're smaller than the big sheets (about a square foot of usable area on each piece), but I got them for 5 bucks a pack and with 14 sheets per pack it's still a really good deal for EVA foam. The downside is that the inside of my armor looks like this:

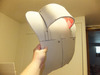
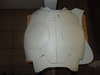
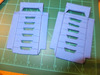
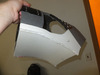
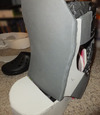
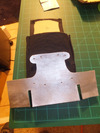
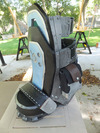
I'm using pep files as a loose guideline, but for the most part I'm just designing this from scratch. I had a major issue with proportion and sizing, since I have a 'long' torso. Since the pep files are based from in-game models where the characters' torsos are wide and stout, I had issues with the pep scaling. If I matched the width to my body, the armor piece was too short, with the bottom of the chest piece lining up at nipple level instead of just above the navel. It looked ridiculous. On the flip side, if I matched it to the correct height I ended up with a piece that was comically wide and reminded me of Eric Cartman. So I had to recreate the design to match these reversed proportions while retaining the general look of the original piece and not looking too 'warped' or distorted.
Instead of going as a specific Gear (like Marcus or Baird) I'm going to be some other never-before-seen COG, but one without a helmet. This gives me a little creativity in my eyewear (more on that later) and prevents me from having to worry about wigs, shaving, etc. This also will give me the freedom to make small adaptations to pieces and combine pieces from several Gears, seeing as this was common among COGs in the game.
I'm basing the chest armor on the standard 'COG Gear/Golden Gear' armor (almost the same as Baird's, but with differences in coloring).

I had a difficult time finding those big EVA foam sheets where I live, but browsing through the clearance section at Walmart I found a bunch of these on clearance.

They're smaller than the big sheets (about a square foot of usable area on each piece), but I got them for 5 bucks a pack and with 14 sheets per pack it's still a really good deal for EVA foam. The downside is that the inside of my armor looks like this:

I'm using pep files as a loose guideline, but for the most part I'm just designing this from scratch. I had a major issue with proportion and sizing, since I have a 'long' torso. Since the pep files are based from in-game models where the characters' torsos are wide and stout, I had issues with the pep scaling. If I matched the width to my body, the armor piece was too short, with the bottom of the chest piece lining up at nipple level instead of just above the navel. It looked ridiculous. On the flip side, if I matched it to the correct height I ended up with a piece that was comically wide and reminded me of Eric Cartman. So I had to recreate the design to match these reversed proportions while retaining the general look of the original piece and not looking too 'warped' or distorted.