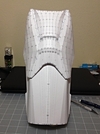
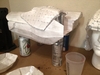
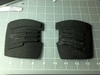
Finished the first shin, but I'm house sitting for the weekend, so probably wont do the other till Monday. I don't want to risk traveling with such a big piece until it's been hardened.


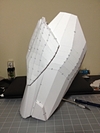
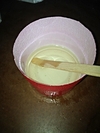
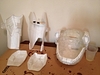
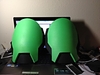
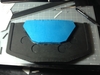
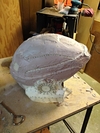
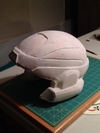
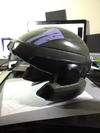
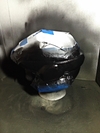
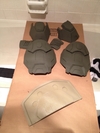
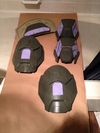
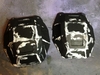
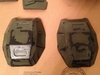
I did bring some armor pieces that I felt could handle the trip and started hardening this morning. I however severly underestimated just how much area an ounce of resin would coat.

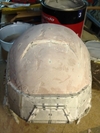
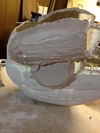
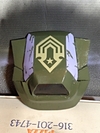
Oh well, chalk that one down in the UNSC Handbook on Lessons Learned. I'll be better prepared in the future. At least with a 25 min pot life I had time to run upstairs and grab my chest plate and get it done too before it became the resin biscuit that I'm sure is forming on the work bench right now. I hope to get started cutting pieces for my rifle this evening.
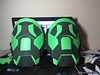
I did bring some armor pieces that I felt could handle the trip and started hardening this morning. I however severly underestimated just how much area an ounce of resin would coat.
Oh well, chalk that one down in the UNSC Handbook on Lessons Learned. I'll be better prepared in the future. At least with a 25 min pot life I had time to run upstairs and grab my chest plate and get it done too before it became the resin biscuit that I'm sure is forming on the work bench right now. I hope to get started cutting pieces for my rifle this evening.