CQC Shoulder - Built & Detailed
Okay all, just got myself a weekend pass for RTX 2015, I'm super excited because I've never been to a convention before.
Unfortunately, that means that I might sacrifice some of the time I've put putting towards supplying updates for the thread, as I will be frantically devoting all my time to finishing my suit.
I've already determined that it will be unlikely that I'll have a helmet for RTX, and that's okay with me.
But without Further ado....
Update Time!")
I was referencing measurements from extracted game models, and only based the scale of the shoulder attachment to the scale of the bicep in comparison to the height of the biceps I had actually made, rather than the overall size of the person, which is why it ended up so short.
But, while it is super small and I do plan on re-doing it, the CQC shoulder did come out quite beautifully.
I will likely be selling this piece if someone out there is interested. I wish I could give it away, but money is really tight right now.
Build Photos:
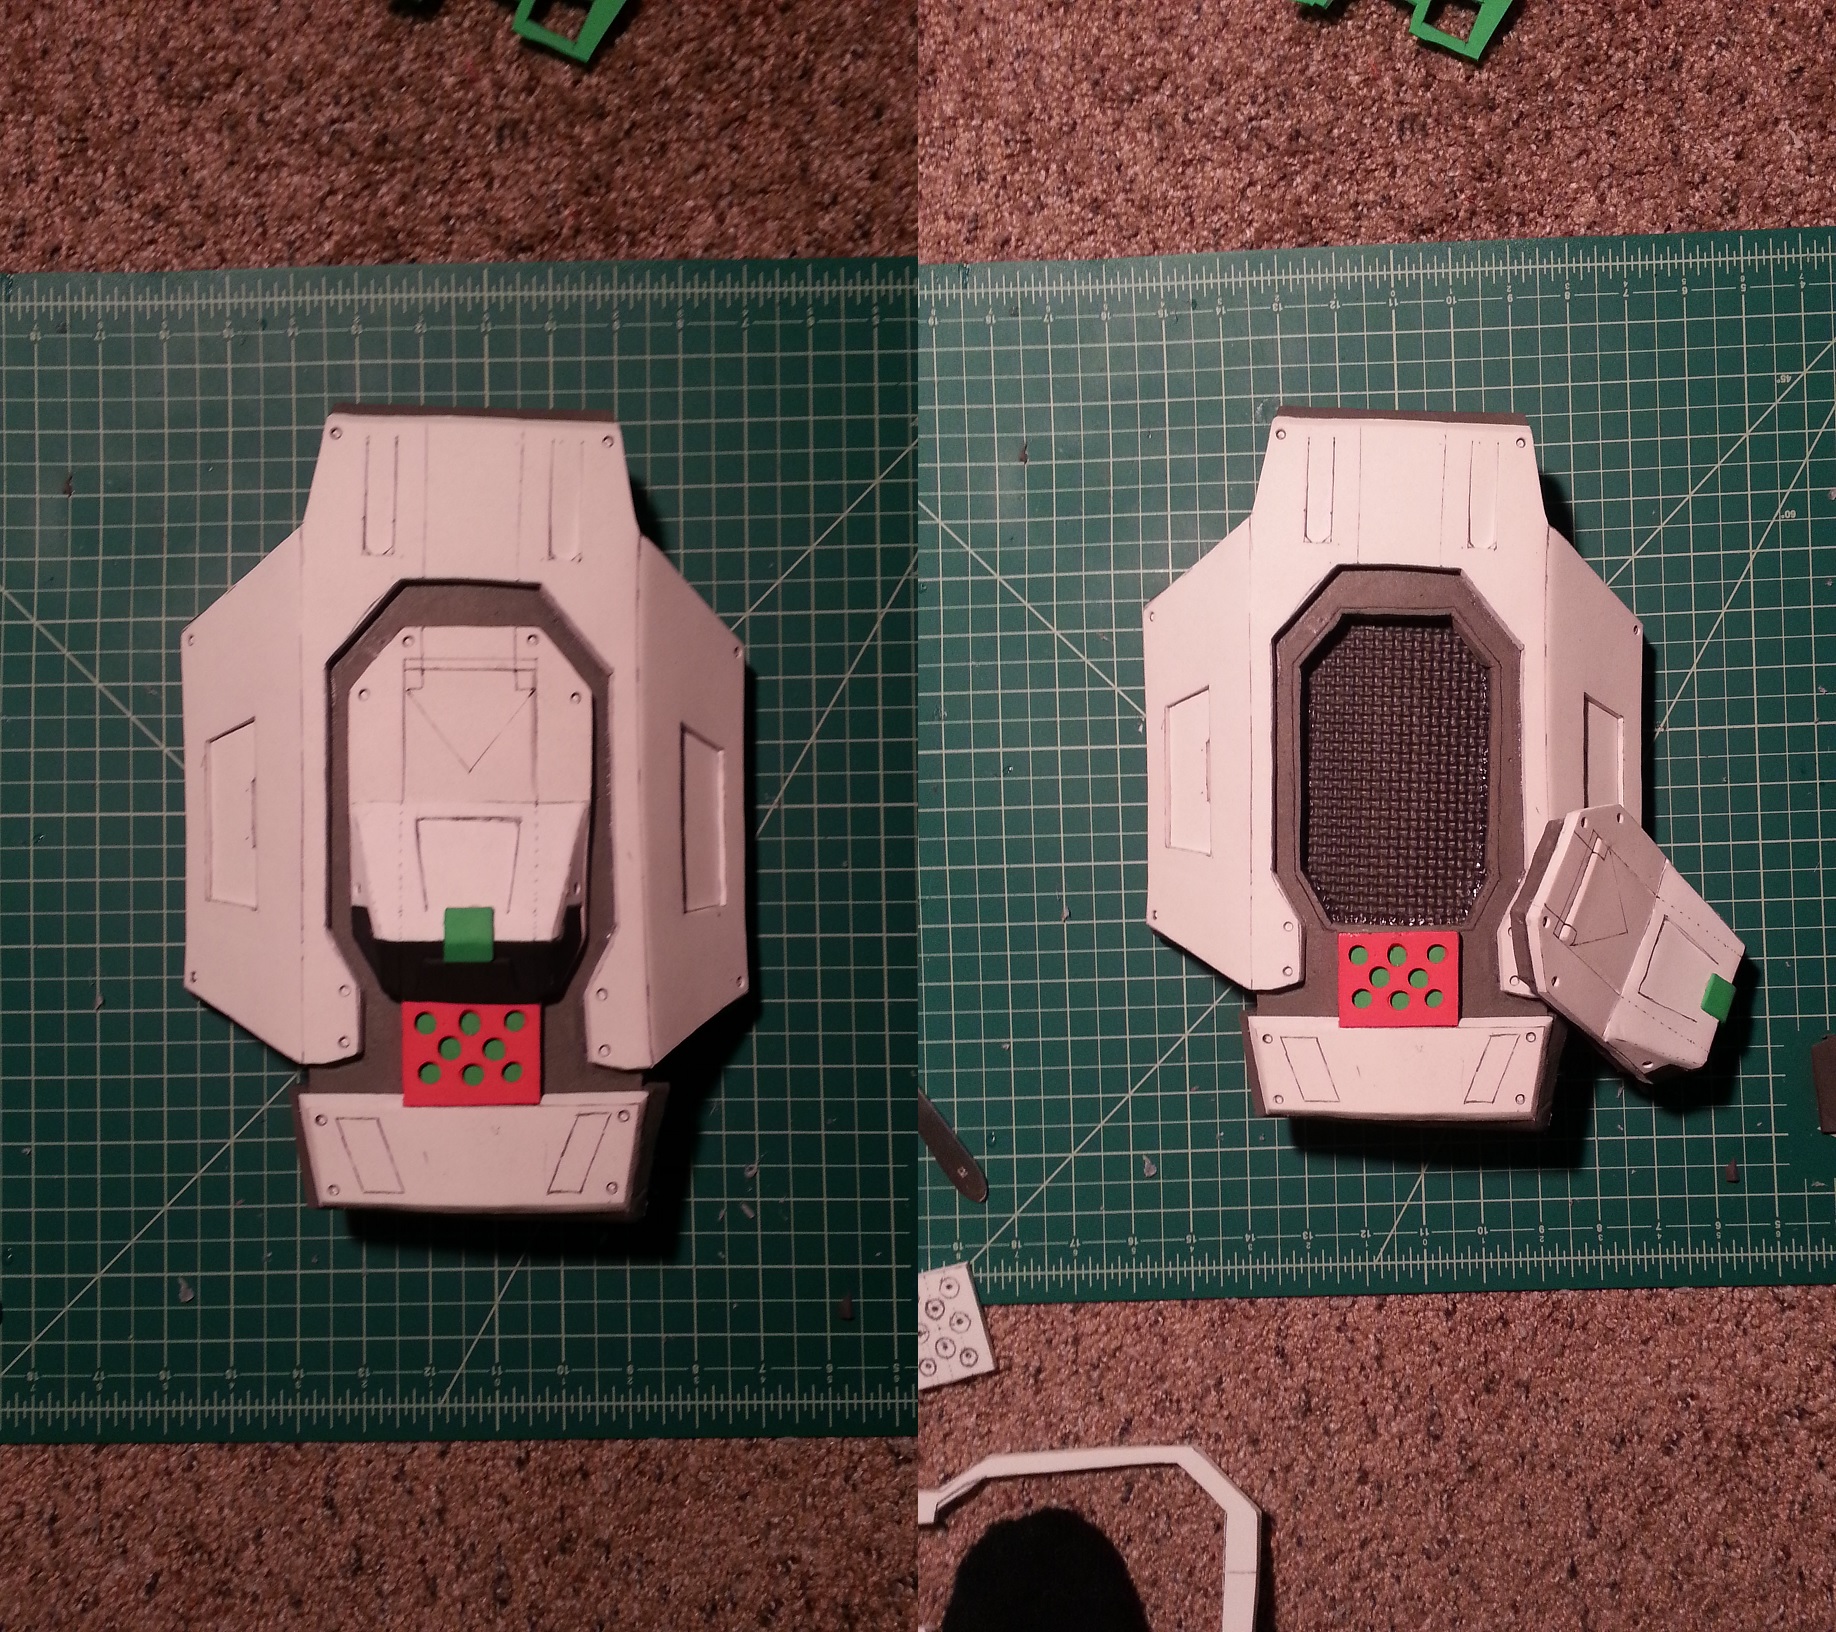
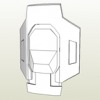
Completed CQC Shoulder:
I followed the Pepakura for some of the file, but not much. All of the details were added from me simply referencing the images that I have.
The center piece was probably the hardest part, and I did it completed from scratch made templates I put together. I don't have a picture of them here, but they exist.

Special Feature:
So I had an idea a long long time ago, that it would be really nice to have easy access contact information and build information available somewhere on your costume.
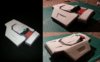
Business Cards work fine, but I wanted something more, and as such, I've created a door/secret compartment that opens on the front of the CQC Shoulder.
It still needs a magnet and an elastic strap to hold it in place, but I figured it would be best to hold off on that and wait until everything was painted, that way it would be easier for me to hit all the details when I paint it.
The information that I've been planning on including in this hidden compartment includes (but is not limited to):
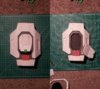
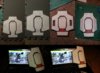
Progress Photos:

Model Used:

http://www.405th.com/file-archive.php?do=download&downloadid=307
Model by: Ruze789
Unfold by: Iganderson
Reference Images Used:


.jpg")
.jpg")

Credits: WandererTJ (5)

Credits: Bungie
Okay all, just got myself a weekend pass for RTX 2015, I'm super excited because I've never been to a convention before.
Unfortunately, that means that I might sacrifice some of the time I've put putting towards supplying updates for the thread, as I will be frantically devoting all my time to finishing my suit.
I've already determined that it will be unlikely that I'll have a helmet for RTX, and that's okay with me.
But without Further ado....
Update Time!
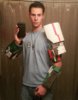
CQC Shoulder - Built & Detailed
Before I even start, I mentioned earlier that I had some bad news to share. Well, the bad news is that this ended up being about 4 inches too small.I was referencing measurements from extracted game models, and only based the scale of the shoulder attachment to the scale of the bicep in comparison to the height of the biceps I had actually made, rather than the overall size of the person, which is why it ended up so short.
But, while it is super small and I do plan on re-doing it, the CQC shoulder did come out quite beautifully.
I will likely be selling this piece if someone out there is interested. I wish I could give it away, but money is really tight right now.
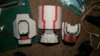
Build Photos:
Completed CQC Shoulder:
I followed the Pepakura for some of the file, but not much. All of the details were added from me simply referencing the images that I have.
The center piece was probably the hardest part, and I did it completed from scratch made templates I put together. I don't have a picture of them here, but they exist.
Grey = 1/2'' Puzzle Mat EVA Foam (Roughly 10-12mm)
White = 5mm Craft Foam
Black = 5mm Craft Foam
Red = 3mm Craft Foam
Green = 2mm Craft Foam
White = 5mm Craft Foam
Black = 5mm Craft Foam
Red = 3mm Craft Foam
Green = 2mm Craft Foam
Special Feature:
So I had an idea a long long time ago, that it would be really nice to have easy access contact information and build information available somewhere on your costume.
Business Cards work fine, but I wanted something more, and as such, I've created a door/secret compartment that opens on the front of the CQC Shoulder.
It still needs a magnet and an elastic strap to hold it in place, but I figured it would be best to hold off on that and wait until everything was painted, that way it would be easier for me to hit all the details when I paint it.
The information that I've been planning on including in this hidden compartment includes (but is not limited to):
• The 405th Logo
• Link to this Build Thread, shortened Link (Tinyurl) to this Build Thread, and a QR Code that links to this Build Thread
• Instagram Name, so that when people take pics of me at cons, they know my name so they can tag me in their photos
• Link to this Build Thread, shortened Link (Tinyurl) to this Build Thread, and a QR Code that links to this Build Thread
• Instagram Name, so that when people take pics of me at cons, they know my name so they can tag me in their photos
Progress Photos:
(For full sized photos, be sure to check the thumbnails at the bottom of the post)
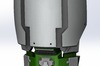
Model Used:
http://www.405th.com/file-archive.php?do=download&downloadid=307
Model by: Ruze789
Unfold by: Iganderson
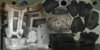
Reference Images Used:
Credits: WandererTJ (5)
Credits: Bungie
.jpg")
.jpg")
.jpg")
.jpg")