but after some thanksgiving turkey <3 <3
right??
right??
but after some thanksgiving turkey <3 <3
right??


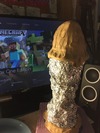
This sounds like one hell of a project, and you seem to be handling it amazingly. I cant wait to see it finished. Its also good to hear your dog is doing alright. Keep up the good work, man!


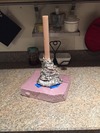
This is looking amazing Sabre!! Do you have any sort of deadline for this project?
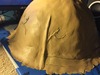
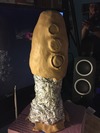
Where it is an oil base product, maybe a touch of mineral spirits on your fingers or tools might help with the final smoothing? Just a thought.
On anothernote, your builds are once again amazing!! Good work.

this is gonna be an interesting build.
are you gonna take turn as you did when you were sporting the hunter?
looking awesome! kinda sad I won't be at ECCC to see it in person...


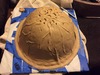
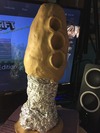
Great work Saber! The sculpting looks great.
You have my attention!
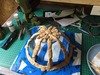
Really great progress. Keep it up and I'm sure you'll get to ECCC. I'm curious about the weight on the clay. Seems like it will be a lot of clay "bubble things." If you had to guess, how much would one of those bubbles weigh?