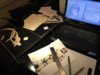
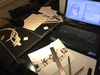
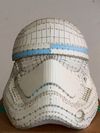
My pepakura build of the new Star Wars Stormtrooper armor has barely begun, and I already know -- this is going to take forever.
With one full pep/fiberglass build in the bag already, I know what I'm getting myself into. For a normal person, that's probably reason enough to give up right now. But for whatever reason, several years later, I'm back at it. I have a lot less free time now, but I will not be denied! This is my story.
I found all of the files that I needed elsewhere online, but I've attached a link to increase the visibility of those files.
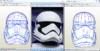
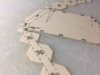
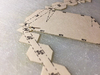
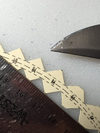
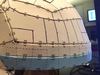
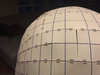
I went with the SW7 helmet file because the dimensions looked more accurate than the other file. There's probably still a little bit of work to be done for the file to be 100% perfect, but I certainly think it's serviceable.

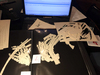
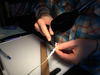
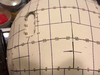
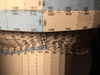
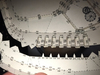
It's also incredibly detailed. I don't remember my Chief helmet being this crazy! Maybe it was...
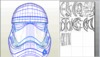
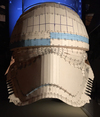
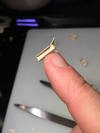
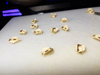
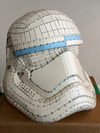
You all know this look...

More to come in the next days/weeks.
With one full pep/fiberglass build in the bag already, I know what I'm getting myself into. For a normal person, that's probably reason enough to give up right now. But for whatever reason, several years later, I'm back at it. I have a lot less free time now, but I will not be denied! This is my story.
I found all of the files that I needed elsewhere online, but I've attached a link to increase the visibility of those files.
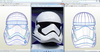
I went with the SW7 helmet file because the dimensions looked more accurate than the other file. There's probably still a little bit of work to be done for the file to be 100% perfect, but I certainly think it's serviceable.
It's also incredibly detailed. I don't remember my Chief helmet being this crazy! Maybe it was...
You all know this look...
More to come in the next days/weeks.