- Member DIN
- S2424
OMG!!! I needed that laugh so bad!!!! My sides hurt now......

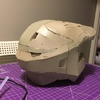
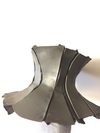
wow, the highlights turned out great. Thanks for those pictures.
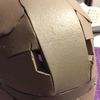
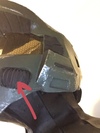
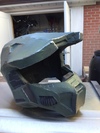
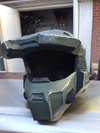
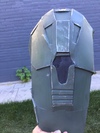
Jme, Dude!!! Looks FANTASTIC!!! I wish my suit comes out 1/2 as good. Ok, now that that was said, a quick observation. The scratches truly accent every seam you have and creates believable battle damage and I understand that it also "conceals" gaps in the armor. But you left the un-seamed areas almost completely bare of any damage at all. If you think about how a soldier moves,crawls, jumps, rolls, dives......ect....ect.....ect......then you get an idea of where "True" scratches would appear on armor. Now if you were going for the "still wet behind the ears" look, you have it. Great job man. When do we get to see the full suit on?
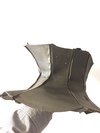

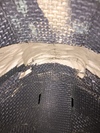
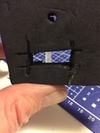
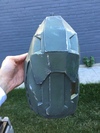
Looks great Jme!!...Neck seal looks fantastic!!!...........So.....you shop at Costco eh?
JME, can i just say that i have followed your build and alot of the lessons you learned i have applied to my sons batman build. which is my first foam build. great work... i cant wait to try my hand at a build like yours..
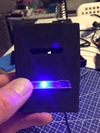
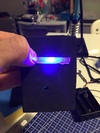
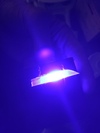
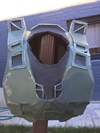
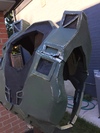
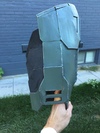
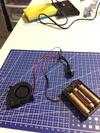
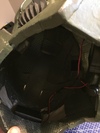
fantastic work friend, FANTASTIC! Even the electronics, i have seen alot of people use those fans for Storm trooper helmets over on the 501st!
Kudos!
")
Wow, you're doing progress fast! O_O
Your costume looks great!