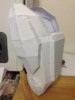
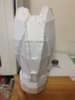
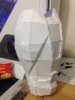
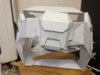
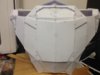
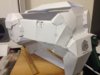
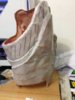
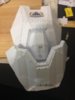
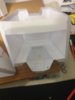
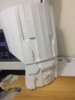
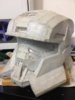
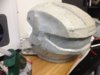
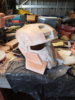
Here is the work I have so far completed on my helmet, I really wanted to add lighting on the helmet so I'm thinking about adding lighting into the front top of the helmet, I've marked it into the helmet, I'm aiming for a sort of "interrogation" strength white lights,
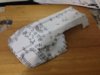
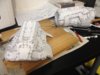
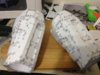
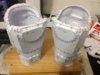
") Over the last week or so ive managed to smash out two different pieces, the right shin and the cod piece
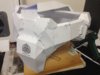
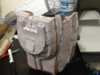
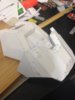
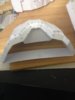
Over the last week or so ive managed to smash out two different pieces, the right shin and the cod piece