- Member DIN
- S170
Hey all! I’m Bella (she/her)
So I started something similar to this on my introduction post, and I wanted to make an official build thread for my ODST.
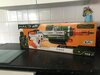
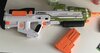
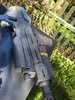
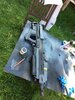
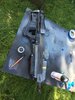
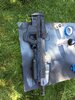
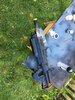
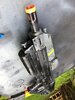
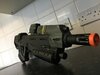
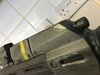
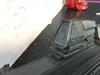
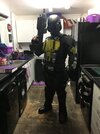
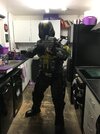
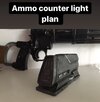
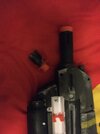
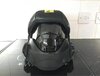
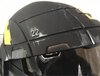
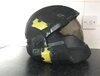
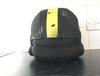
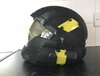
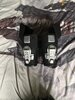
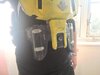
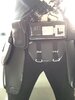
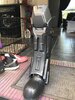
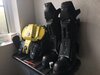
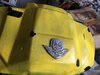
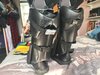
The basis: I managed to acquire a Sean Bradley ODST kit, which I have spent the best part of 3 months on. My current helmet is an Xcoser make, which will do for now; and I carry a repainted NERF MA-40.
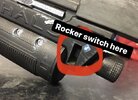
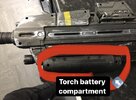
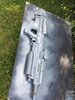
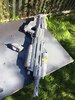
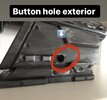
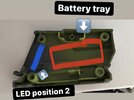
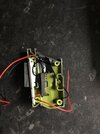
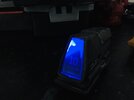
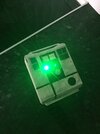
Currently, the armour is complete, but I’m waiting on some soft kit pieces before suiting up for professional photos, plus some minor details, such as decals; which are being done by Mr Conley of Ebonywarriorstudios.
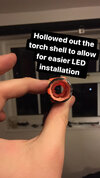
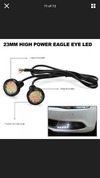
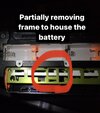
photos of the armour attached here
So I started something similar to this on my introduction post, and I wanted to make an official build thread for my ODST.
The basis: I managed to acquire a Sean Bradley ODST kit, which I have spent the best part of 3 months on. My current helmet is an Xcoser make, which will do for now; and I carry a repainted NERF
MA-40.Currently, the armour is complete, but I’m waiting on some soft kit pieces before suiting up for professional photos, plus some minor details, such as decals; which are being done by Mr Conley of Ebonywarriorstudios.
photos of the armour attached here
Attachments
-
 0F10DB08-A85E-47CC-824A-FD4A5B39D220.jpeg46.5 KB · Views: 237
 -
 2921383C-8DC7-4300-BF2C-76ECE27DD5F4.jpeg53.9 KB · Views: 221
 -
 B230297A-3423-452E-B045-2A98246EA400.jpeg44.9 KB · Views: 220
 -
 BB6388BC-0ACB-45BA-9979-4D53F5733B5F.jpeg35.1 KB · Views: 217
 -
 74712810-D34A-467E-A710-CA6609438545.jpeg45.2 KB · Views: 215
 -
 CD95094C-A49C-4A31-8982-60358B4B97E2.jpeg487.2 KB · Views: 213
 -
 D0E04FA1-29B9-4CE2-80BF-DECBE0A4E866.jpeg477.6 KB · Views: 211
 -
 DC06EDCB-67A2-424B-90CE-FD46DF09A434.jpeg179.1 KB · Views: 218
 -
 B0B05017-84DF-4480-B472-8EB4DD0E7670.jpeg194.6 KB · Views: 207
 -
 DFCBBCE4-6577-4FC9-AC0B-C9D366C04DD4.jpeg551.8 KB · Views: 221
 -
 19858791-0796-4EC2-B5AD-69A02509DF11.jpeg741.7 KB · Views: 218
 -
 ABEAE427-12D8-4784-81A1-DCE89E0E918B.jpeg681.1 KB · Views: 228
 -
 CE62E86D-D9E5-430F-9503-B98912FE39BD.jpeg812.7 KB · Views: 242