Halo 3 Marine from cardboard-first build!

Status
Not open for further replies.

mumgoot

Member
Hey everyone!

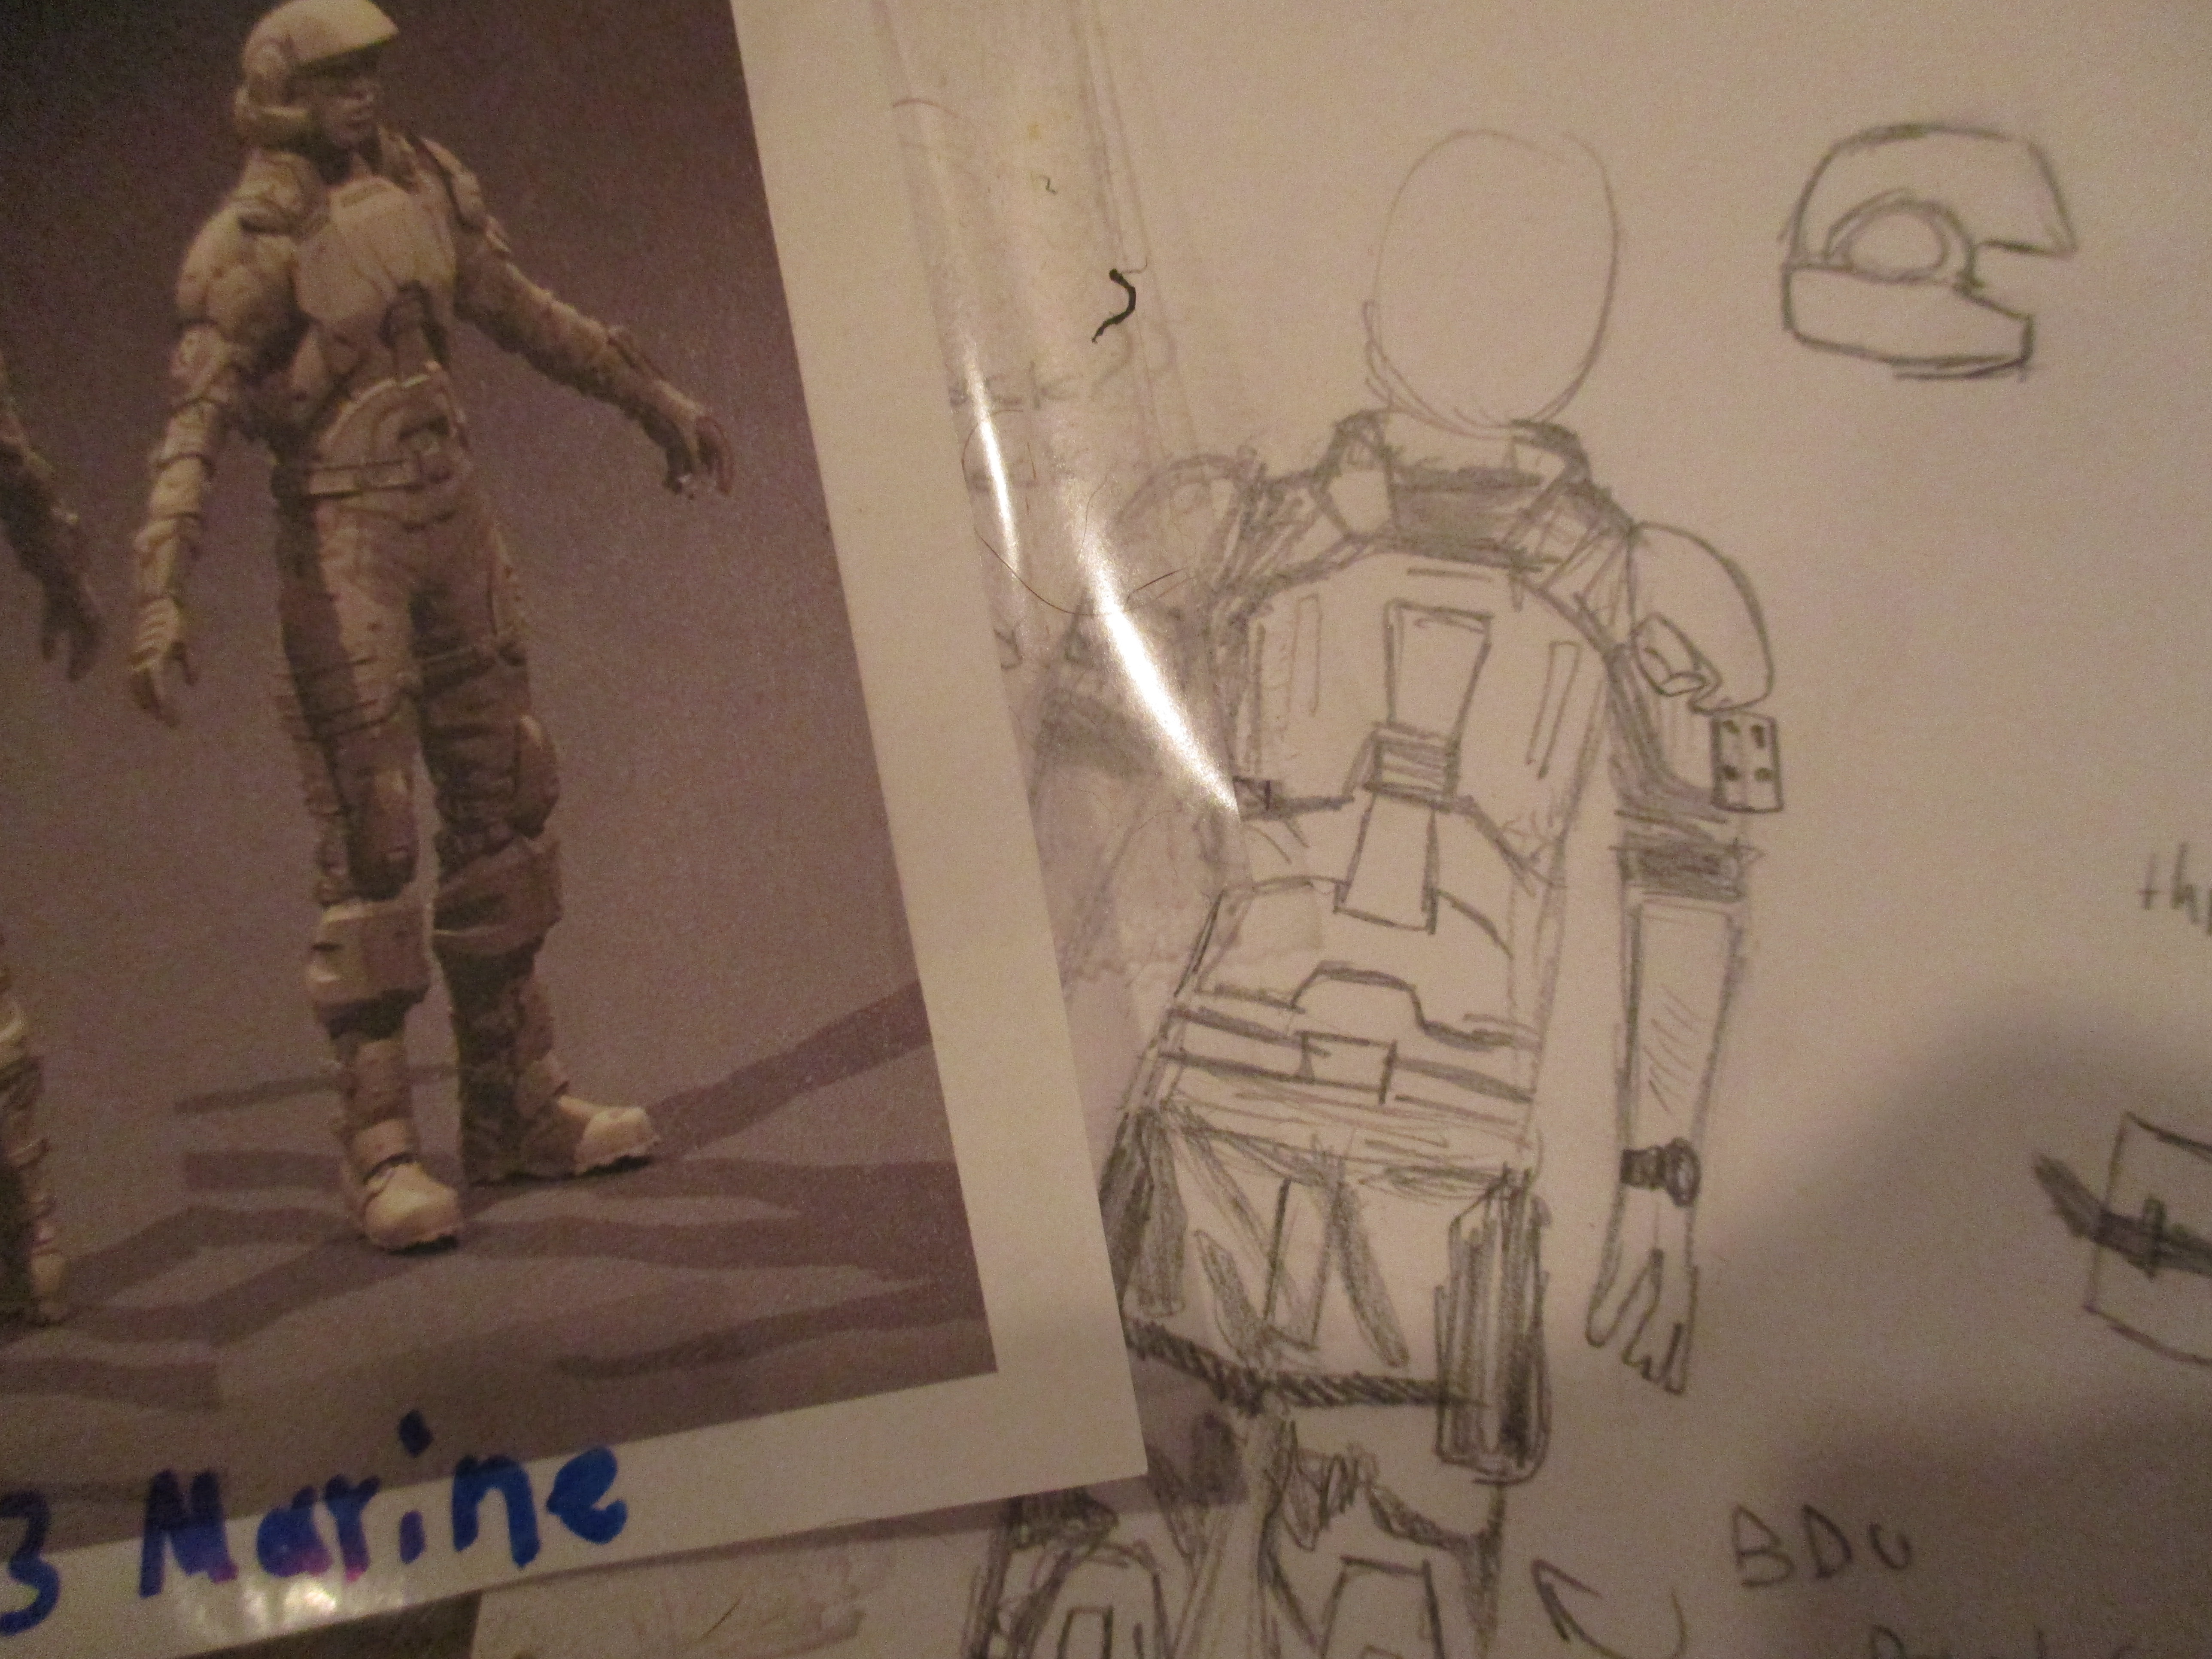
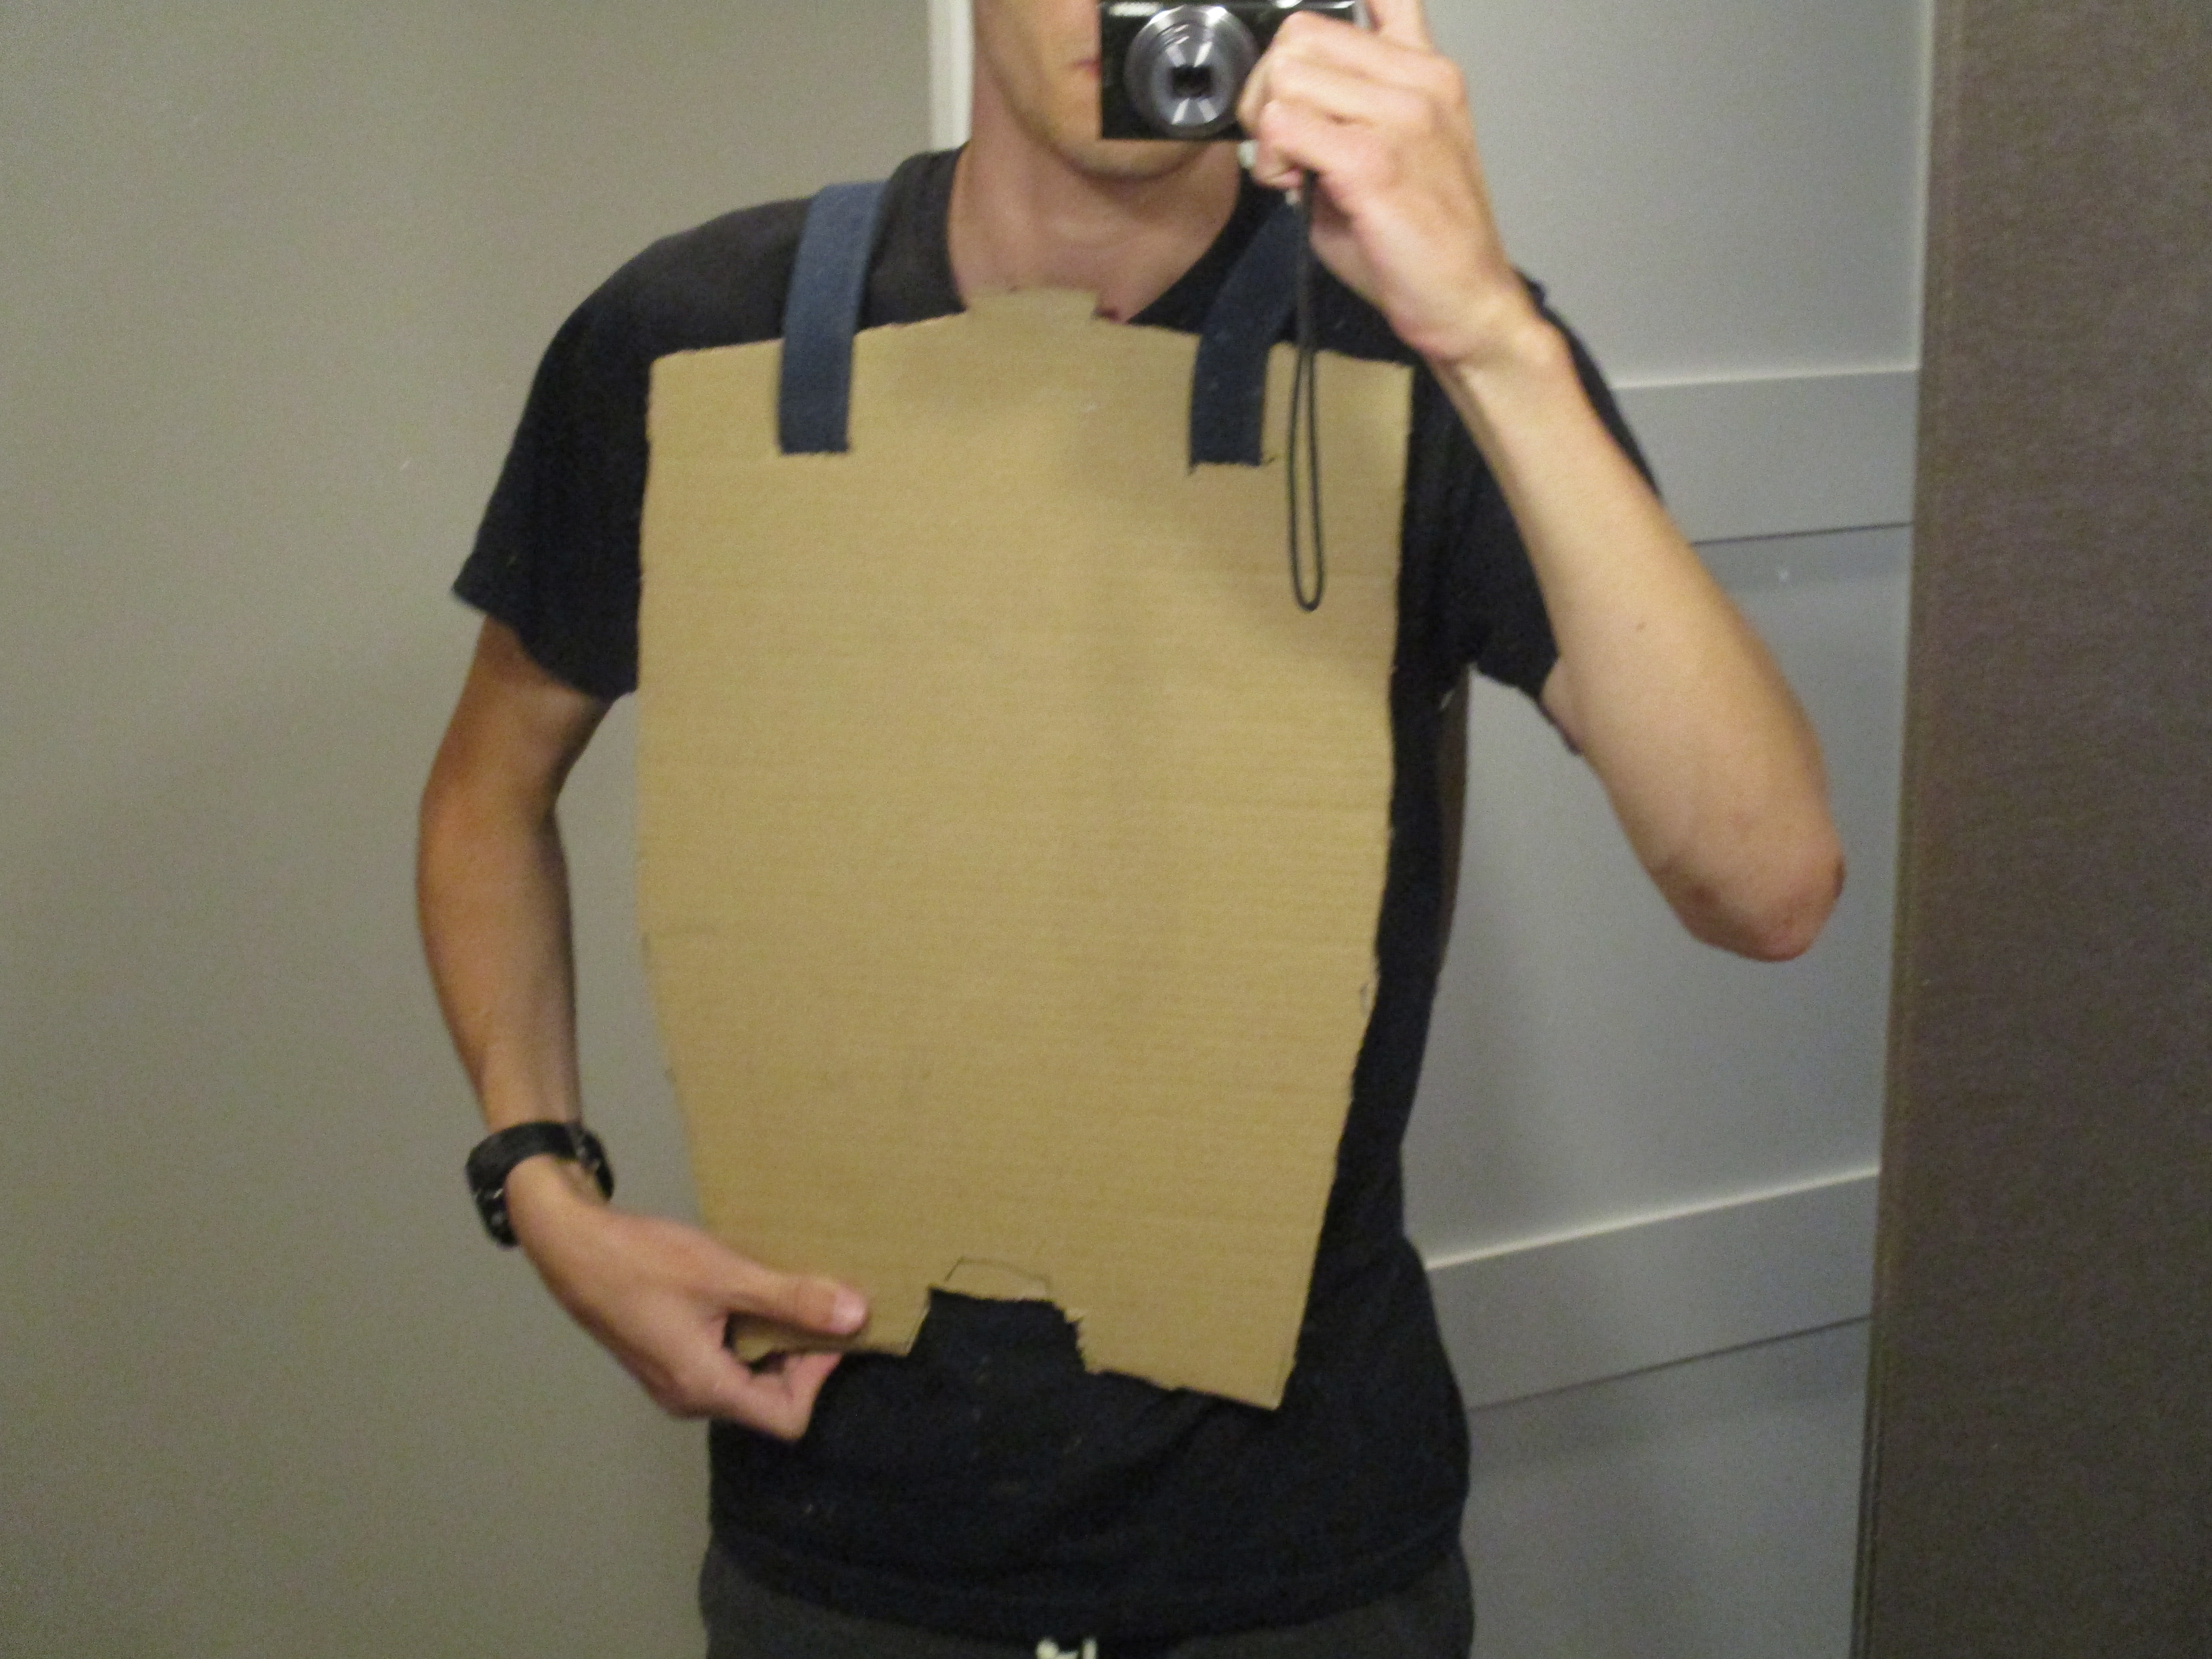
So I'm excited to show you my first armor build, a cardboard Halo 3-style marine.

Accuracy is going to be iffy, as I am more concerned with getting it built with a cool paint job than I am getting it accurate, but hopefully it will turn out well.

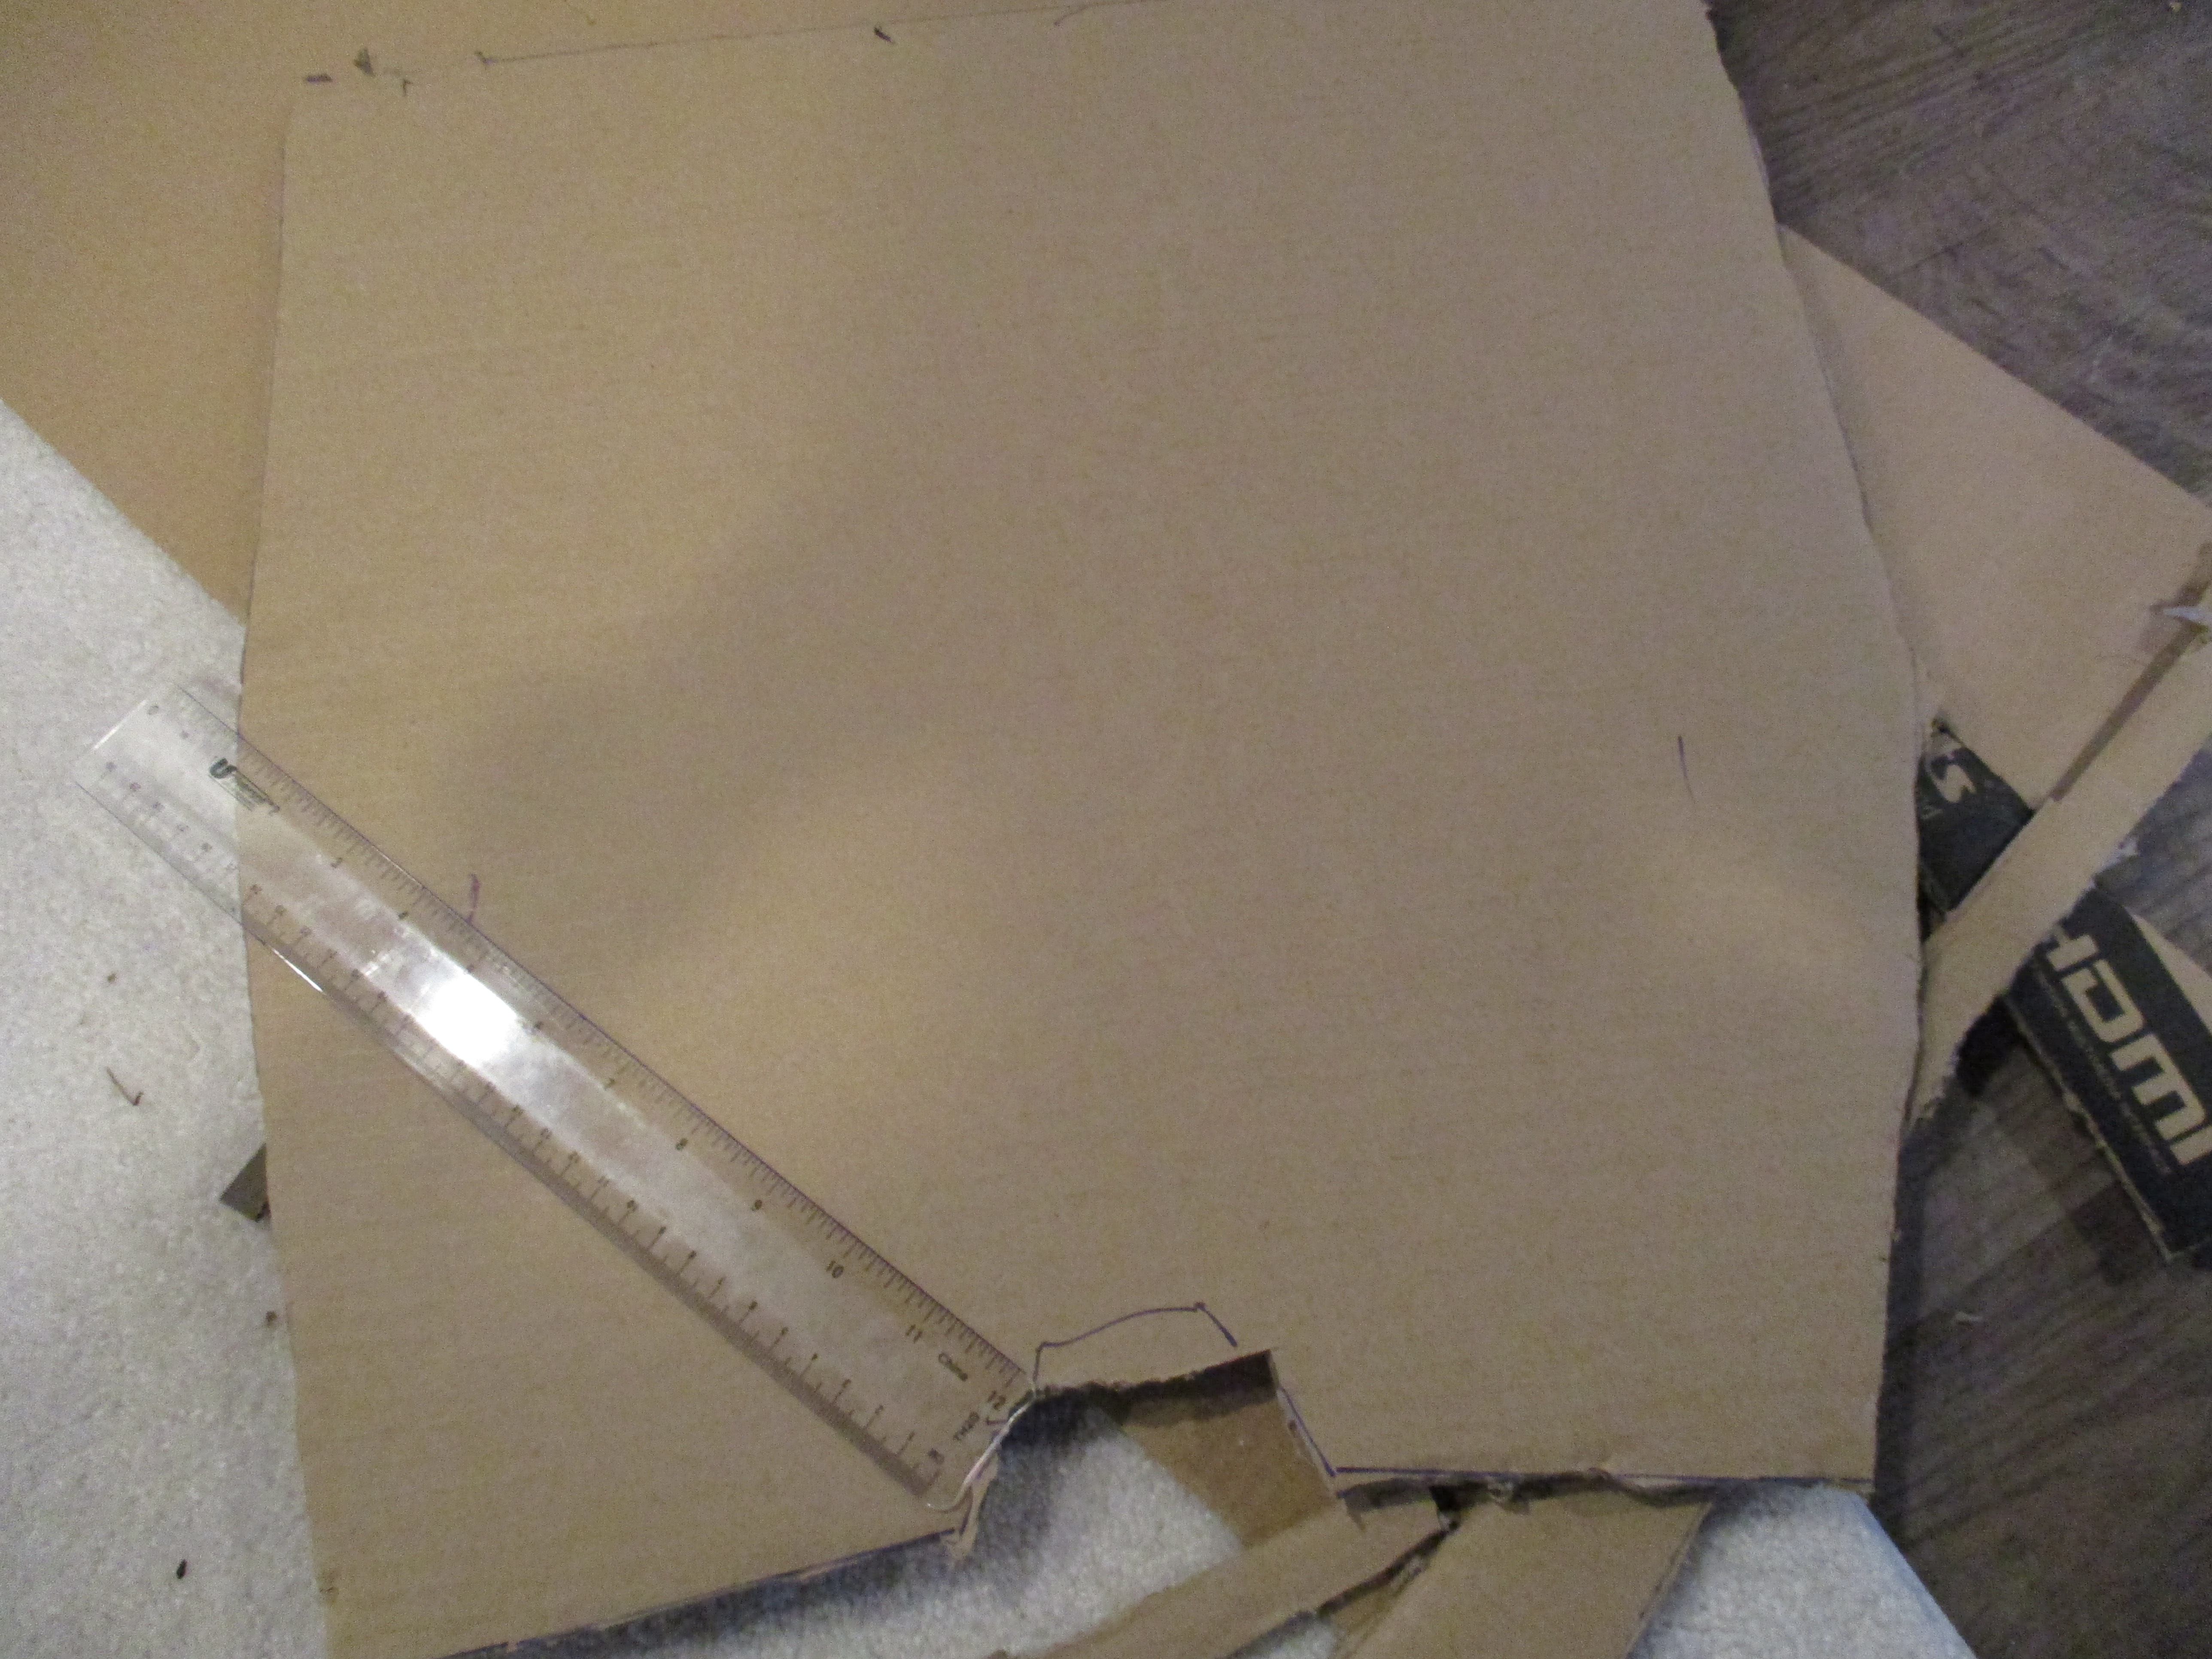
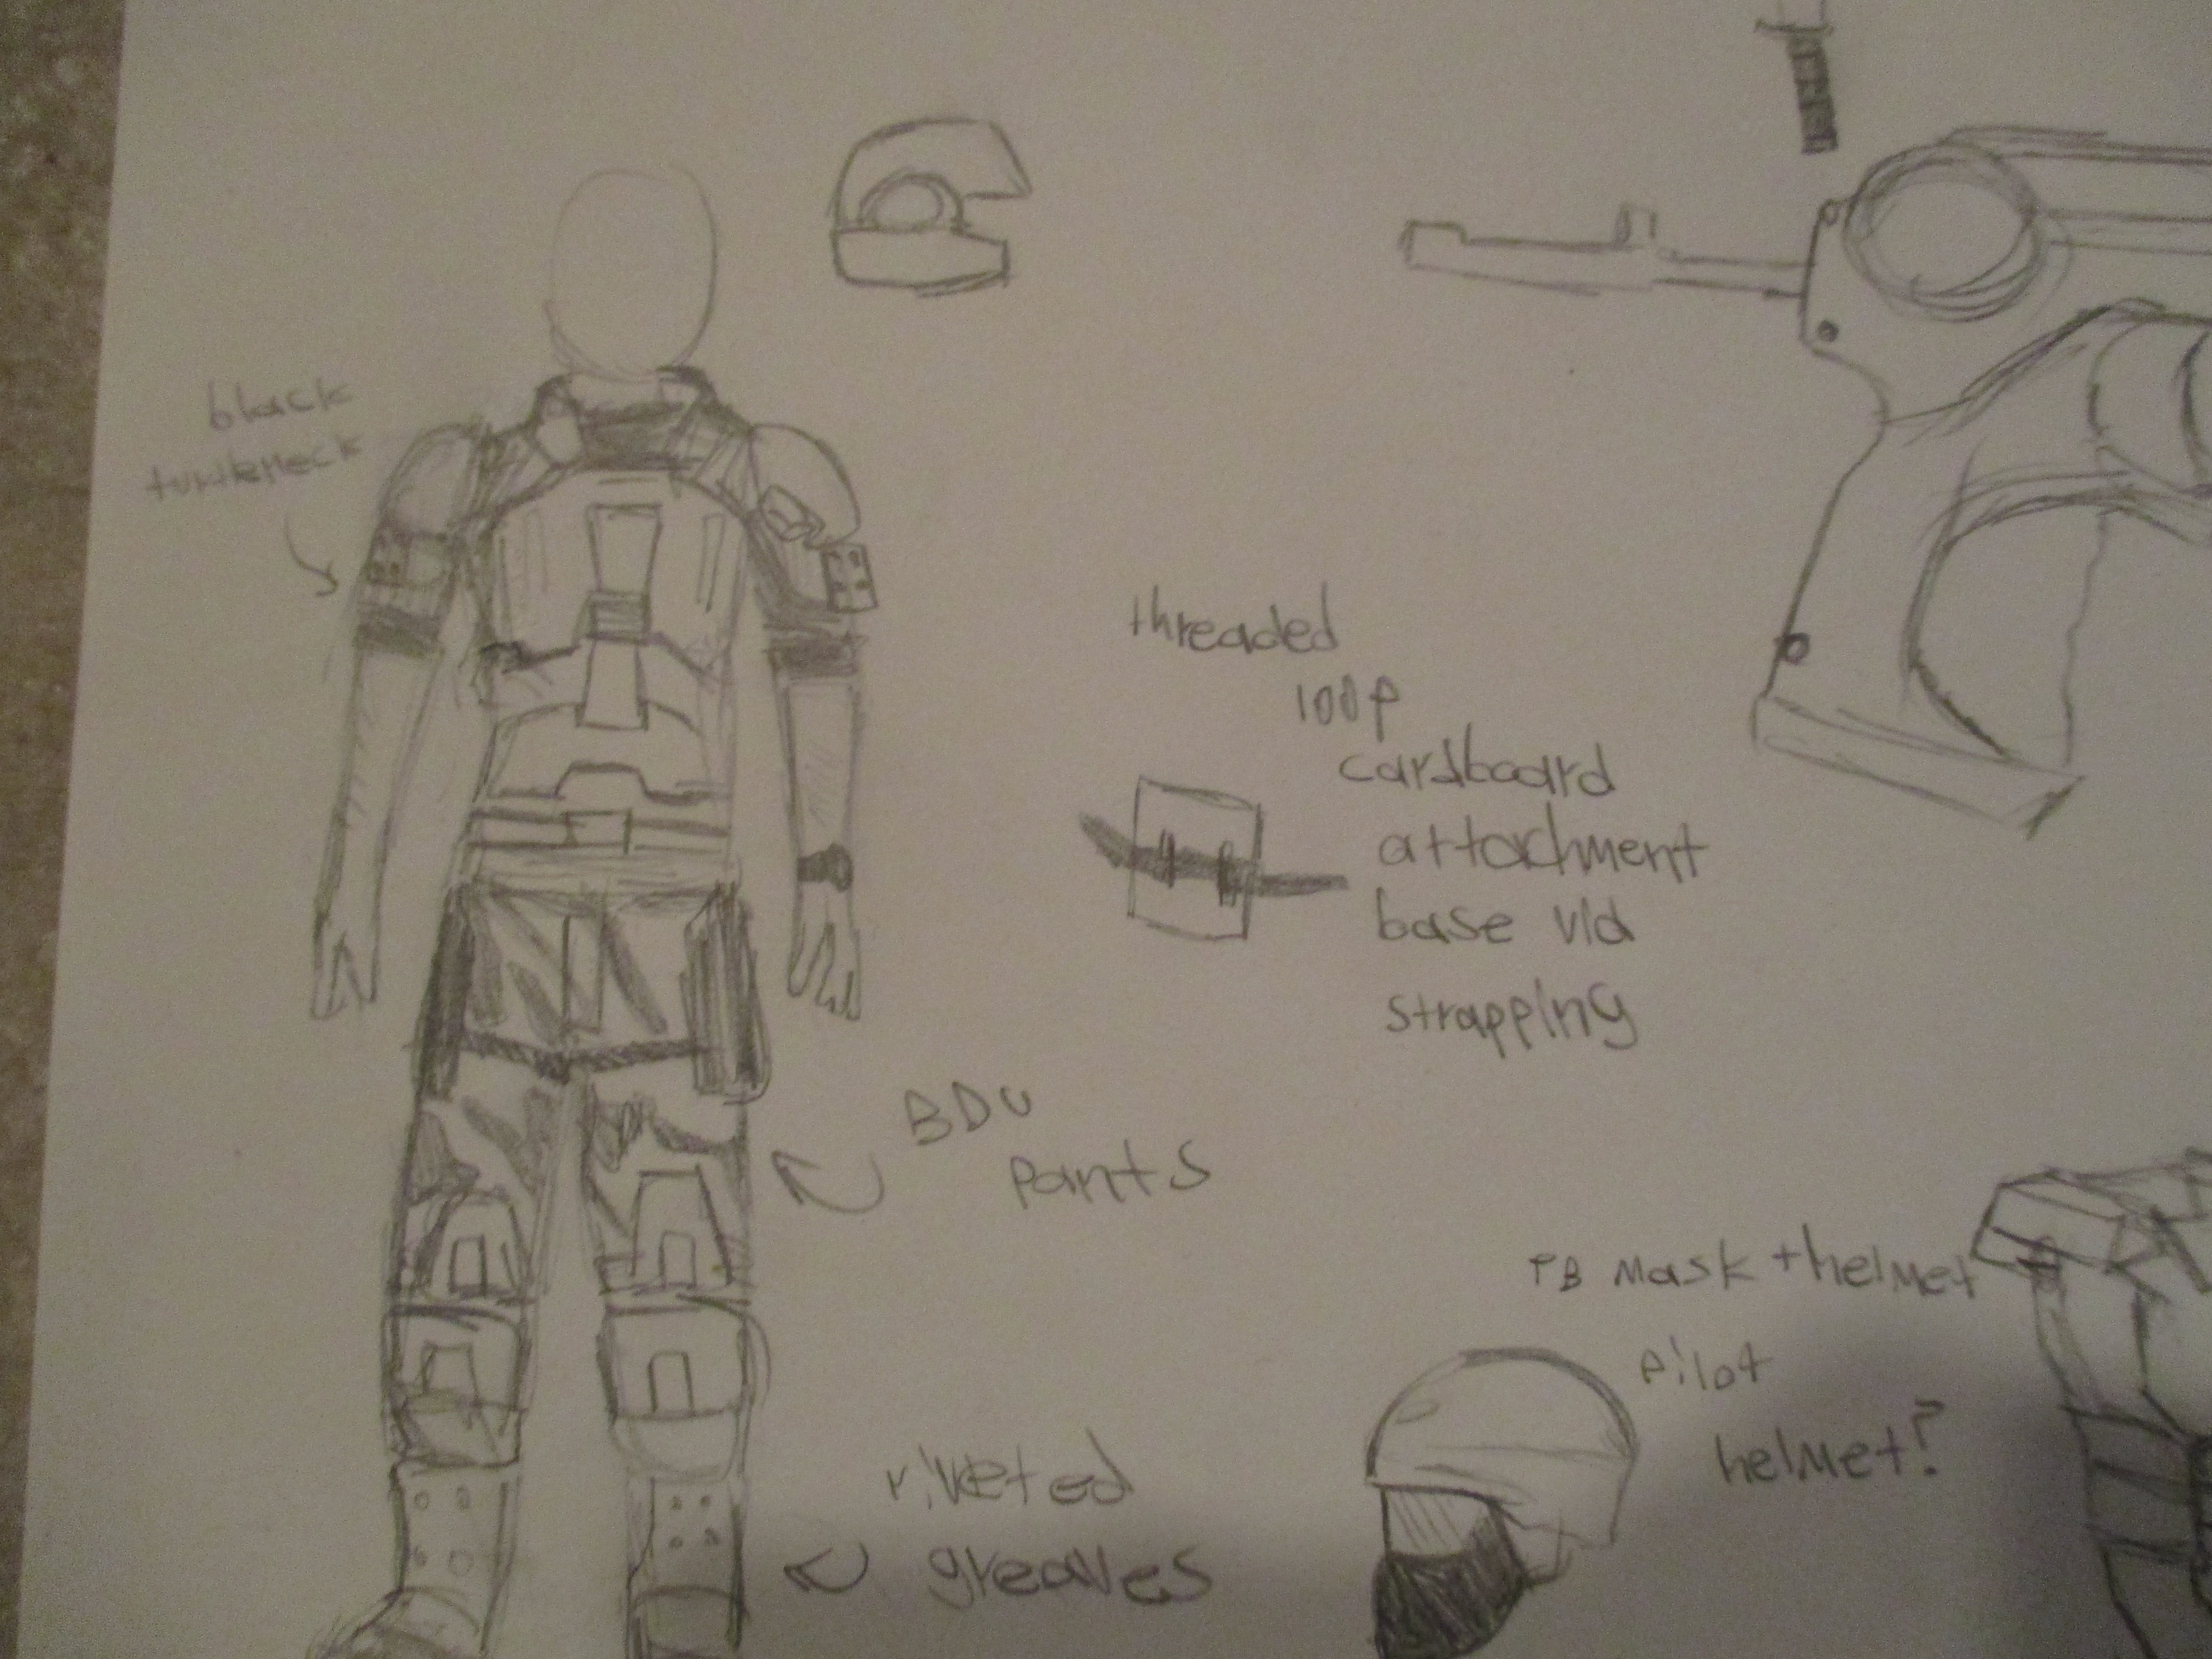
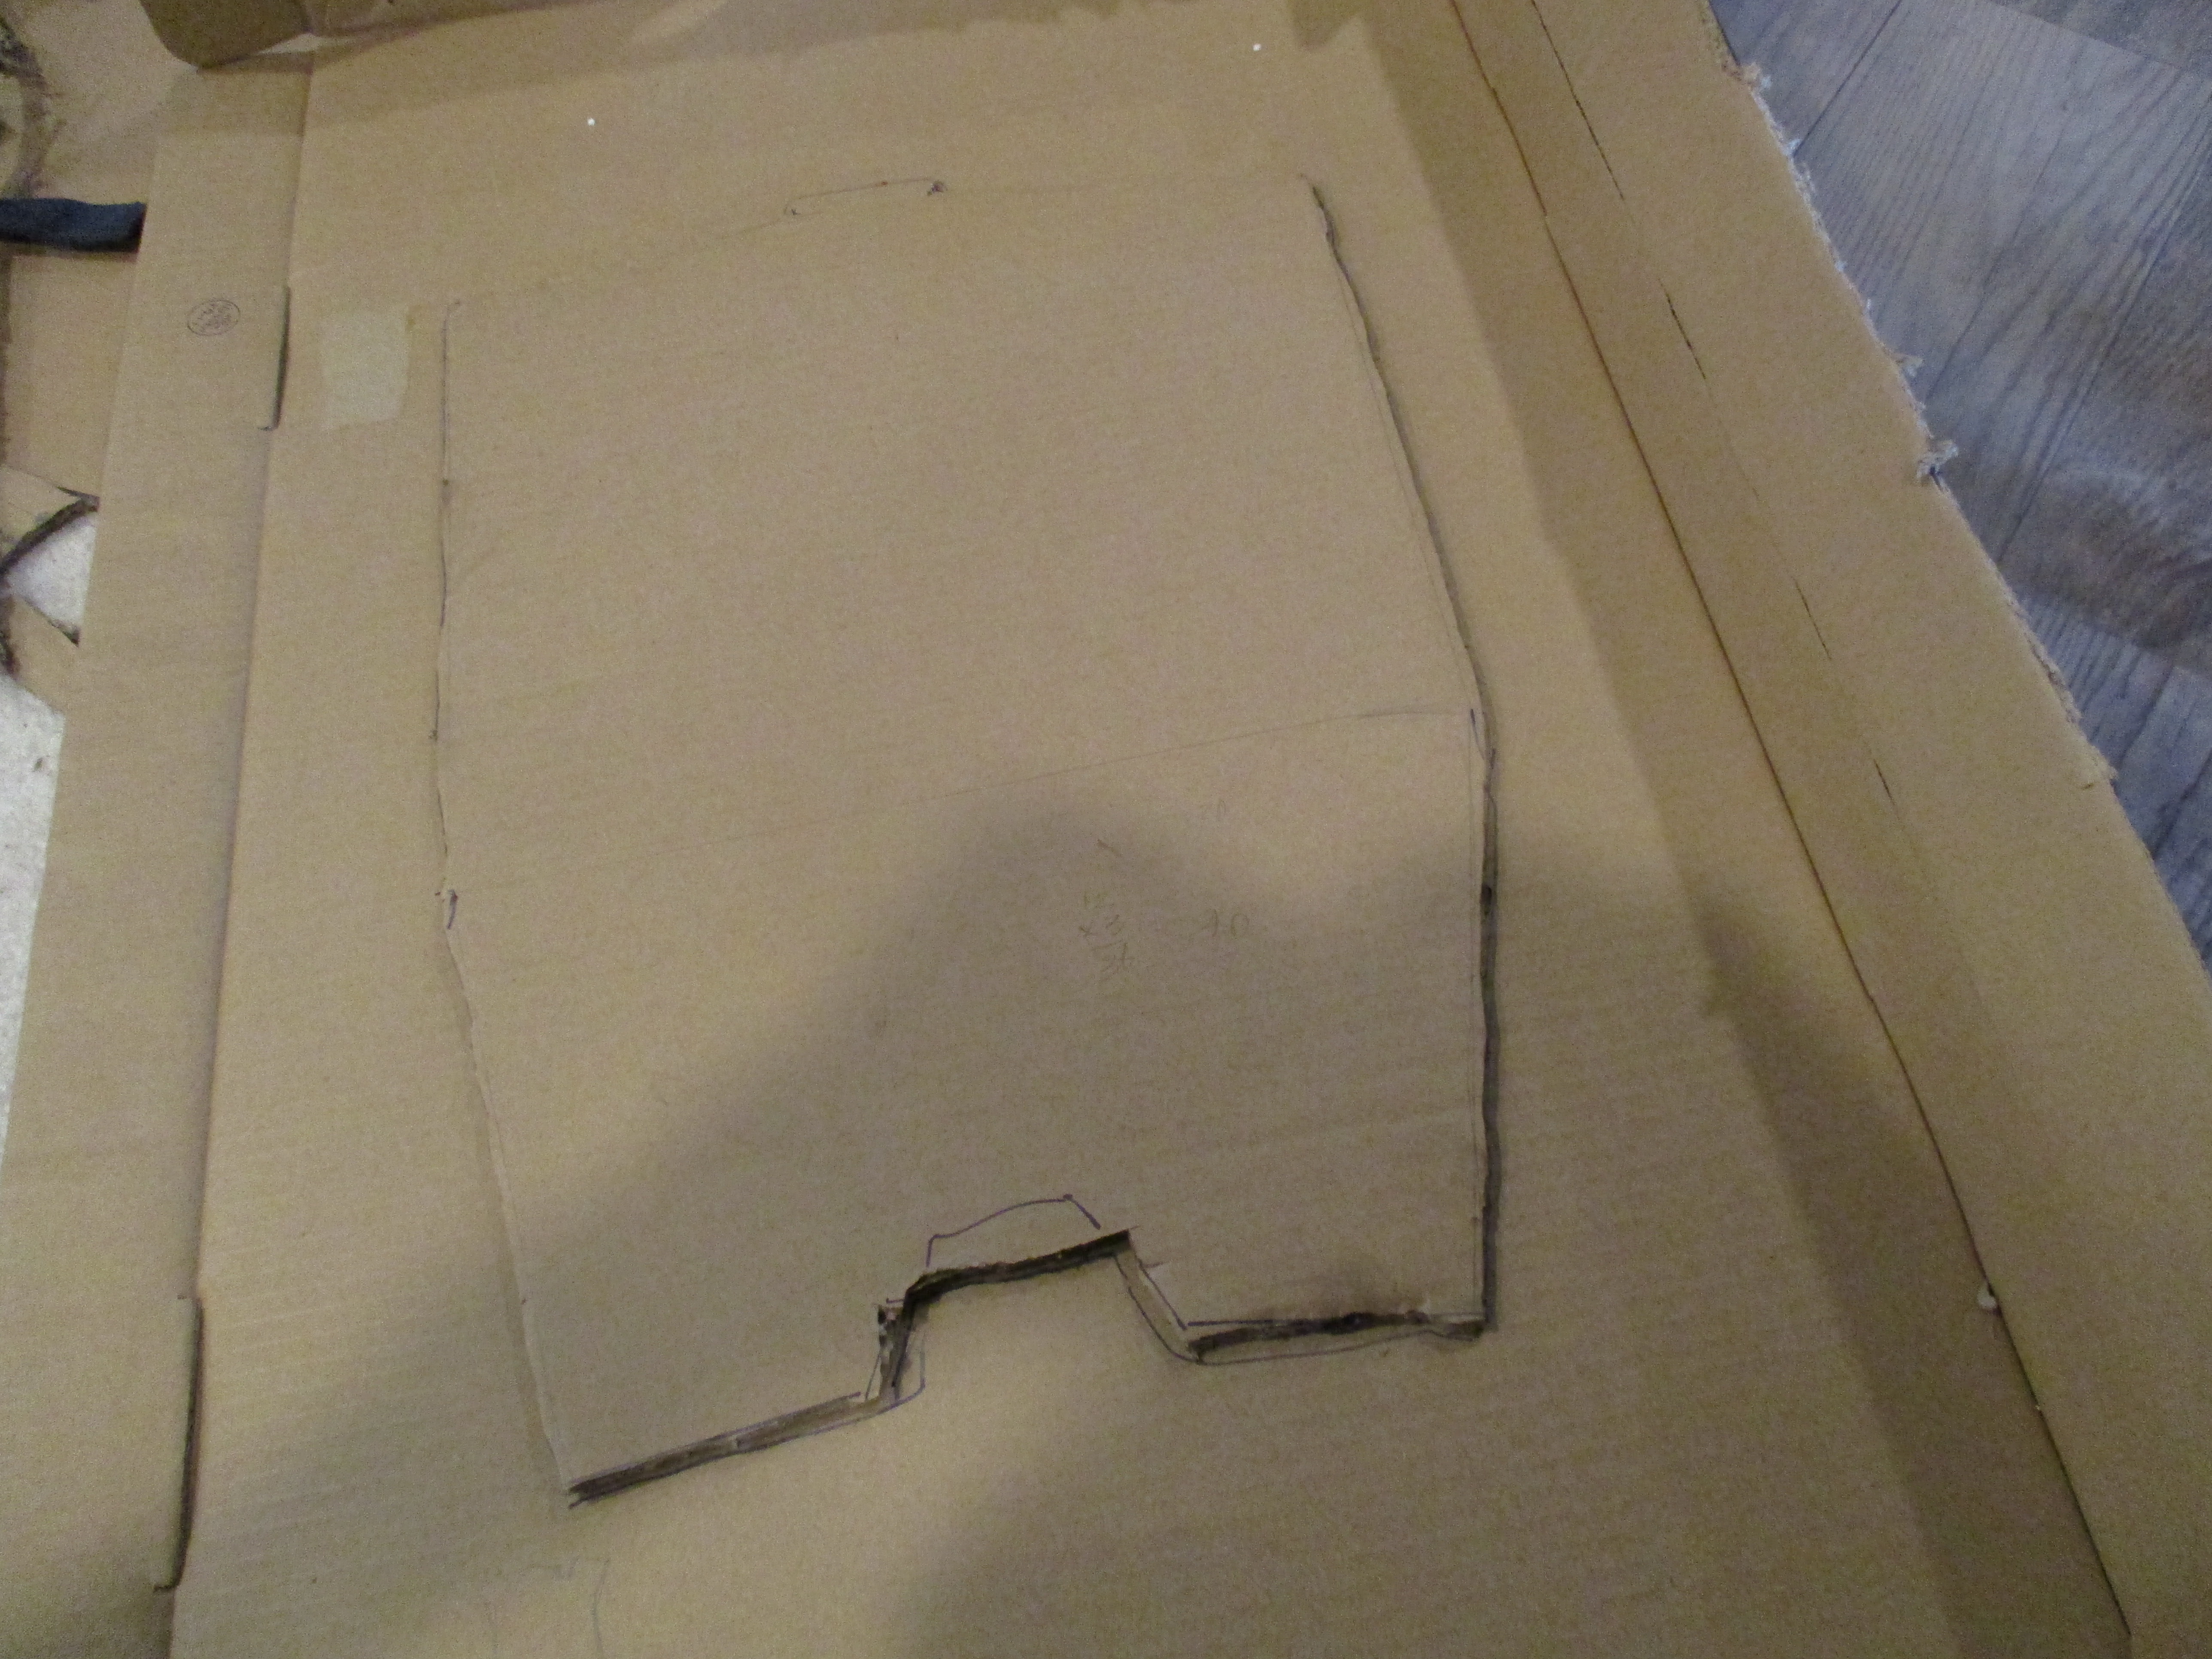
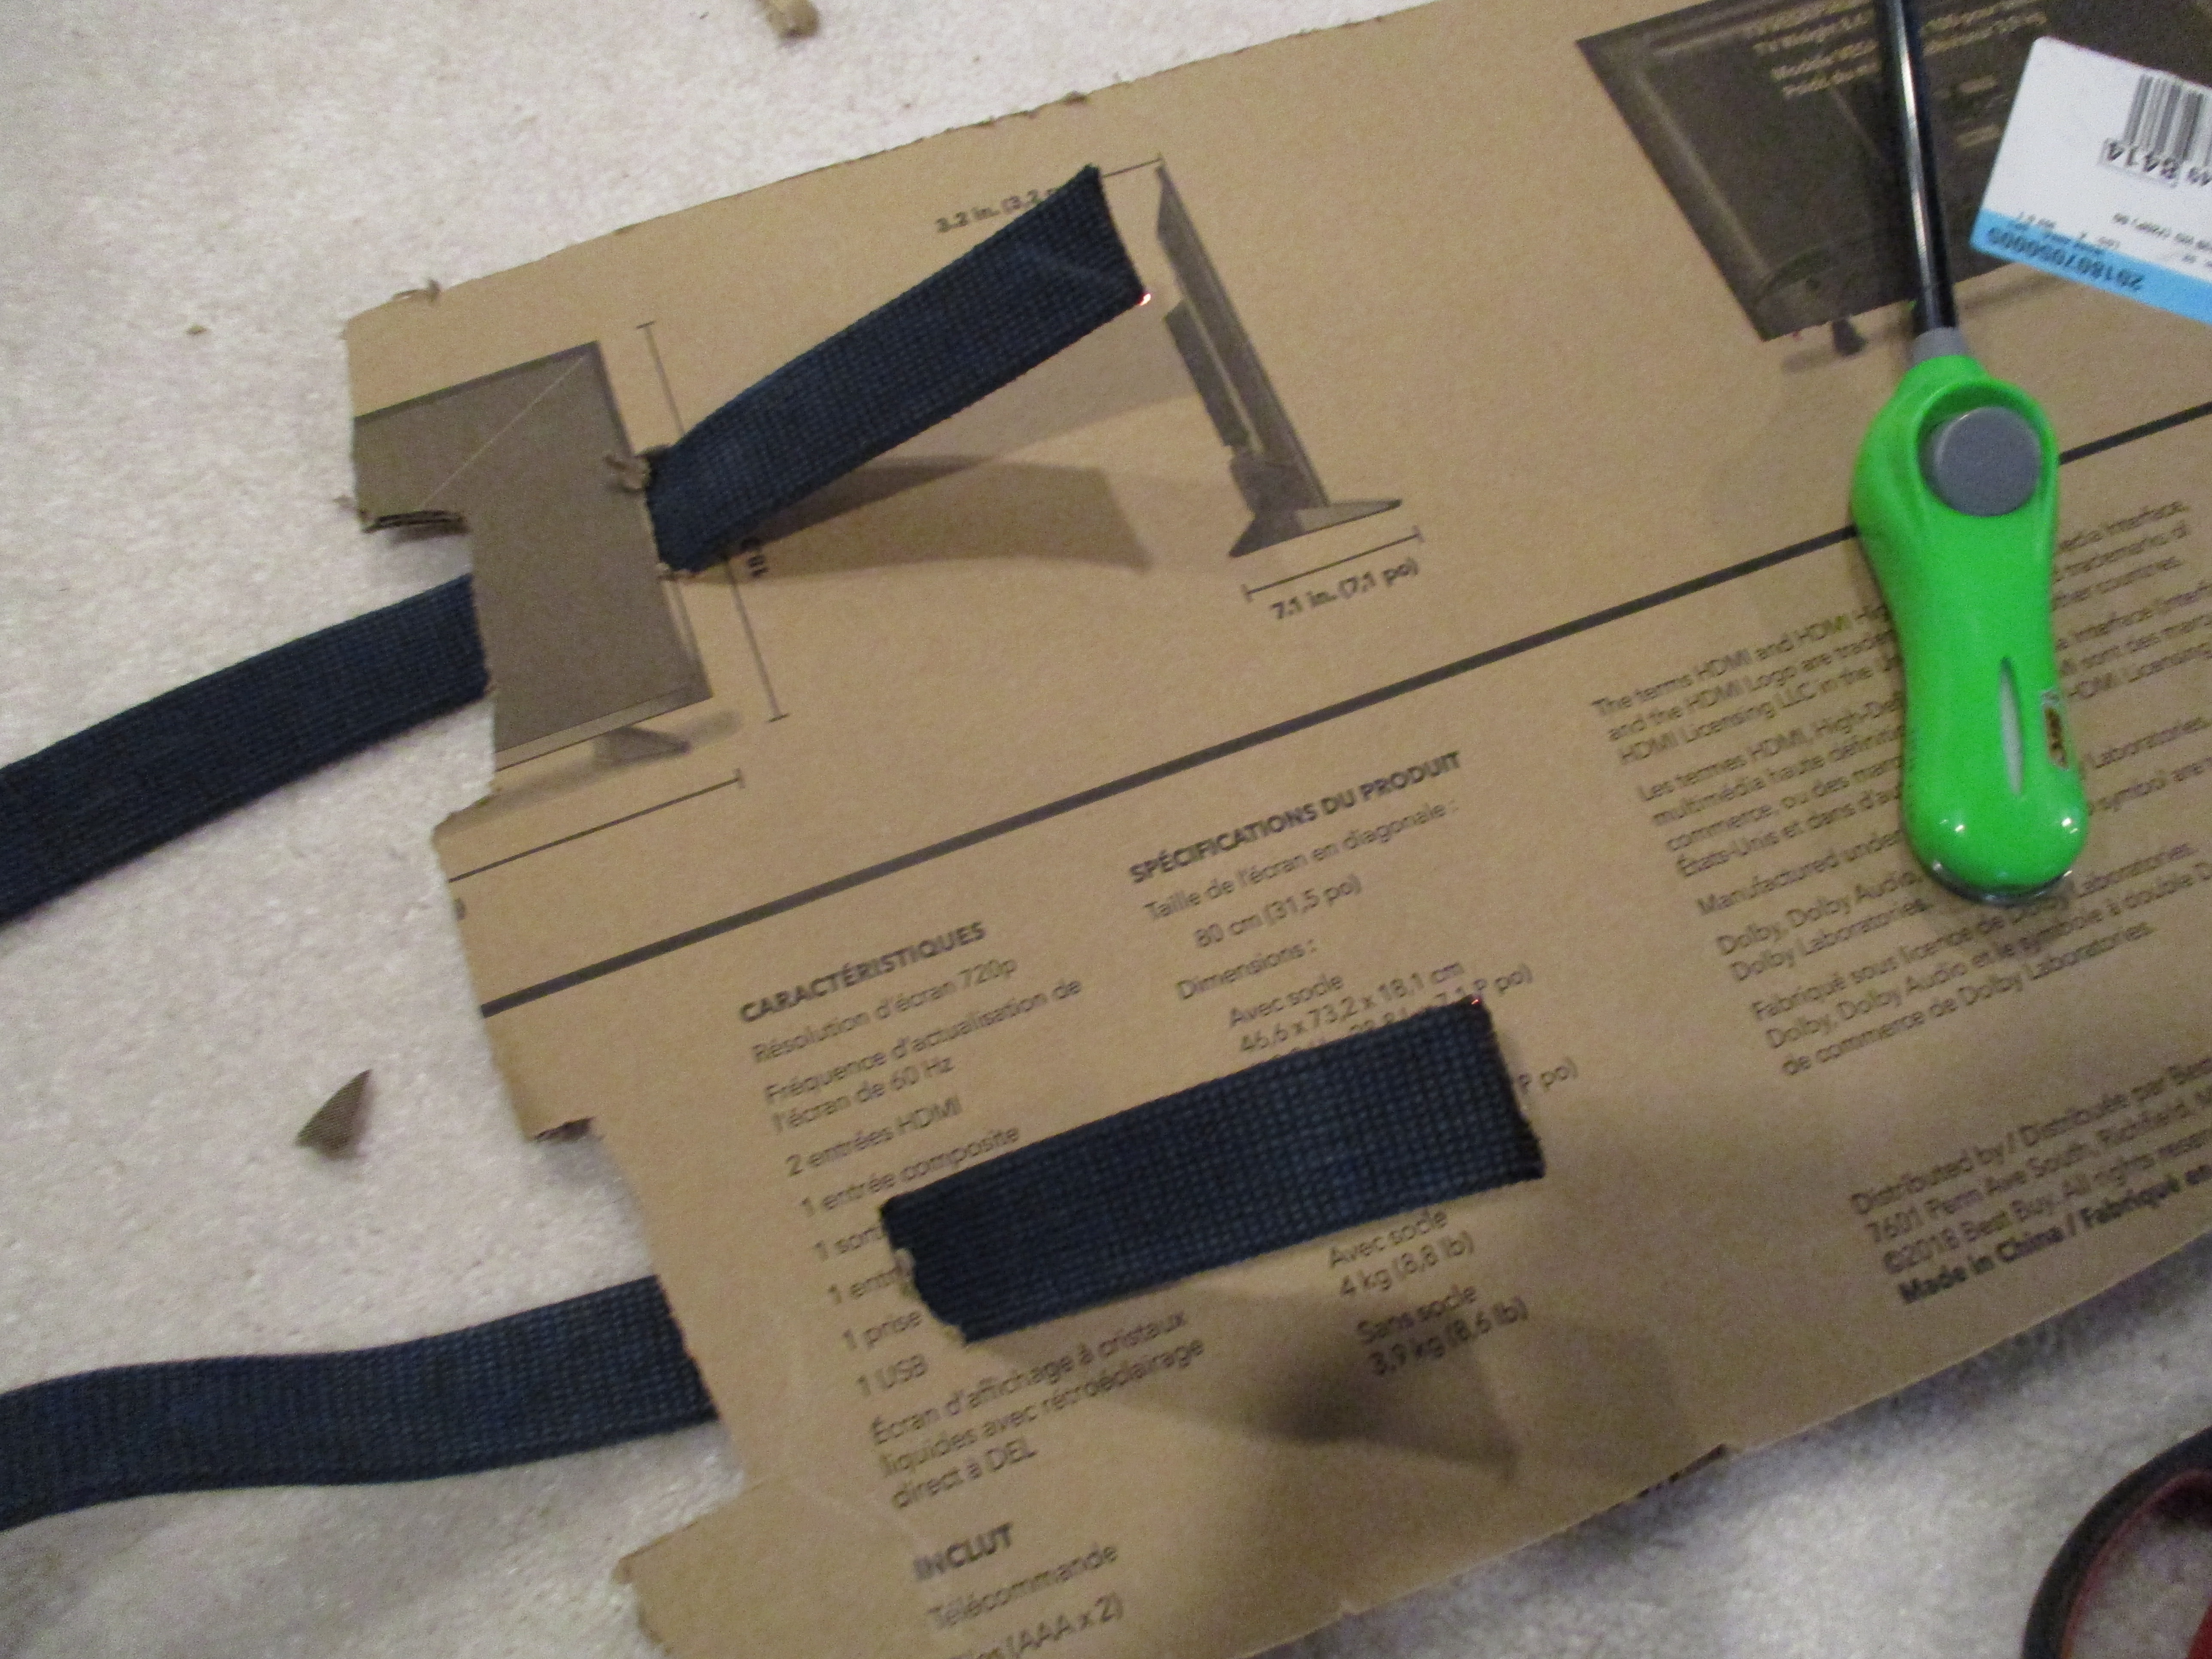
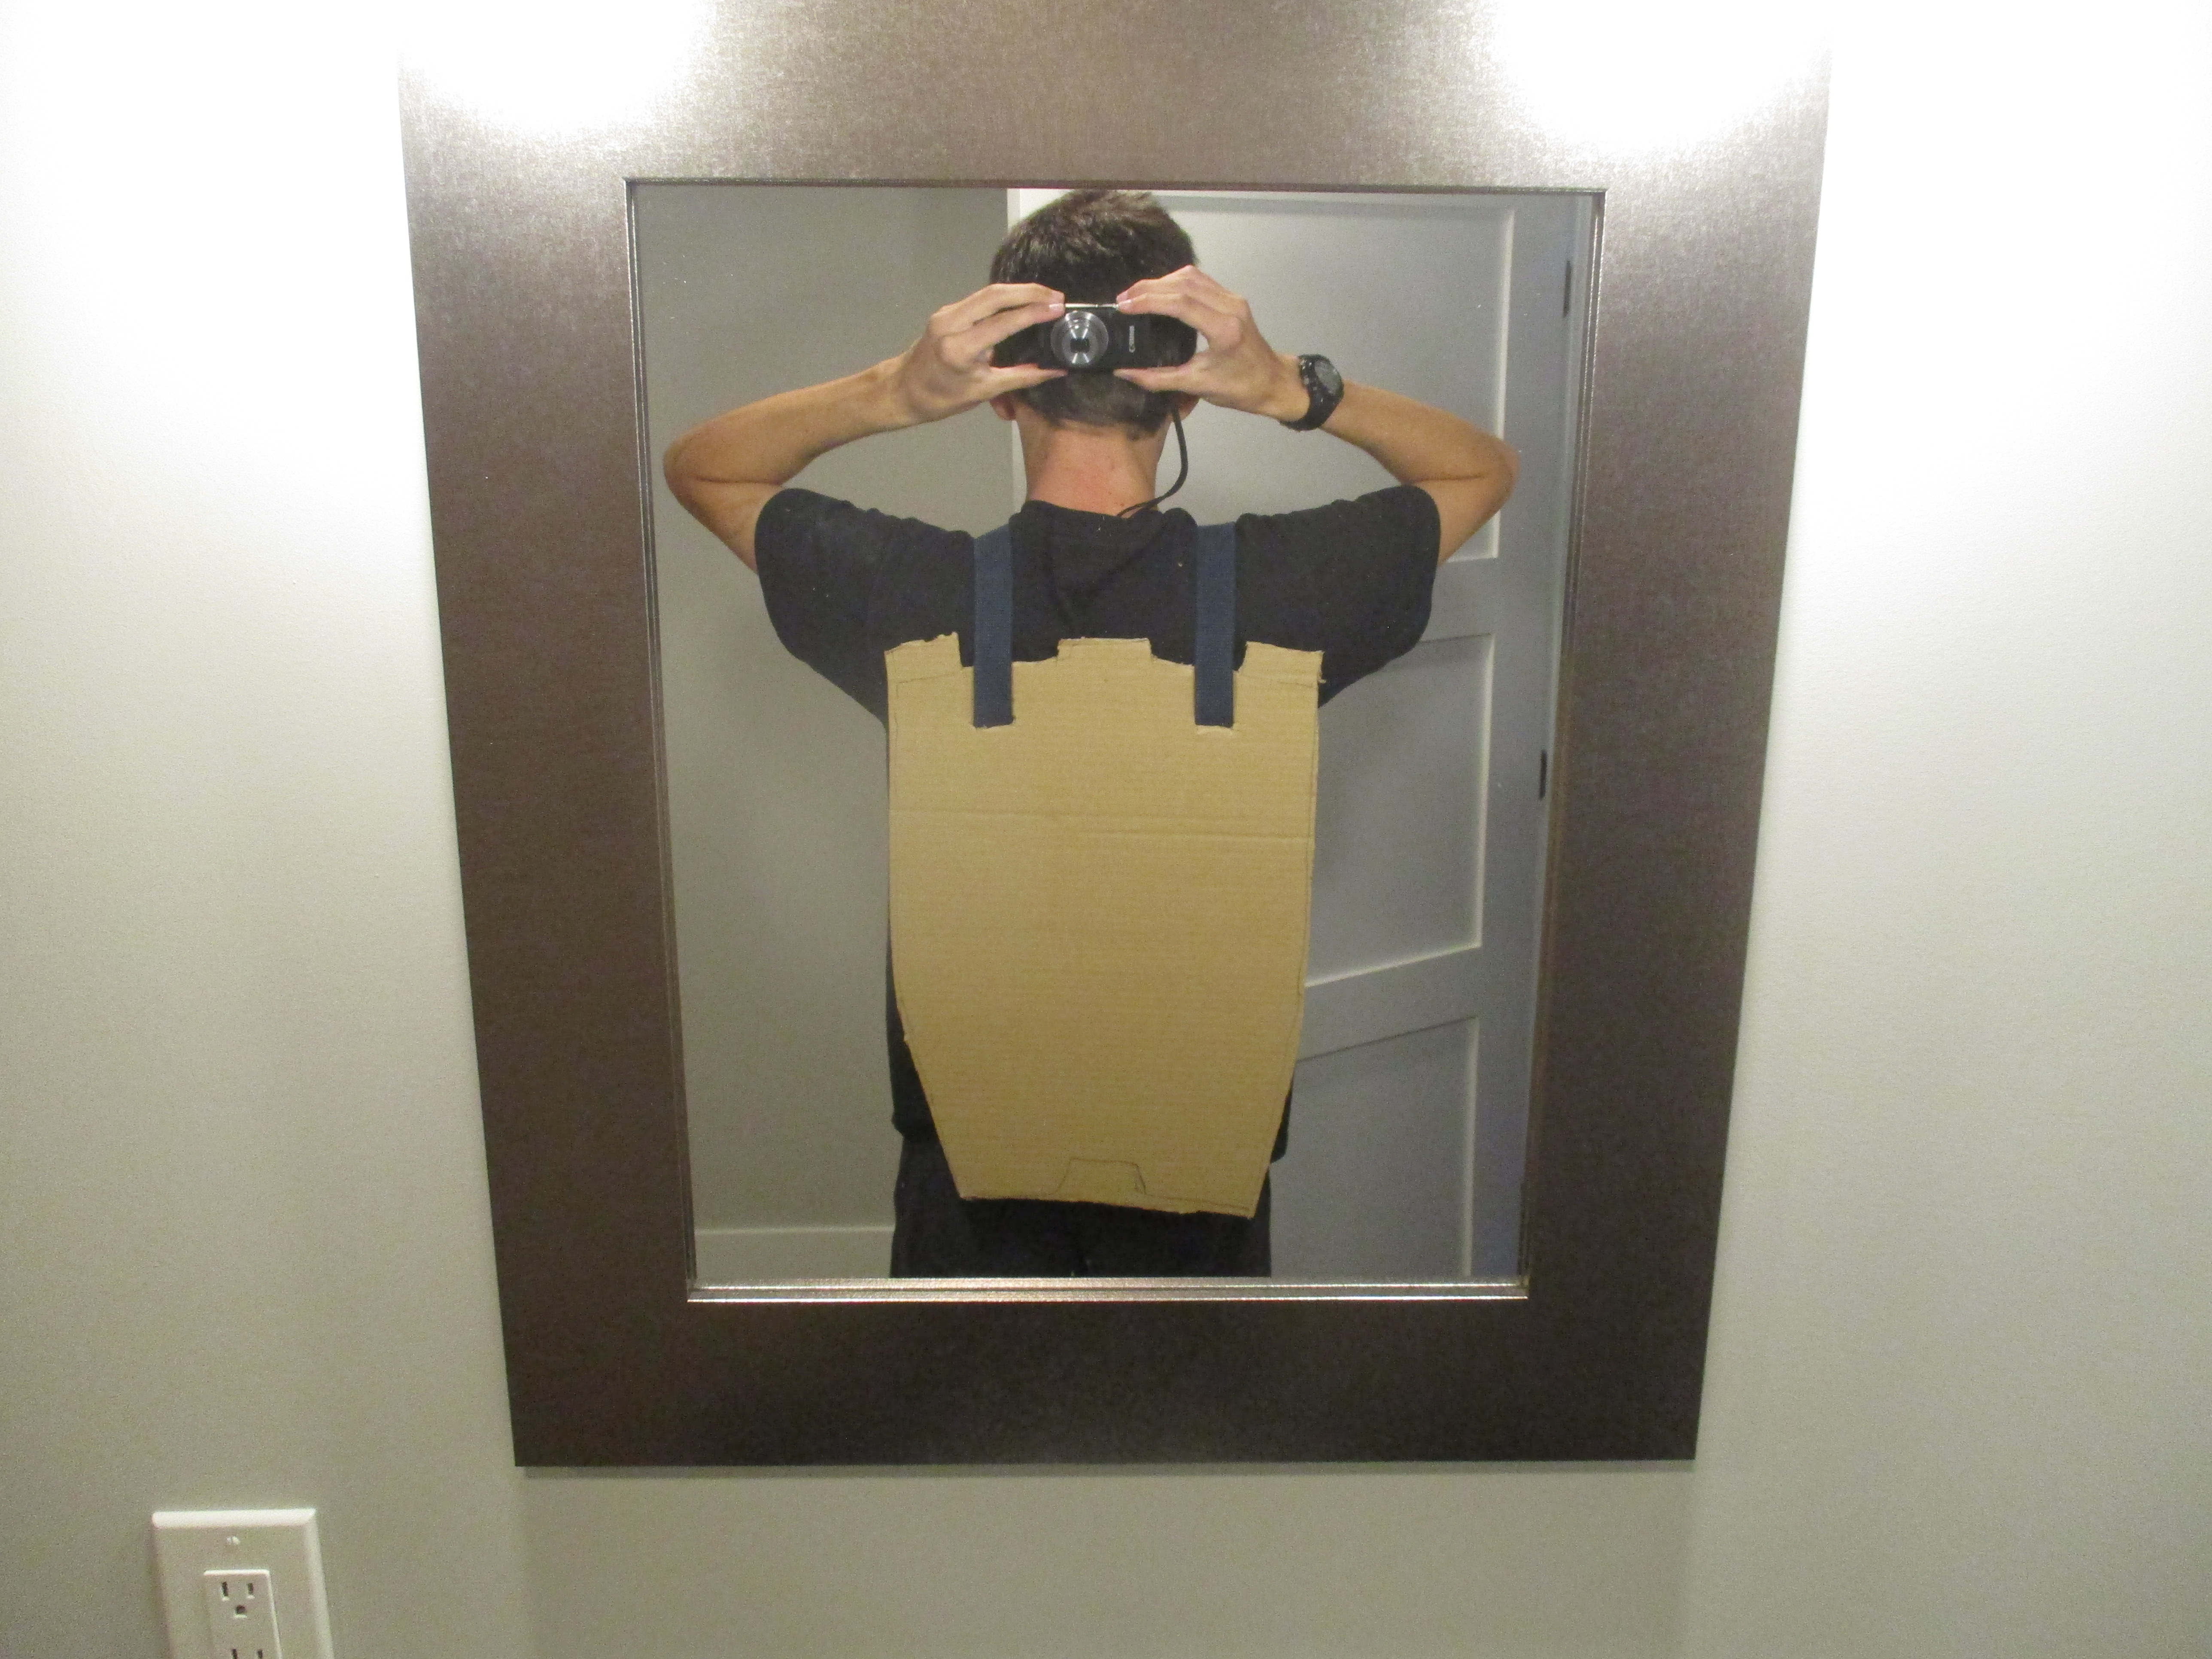
Not much to look at right now, but here it is. I plan on adding extra detail to the armor by adding on layers of cardboard of varying thickness. I also have a plastic helmet that won't be accurate, but might look good enough with a sharp paintjob and weathering. I might just buy a Sgt. cap and that would work too.

I hope to keep working on it and have progress to show you guys. I just started today.(y)


Looks good. I might suggest cutting it shorter, though. The length you have it at now will interfere with movement, and the loser of that argument will be the armor.

Looks good, though. Good tip I like to remember in life is this: take care of the small details as best you can, the big stuff will take care of itself.

Looking forward to seeing more of this


Yeah, that's a good point. I should be able cut it without messing anything up. I added some more details, but on the top part where it doesn't need cutting. I plan on posting updates later today. Thanks!
 
while I cant say anything about your armor yet as it is in the most basic of stages your drawing is just fantastic. excited to see how the armor develops, good luck!
 
Yeah I know the armor looks like... a hunk of cardboard right now. Thanks
while I cant say anything about your armor yet as it is in the most basic of stages your drawing is just fantastic. excited to see how the armor develops, good luck!

Thanks!
 
That was kind of weird. I only meant to say thanks, but the original message was still there. Oh well!
 
Well, I didn't do those updates I said I was planning on. Hopefully I will make more progress and have something to show for it soon.
 
Well, I didn't do those updates I said I was planning on. Hopefully I will make more progress and have something to show for it soon.

There's no rush on any build good sir. You're the only one cracking the whip for a personal build so don't feel like you have to blast updates onto the forum every day in a shotgun burst pattern. Take as much time as you need to get in the practice and learn how things work, always document your builds because then you have the opportunity to look back on them and see what works and what doesn't.
 
There's no rush on any build good sir. You're the only one cracking the whip for a personal build so don't feel like you have to blast updates onto the forum every day in a shotgun burst pattern. Take as much time as you need to get in the practice and learn how things work, always document your builds because then you have the opportunity to look back on them and see what works and what doesn't.

Right. Thanks, I just want to make sure I don't say "I'm going to post an update!" and then not follow through. Thanks for the support.:D
 
Alright. So I shortened the front armor plate, added a few layers of detail, and crafted the neck cowl. I'll have to figure out what I'm going to use to strap together the sides.
IMG_2342.JPG
IMG_2343.JPG
IMG_2344.JPG
IMG_2345.JPG
 
Not to try and discourage but I think the cardboards a good idea maybe to hash out scaling and test fitting. Now why don’t you see about getting a package of EVA foam mats and a cheapo breakaway box cutter knife. Then transfer those templates to foam? I think you’d really like the results. Do you have a Harbor Freight local?
 
Not to try and discourage but I think the cardboards a good idea maybe to hash out scaling and test fitting. Now why don’t you see about getting a package of EVA foam mats and a cheapo breakaway box cutter knife. Then transfer those templates to foam? I think you’d really like the results. Do you have a Harbor Freight local?

Yeah, that's not a bad idea. Right now, I'm just kind of doing this with the realization that it won't be great, but just so I can build something. I might complete it, and if I wanted to, I could go back and make a foam version. I ordered a Master Chief helmet (H4) and once that comes in, I plan on doing serious foam research, and try to start with that. I might have a harbor freight, but I'll have to check. Thanks for the advice!
 
I think this is a perfect opportunity for you to get some heavy foam experience. When you next have time to work on it, sit down, flip your browser over to youtube and watch EvilTed and Punished props academy videos. Do exactly what they do, except you already have your templates, which are your cardboard pieces, so all you need to do is practice keeping your knives sharp and cuts clean. Clean cuts make all the difference in the world, lemme tell you.

Watch what they do for sealing and painting and all that jazz. Evil Ted does/did costuming for Hollywood, apparently, and it's very interesting to see what he does. Both these channels make it look easy, but with some practice it's not hard.

After keeping your cuts clean in the foam, I super uber highly recommend practicing your seams. I was a little lazy with some of mine, and now I'm paying the price. Got them mostly figured out, but still working on some until I can finally afford to buy mod podge or something to seal it.... ANYWAY, work your seams very carefully and slowly, and you'll get it looking professional in no time.

EDIT: USE A RULER OR STRAIGHT EDGE!!!!! IT WILL BE WORTH IT!!!!

Pokémon cards are acceptable replacements for a straight edge. Source: New Zealand.

If you're using textured foam in layers do yourself a favour and help the contact adhesive by removing textures and allowing the most surface area possible to make contact.

Sean Anwalt don't waste money on Mod Podge, buy a gallon container of PVA glue for half the price of a much smaller container of Mod Podge and mix it in a 3:1 ratio of glue to water. All you're paying for really is the premixed convenience but might as well save a bunch of money and get way more goop.
 
Ahhhhh Mod Podge/PVA glue..... This is just my opinion on the stuff. its good for props and stuff that won't be handled too much. I would never use it on armour because PVA does not flex very well and will crack.

BINGO.

Going the PVA route is effectively doing a papier-mâché coat around your armour. Piñatas are made from papier-mâché and don't hold up too well to being hit with things.
 
I think this is a perfect opportunity for you to get some heavy foam experience. When you next have time to work on it, sit down, flip your browser over to youtube and watch EvilTed and Punished props academy videos. Do exactly what they do, except you already have your templates, which are your cardboard pieces, so all you need to do is practice keeping your knives sharp and cuts clean. Clean cuts make all the difference in the world, lemme tell you.

Watch what they do for sealing and painting and all that jazz. Evil Ted does/did costuming for Hollywood, apparently, and it's very interesting to see what he does. Both these channels make it look easy, but with some practice it's not hard.

After keeping your cuts clean in the foam, I super uber highly recommend practicing your seams. I was a little lazy with some of mine, and now I'm paying the price. Got them mostly figured out, but still working on some until I can finally afford to buy mod podge or something to seal it.... ANYWAY, work your seams very carefully and slowly, and you'll get it looking professional in no time.

EDIT: USE A RULER OR STRAIGHT EDGE!!!!! IT WILL BE WORTH IT!!!!

Yes! I've been watching a bit of punished props and it's a great resource. Just awhile ago I made a trip with my dad to the local harbor freight and I slapped down the dollars and knocked out most of what I needed, foam, knife, super glue, respirator, heat gun, clamps, etc. And I've got some barge coming in the mail.;) Not sure what direction I'll take this build in the future...
 
I just got my barge about five minutes ago via UPS! I carried it down to the basement, and said to myself: "Do you have it?" "Yes". "Say the words, please". "I have it". :p:lol:

800px-Halsey_n%27_Six.jpg
 
Status
Not open for further replies.
Back
Top