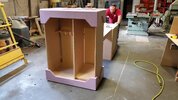
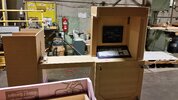
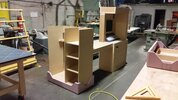
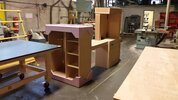
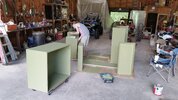
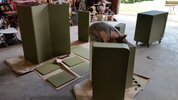
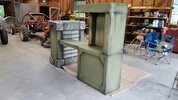
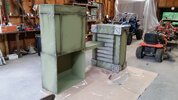
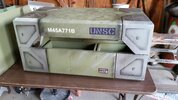
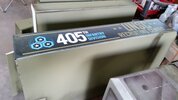
So I’m building an armory crate for Calgary expo in April. It’s gotta be collapsible for transport but also be solid to handle con goobers bumping into it and stuff. This is only technically half of the crate and designed to have 2 cases sitting back to back to make the full size crate.
Also will try to make this as easy to build as I can so it can be replicated.
wooden frame size should be 72" tall, 47 1/2" wide. the bulky panels on the side will likely be made of fibreglass and bolted onto the case.
Materials:
Wooden frame:
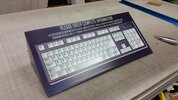
2 sheets of 5/8" mdf (cut list in the pic)
1 sheet 1/4" mdf backing board
20 bolts and 20 threaded inserts

Also will try to make this as easy to build as I can so it can be replicated.
wooden frame size should be 72" tall, 47 1/2" wide. the bulky panels on the side will likely be made of fibreglass and bolted onto the case.
Materials:
Wooden frame:
2 sheets of 5/8" mdf (cut list in the pic)
1 sheet 1/4" mdf backing board
20 bolts and 20 threaded inserts
Last edited: