elusch99
Member
Good info! Thanks Elusch... and yes, easily fixable at this stage")
Yep, happy to help. Details, details, and more details! Ah, the life of a costumer.
Good info! Thanks Elusch... and yes, easily fixable at this stage


well if anyone asks you killed a bunch of elites with it.
This looks awesome evakura! Keep it up!
Awesome build dude. Subbing to this thread of awesomeness!
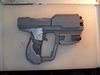
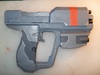
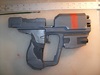
Did you spring load the slide? If not, you definitely should!! Then you get the "Cha-chick" motion of sliding it back and letting it go to snap forward.
Love the paint job, keep those updates coming!
Wow EVA that pistol looks amazing and I love the Spec Ops looking grey style looks a lot better then the silver would normally be.


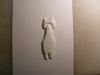
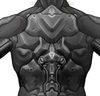
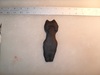 I am not making the undersuit. I am making the Exo-Suit. Not sure if there is a difference, but what the heck!


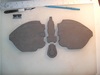
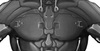
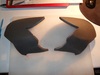
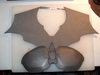


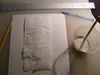
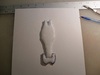
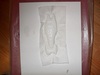
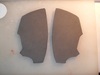
 This looks like it will be difficult, but I know I can replicate it pretty accurately. I will focus on the top center and work from there down.

 )
)

This is all freaking amazing. I wish I had your skills, EVA! Oh, btw I got my heater ordered!
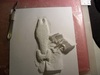
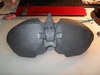
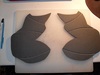
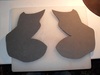
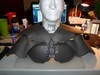
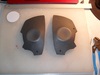
Great tip! I'm currently trying it out. What do you use to shape the foam? Looks terrific by the way.
Sent from my HTCONE using Tapatalk
Howdy Eva, just a few things,
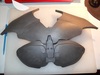
1: you are batman..
2: your build of armor and that binary rifle are pure amazing.
3: that undersuit is made of epic and awesome.
Hope your hands heal up soon mate, cos this set when its complete is going to be BOSS!! im subbing