Caprathia,
It does seem a bit smoother although there are still some in there. The biggest difference is it is way easier to cut with the hot knife, plus the princess side is smooth enough I didn't need to sand it when 'sandwiching' layers.
On to the Lancer!
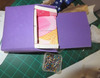
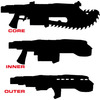
I basically started with a side view lineart drawing of the gun. I decided it needed to be 5 layers deep of the standard thickness floor mat foam (which I finally found) since the princess mats are only 11"x11" or so and I wanted the outside pieces to be continuous with no obvious seam. In Photoshop I duplicated this layer 3 times, shown here:

Basically the plan was to sandwich 5 layers together, with a single 'core' layer in the center, an 'inner' layer on either side of that, and the 'outer' layers outside those.
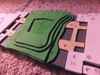
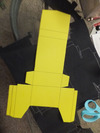
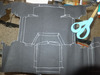
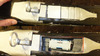
Here is the raw result, not yet glued together.

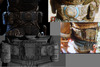
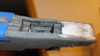
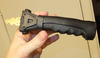
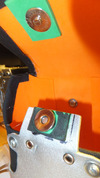
Here is my trigger in place. It doesn't do anything, but it is spring loaded and fun.

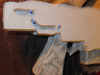
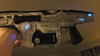
Here are lights in place. Sadly I have no pics of the mess of wire canals inside this thing, probably because it was just a pain to stuff them all in in first place that once I got the thing closed I glued it all shut.

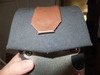
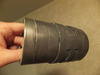
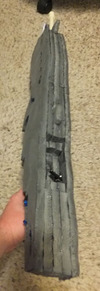
All together, here's the top view to see the layers.

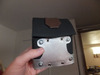
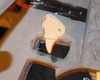
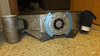
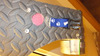
A shot of the battery compartment. Finished shots later. Also, I had to use some foam putty filler to smooth out the top, since somewhere in the pattern cutting-tracing-foam cutting process the pieces were slightly misaligned. This made my cover pieces lumpy so I tore them off and had to smooth the surface down.

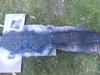
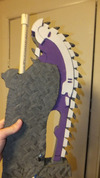
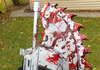
Started detailing the chainsaw part.

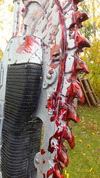
Fine detail of the forend (is that correct?) cover.

I added the clip holder bar thing after the fact.

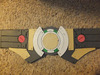
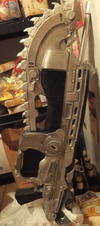
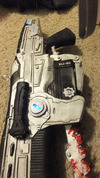
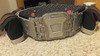
With most of the detail layers applied, various heights of foam plus a few other things here and there. Light covers are off at this point because I was smart this time and plastidipped/spray painted those pieces separately to glue them on later, allowing me to paint them fully without masking issues.

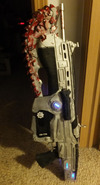
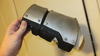
Plastidip time!

 sweet build I love gears of war also,and I'm surprised I missed this!