Dreadnaught
Jr Member
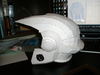
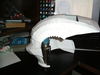
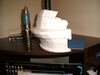
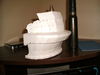
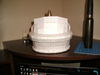
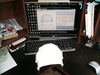
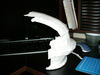
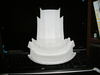
A few update pics. Not much assembly, but I'm out of stuff to assemble until I get more stuff cut. That pep cutting printer machine is looking like a good investment already, just in time savings, alone...
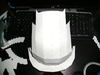
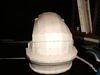
Well, so far, at least, it's looking like I've been able to compensate for my very poor X-acto trimming skills. I think I need to re-read the way to "un-glue" the tabs without screwing stuff up. I've been lucky, so far. When I have to pull stuff apart, I go as slowly as I can. So far, I have yet to damage anything due to that.
So, here we go...

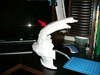
") You want to push through enough to go all the way through the paper, but not so much that you'll damage your cutting board and blade at the same time, which isn't that much force. At first i tried cutting through it like I would cut an orange peel, I guess, not going all the way through, which caused really ugly edges in my peps. Wasn't until later that I realized that was my best bet
You want to push through enough to go all the way through the paper, but not so much that you'll damage your cutting board and blade at the same time, which isn't that much force. At first i tried cutting through it like I would cut an orange peel, I guess, not going all the way through, which caused really ugly edges in my peps. Wasn't until later that I realized that was my best bet