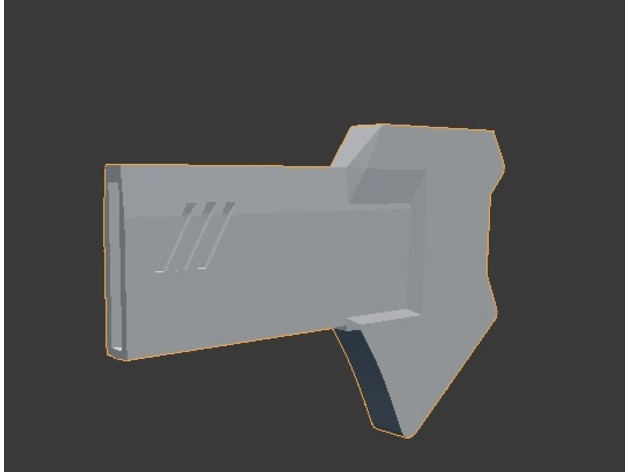
One more update, after countless hours reviewing the landfall trailers over and over, I've just modelled the butt-plate.
View attachment 269522
I'm still unhappy with it because it's basically built without an image to use for reference. A lot of it was just done by eye, measuring it to what I see in the trailer.
Maybe one day we'll get better light on the costumes ?

On a side note- I have tried to model the thighs as well, but because of the lack of good reference once again, I'm stuck.
I believe the thighs and the back-neck armor will be the most difficult to model in the coming days
*Update*
Finished another part.
It's the plastic detail (x4) that slides over the strap from the crotch plate and but plate to the side hip plates.
View attachment 269529
Once again, I'm displeased with this because it's not accurate. In the sense that there was absolutely no good reference and I had to free-hand it again.