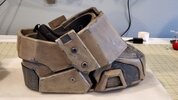
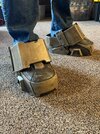
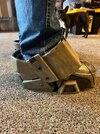
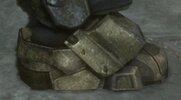
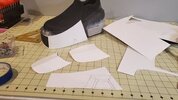
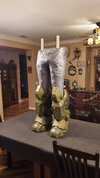
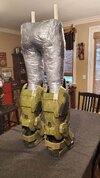
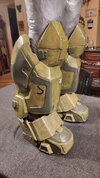
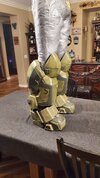
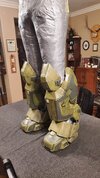
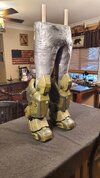
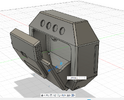
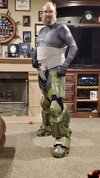
Jorge boots done!
Painting process:
- Base layer of black hexflex: https://tntcosplaysupply.com/product/hexflex-paint/
- Layer of gunmetal grey metallic paint by folkart @walmart
- Liquid mask for paint chipping in corners. [Note use heavy coats for easier removal] https://www.amazon.com/dp/B005P1ROEY?psc=1&ref=ppx_yo2ov_dt_b_product_details
- Airbrushed AppleBarrel acrylic paint Khaki: @walmart
- brushed on custom color of territorial beige, white, and hexflex black to come up with a brownish-grey color on the toe accents
- Removed the liquid mask
- Highlighted chipped areas with DecoArt gloss enamels - Shimmering Silver: @walmart
- Did a wash of ~1/3rd black hexflex, ~1/3rd brunt umber, and ~1/3 water over everything
- Drybrushed everything with khaki
- Sealed paint with DecoArt DuraClear matte varnish: https://www.amazon.com/gp/product/B003ULNCYC/ref=ppx_yo_dt_b_asin_title_o00_s00?ie=UTF8&psc=1
Lessons learned:
- NEVER USE RED/PURPLE SHARPIE to mark your parts. The Red in it will bleed through 10 layers of paint!!!!


- I might recommend adding some OD green to the Khaki to give it a little more green tint. I found AppleBarrel acrylic paint in English Ivy Green at Walmart that I am going to use on the OD green parts of the armor. It's a good enough match for me.
Update to the painting process:
1. Base coat with black hexflex inside and out
2. Art Deco Metallic Zinc on outside layer (great dark metallic color with a hint of blue to it)
3. Liquid mask on corners and high spots for chipping effect
4. Add base color. Although I was going for an OD green, I used 3 coats of khaki as the base color for the green areas) See step below for green wash
5. remove liquid mask
6. highlighted chipped areas with shiny silver metallic paint
7. Dirt wash with Burnt umber and Black
8. Clear Coat
9. green wash with English Ivy Green. I stippled areas to get a consistent coverage and wiped off high areas to brighten them up to add depth to the paint job.
10. final clear coat.