Spartan 0022
New Member
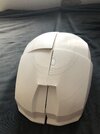
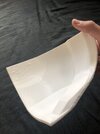
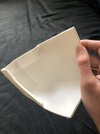
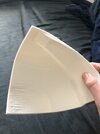
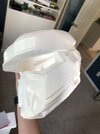
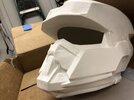
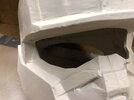
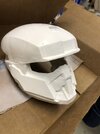
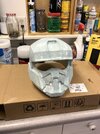
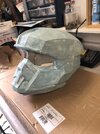
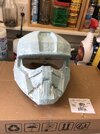
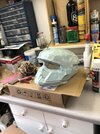
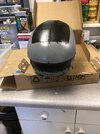
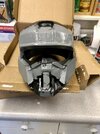
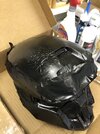
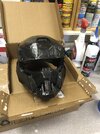
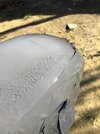
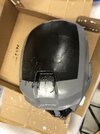
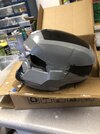
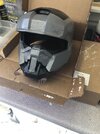
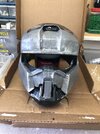
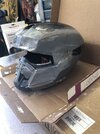
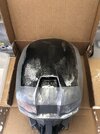
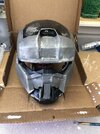
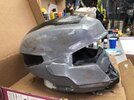
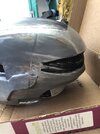
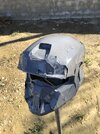
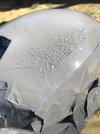
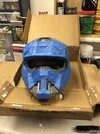
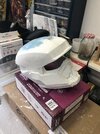
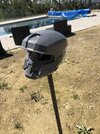
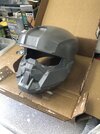
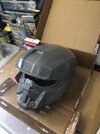
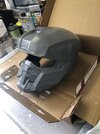
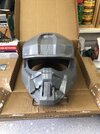
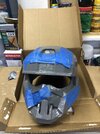
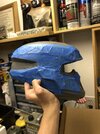
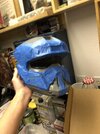
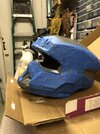
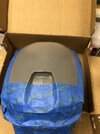
So I finally started to print my EOD helmet, and other than one crack that was remedied with a dab of super glue, the thing is turning out pretty well as far as I can tell. While I’m still a rookie with this whole 3d printing thing, I came to ask a few questions about later on.
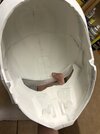
First off, what’s the best type of glue to use, and should I sand it after I glue? For paint, is acrylic and spray paint fine? Should I also paint the inside? And I have an airsoft shop near me that sells visors, could I get one of those and cut them? (Not safety related, just asking if it is possible and could work). Should I use only pads to hold it on my head, or a rope system like what firefighters and military helmets use, so it won’t bounce around?
Thank you!