Update time!
as I'm getting closer to finishing the foam work, I realize i'm still so far away, I'm looking towards the dipping stage soon, but I have a bigger challenge ahead of me. and then I'm dipping it all.
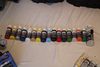
Lots o' Dip
And then! it's airbrush time!
And then, it's undersuit
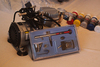
and the lights,
and the voice amplifier/speakers,
and my rifle,
and finally all the extra attachments!
I've got some things to do.
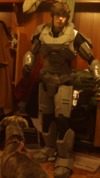
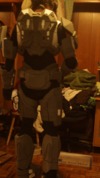
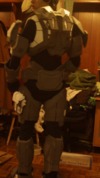
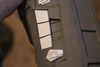
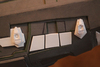
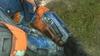
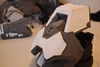
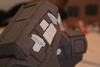
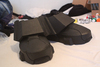
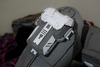
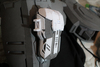
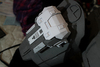
In the meantime, this is what I've gotten done since my last update. It consists of building my bicep to match the other. and the tactical hard case thigh attachment modeled and unfolded to foam by HaloGoddess. As well as the MK. V shoulder modeled by Ruze789 and unfolded for foam by L3X BLU3R1V3R.


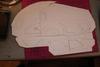
The MK.V shoulder


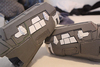
Tactical Hard case.


as I'm getting closer to finishing the foam work, I realize i'm still so far away, I'm looking towards the dipping stage soon, but I have a bigger challenge ahead of me. and then I'm dipping it all.
Lots o' Dip
And then! it's airbrush time!
And then, it's undersuit
and the lights,
and the voice amplifier/speakers,
and my rifle,
and finally all the extra attachments!
I've got some things to do.
In the meantime, this is what I've gotten done since my last update. It consists of building my bicep to match the other. and the tactical hard case thigh attachment modeled and unfolded to foam by HaloGoddess. As well as the MK. V shoulder modeled by Ruze789 and unfolded for foam by L3X BLU3R1V3R.


The MK.V shoulder


Tactical Hard case.


Last edited by a moderator:


")