Spartan214
Member
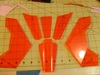
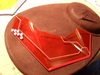
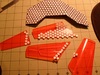
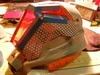
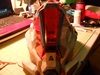
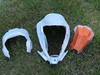
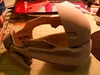
Oh man I'm so excited to see this visor coming together. I think it's something a lot of people have difficulty with at least in trying to make it more game accurate, but with that comes a lot of variation with techniques which is great. Are you planning on doing some type of mirrored effect on the visor? So that you can see out but other people can't see in?