- Member DIN
- S757
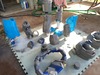
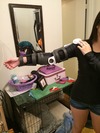
wow, you're progressing so quickly! That looks incredible!
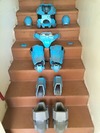
Looking righteous")
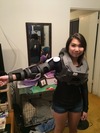
Well that looks absolutely spectacular (and not just the armour I'll shut up now).
But seriously, I disappear for a couple weeks and you've got the better half of a Kat build, and it's coming out stellar. You've still got a ways to go, but if you keep up like this it will come out spectacular.
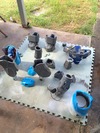
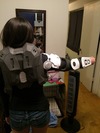
I want to wonder why I'm the only one considering a shoulder strap for their DMR, but I'm just an ODST, not a power-armour wearing supersoldier. We've got to hike around with that stuff, can't just mag-strap it to our backs.
.wow, you're progressing so quickly! That looks incredible!
.


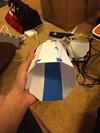


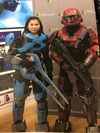
Just read through your thread, AMAZING work so far, I've been away for a long time, but I am super impressed by a lot of the talent around here, your scratchbuilding skills are inspiring and your build skills in general are top notch, can't wait to see more progress and more of your work over time
-Knight


looking great