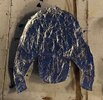
Actually had clear skies today! I got my sheet metal package in so I pulled out the resin helm and started doing a pattern. This is just like you see people doing for fabric patterns. I wrap foil around my positive form then start putting duct tape over it. The foil is so I can see where the features are in the resin helm. To make this one easier, it has some cuts. This will allow a couple things. First, it makes it really easy to get the helm features on the upper rear by overlapping the steel. Secondly, it makes it like a "belt buckle" so I can size the top as needed by pulling in the metal on the overlap. You can see where I left the aluminum uncovered by the tape along the ridge in the rear.
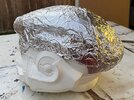
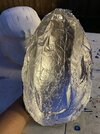
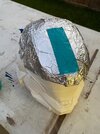
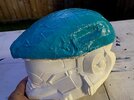
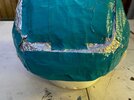
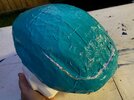
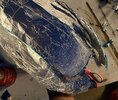
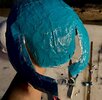
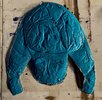
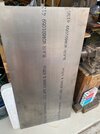
The top part of this one will be hot formed from 0.063" thick 4130 chrome moly steel. 16 ga steel will stretch quite a bit when dishing the curves in. The resin helm is about 15% too big already. To compensate for this, I'm going to cut a 3/4" wide strip out of the center of this in both X and Y directions. If I need to, I can always stretch the metal out a little more. That's the nice thing about steel!
How do you gauge where to trim, where to add more metal, where to remove sections? Well, that's just something you have to learn over time, and it's different for every type of alloy and every thickness. Like I said though, hot working steel allows to to adjust things where you need. I can't do that with aluminum. Once heat treated, this helm top could probably stop a glancing bullet, so upkeep over time will only amount to paint touch up.
Tomorrow I'll weld up the front lower portion and do a pattern for the rear section. Then you'll see more on how to size steel armor and why I choose certain lines for sectioning this into segments.