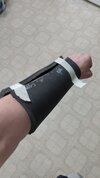
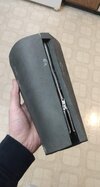
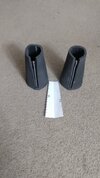
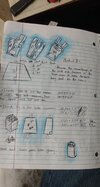
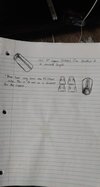
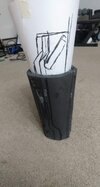
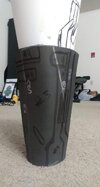
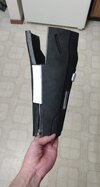
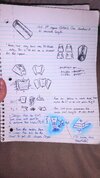
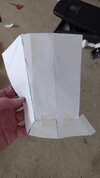
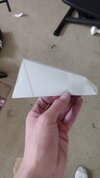
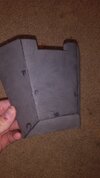
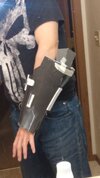
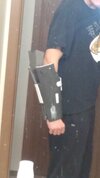
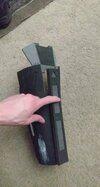
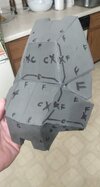
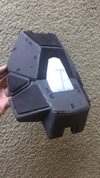
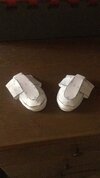
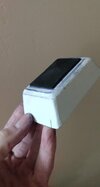
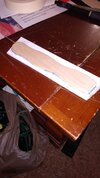
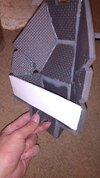
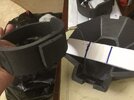
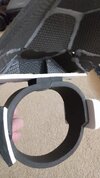
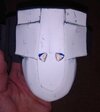
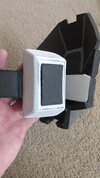
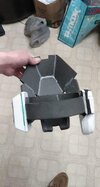
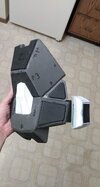
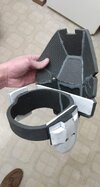
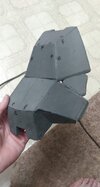
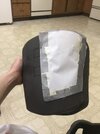
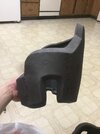
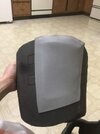
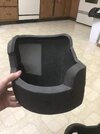
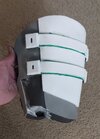
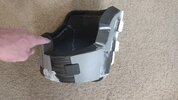
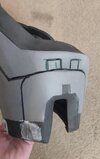
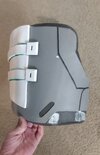
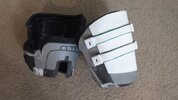
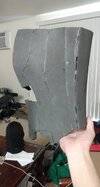
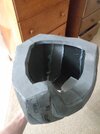
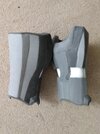
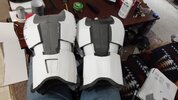
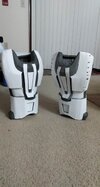
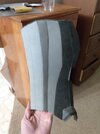
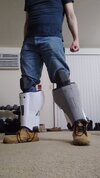
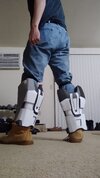
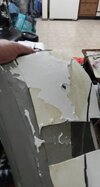
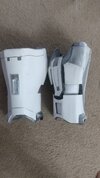
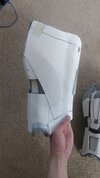
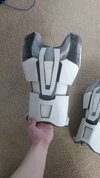
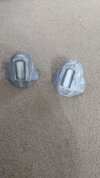
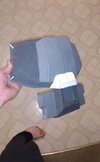
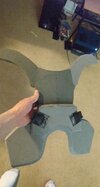
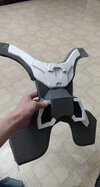
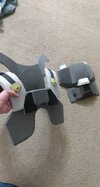
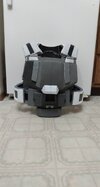
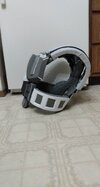
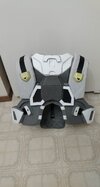
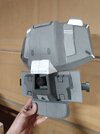
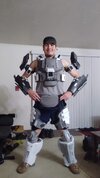
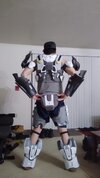
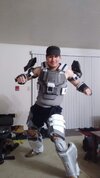
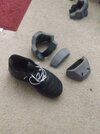
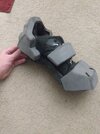
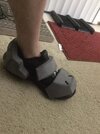
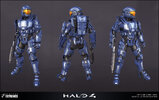
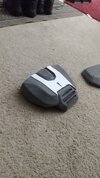
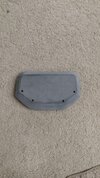
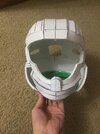
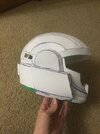
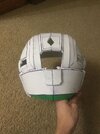
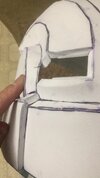
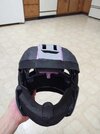
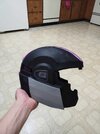
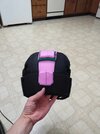
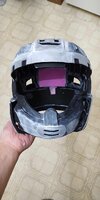
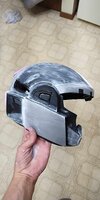
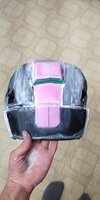
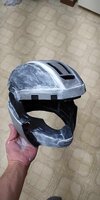
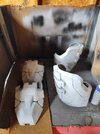
It has been quite some time since I last posted anything here. Even longer since I showed any progress toward anything. But right now I'm going to do my best once more to compile and show my logs and data of what I'm doing to build my next ODST suit. This time I'm going for the one in the Halo 4 game. Haven't seen much love for this type of armor.
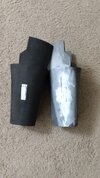
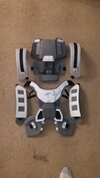
Not to mention that since I built it last time it was fragile and weak as can be. But this front torso piece not only has some actual weight to it but is also sturdy as a rock. MUCH better than my MKII. Here's what I got so far for the rest of the suit:
View attachment 319158 View attachment 319159 View attachment 319160 View attachment 319162 View attachment 319165
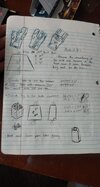
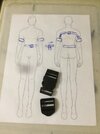
For the overall concept:
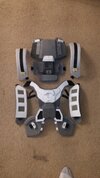
Since armor builds like this require a lot of space to pack and transport, I've decided to try and break this build into several different parts:
- Front Torso.
- Shoulder Straps.
- Side Straps.
- Back Torso.
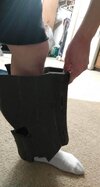
The collar that is usually worn by them WILL be an optional thing to include. Though and AM doing some planning to implement it for the build. Maybe I'll separate it into half's: one for the front, one for the back, and create a locking device for them to meet at the sides. As for the build so far, it's going along super smoothly. Kinda wishing that the chest piece was a bit smaller so I can reach my arm forward but I've noticed this problem with any cosplayer who does an ODST build, so I'm not alone there.
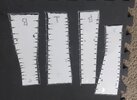
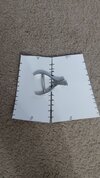
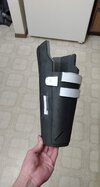
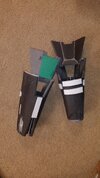
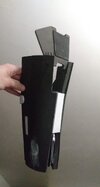
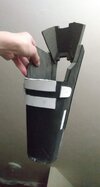
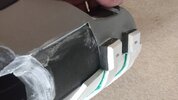
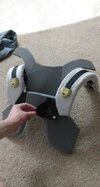
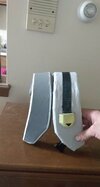
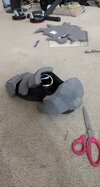
I've made the shoulder strap solid because I'll be covering it in a fabric of sorts and gluing on a black nylon strap to the top. Make it a bit more authentic. The white strips you see along the shoulder strap is of 5mm foam I got from Hobby Lobby. I've noticed that in most builds that these are crucial and VERY important in understanding the placement of a part. Especially if they have an edge ID on them.
So I cut them in 5mm strips for that spacial purpose. I cut the larger pieces in an inward cut so the strips can be easily cut and glued on since they were very small. I DID mess up on the buckle placement on the shoulder placement and strap though.
I didn't have enough surface space to place the shoulder strap on and only had the cut edges. If I had continued with this then the shoulder area would've been weak to withstand the tension. So I cut out a piece of scrap foam that would be covered by the strap and glued on the extra surface. This made it much easier to plan on more ways for the strap to not only use the buckle to be attached, but also use other means for a more secure placement.
View attachment 319168 View attachment 319165 View attachment 319170
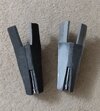
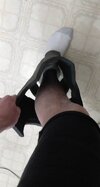
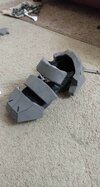
The buckle placement on the strap was another failure but was recovered with quick thinking. I honestly thought that two buckles would do the job for a more secure fit but failed to realize that there would be no room for my fingers to detach them. So I had to use scrap foam and reglue the sides. And instead only hot glued one buckle instead of two.
View attachment 319169 View attachment 319167View attachment 319162
Note: I used a LOT more hot glue to make sure this piece was not going anywhere.
I'll post more pics of the what I'm aiming to achieve, what my plans are, and how the progress is going in the future.

