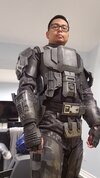
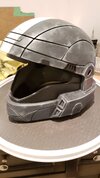
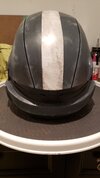
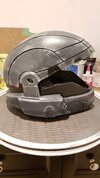
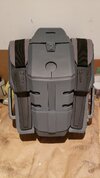
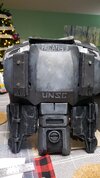
The paint hides all my crimes.It's all so clean! Amazing
You are using an out of date browser. It may not display this or other websites correctly.
You should upgrade or use an alternative browser.
You should upgrade or use an alternative browser.
Foam ODST: Version 1 was okay. Now for Version 2
- Thread starter PaiganBoi
- Start date
- Status
- Not open for further replies.
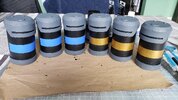
Update time: base colours are done on all the armour. Little sample below.
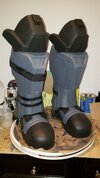
Will be moving on to painting camo pattern on thighs and bracers and then blackwash to darken the grey a notch. Then weathering after that.
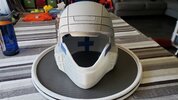
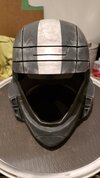
Also, I have now a bucket. I had commissioned a 3d printed one. I have already assembled it and will begin sanding... At some point.

Will be moving on to painting camo pattern on thighs and bracers and then blackwash to darken the grey a notch. Then weathering after that.

Also, I have now a bucket. I had commissioned a 3d printed one. I have already assembled it and will begin sanding... At some point.
Visor is dyed and chromed. My first one cracked cuz I was a little carless with it.
I applied Alclad II Lacquer with an airbrush on the inside of the visor.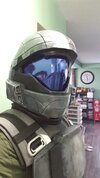
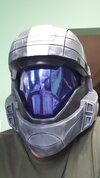
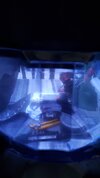
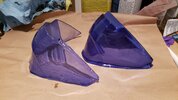
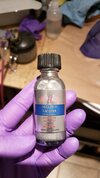
ODST armour is now con ready.
I still plan on submitting this suit for Deployment. In order to do that, decals are needed, flash bangs (assembled) need paint and the rucksack needs to be made.
I applied Alclad II Lacquer with an airbrush on the inside of the visor.


ODST armour is now con ready.
I still plan on submitting this suit for Deployment. In order to do that, decals are needed, flash bangs (assembled) need paint and the rucksack needs to be made.
jegatherdomnai
Member
that looks like it has great vision! nice job.
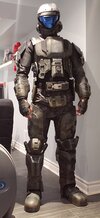
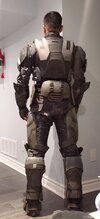
It's done! For now.
Wore it to FanExpo Toronto.


2nd pic has been edited a bit by the photographer who took it.
Version 2 of my ODST armour rebuild came out a lot better than I expected.
Will take a break from it for a bit and then come back to it to get it ready for Deployment.
Wore it to FanExpo Toronto.
2nd pic has been edited a bit by the photographer who took it.
Version 2 of my ODST armour rebuild came out a lot better than I expected.
Will take a break from it for a bit and then come back to it to get it ready for Deployment.
DRKE115
New Member
Yeah I just "finished" my odst costume (gen 4 ish), and all except the helmet (which i shamelessly got off of etsy) just doesn't work or looks iffy. Unfortunately that's what I get when I work with mostly cardboard.Okay ladies and gents. I am finally starting my first suit of armour in the Halo universe. As the title says, my suit of choice is the ODST made with EVA foam. I will eventually start posting pics of my progress. I have nothing as of yet because I am still in the process of scaling and cutting my templates for the shin/boot. I am hoping that I scaled it right and all turns out well. I don't want to put myself in a situation where a lot of work has been done, only to realize that the part doesn't fit. *ahem* Dirtdives *cough*
Wish me luck.
TylerBH2014
Active Member
Man, that suit looks killer!
Alright. Bring this thread back to life... again. I have begun to work on the rucksack. Thank you ODCA for the unfold.
I did something a little different this time. I made a cardboard version first before I proceeded with foam.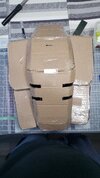
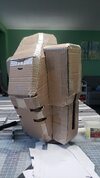
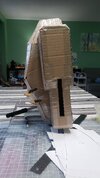
I was pleased with it so I went ahead and started foamsmithing.
It's been slow going. I have been under the weather recently so I haven't had much of a chance to work on it. I am also taking my time on it to make to the best of my abilities.
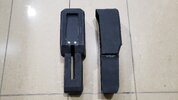
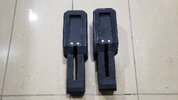
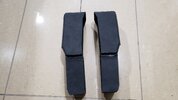
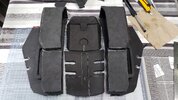
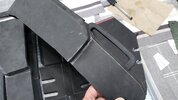
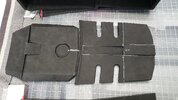
More to come.
I did something a little different this time. I made a cardboard version first before I proceeded with foam.


I was pleased with it so I went ahead and started foamsmithing.
It's been slow going. I have been under the weather recently so I haven't had much of a chance to work on it. I am also taking my time on it to make to the best of my abilities.


More to come.
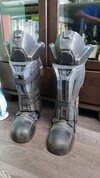
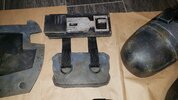
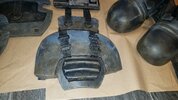
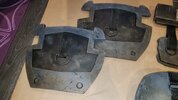
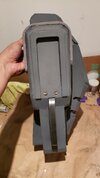
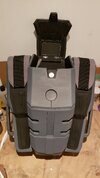
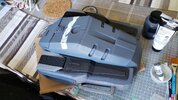
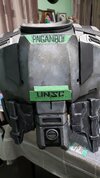
Another long overdue update post photo dump. So... Rucksack weathering, is done. Also rucksack attachment method? MAGNETS!! A total of 16rare earth magnets were used. 8 on the inside of the body armour and 8 on the rucksack. The hold is very good. It survived all the nudging and shoving at FanExpo Toronto this year.
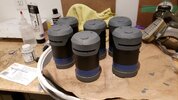
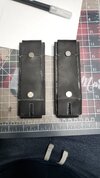
One thing I realised... I forgot the buckles that are on the ruck. Buggers. Those will have to be added later down the road. Flashbangs have been attached to hip plates. I made a little rig that they velcro to.
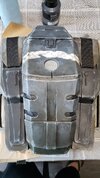
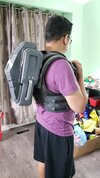
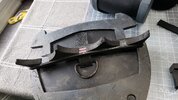
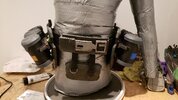
One thing I realised... I forgot the buckles that are on the ruck. Buggers. Those will have to be added later down the road. Flashbangs have been attached to hip plates. I made a little rig that they velcro to.


Last edited:
Another long overdue update post photo dump. So... Rucksack weathering, is done. Also rucksack attachment method? MAGNETS!! A total of 8 rare earth magnets were used. 4 on the inside of the body armour and 4 on the rucksack. The hold is very good. It survived all the nudging and shoving at FanExpo Toronto this year.
One thing I realised... I forgot the buckles that are on the ruck. Buggers. Those will have to be added later down the road. Flashbangs have been attached to hip plates. I made a little rig that they velcro to.
View attachment 323023View attachment 323024View attachment 323025View attachment 323026
One thing I realised... I forgot the buckles that are on the ruck. Buggers. Those will have to be added later down the road. Flashbangs have been attached to hip plates. I made a little rig that they velcro to.
View attachment 323023View attachment 323024View attachment 323025View attachment 323026
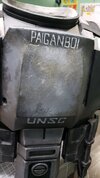
It's pretty simple honestly.The weathering on your chest piece is outstanding. Looks straight off the Rookie model. Can you share a little about your technique?
Useing a photo of the Rookie, I just build up layers. Start off with a black wash. Apply watered down black paint and dab off areas that don't need to be too dark. When dry repeat to make some areas look darker.
After that move to a brown wash to dirty it up a bit. Same process as the black wash. Apply wash and dab off.
Last step is a dry brush with a light grey to get a scratched/scuffed up look.
- Status
- Not open for further replies.
Similar threads
- Replies
- 5
- Views
- 362

