(Wanted to give something back to this community and create a tutorial on how I was able to create a visor buck which can be vacummed formed. This took a load off trial and error but this is the easiest I have found to do but anyone else who has found an easier way is more then welcome to add to this.)
As some may have seen from my most recent helmet build I created a visor buck to allow me to vaccum form a clear visor for my helmet. This used a visor model designed for the helmet but was was not designed to be vaccum formed so I needed to make a base. Now a base could be made from other material after printing but I wanted a buck I could just print then immediately vacuum form.
This started me on a journey to use my amatuer modeling skills to find a way to do so. As mentioned this took a number of attempts to get right and its not perfect for all visors so trial and error is needed for each visor.
Software used:

Now use the select option and highlight everywhere that is not the front surface of the visor and delete them.
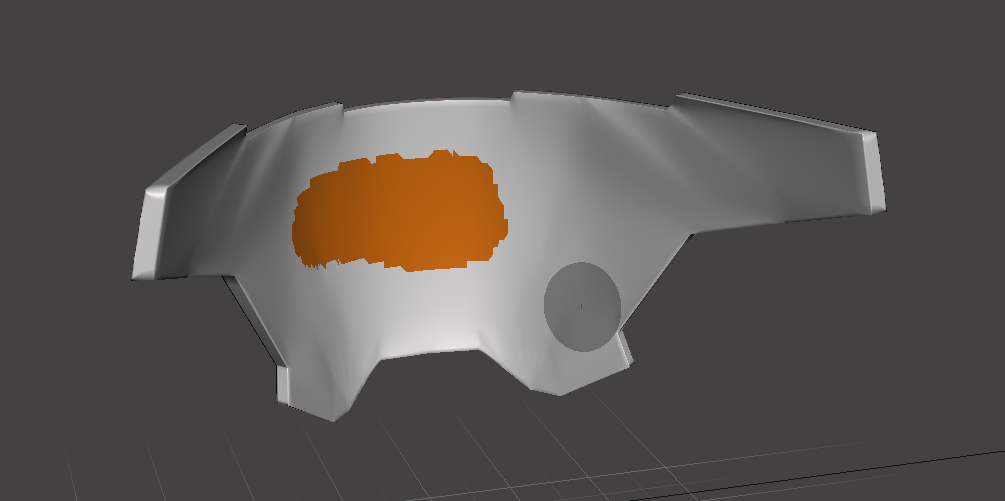
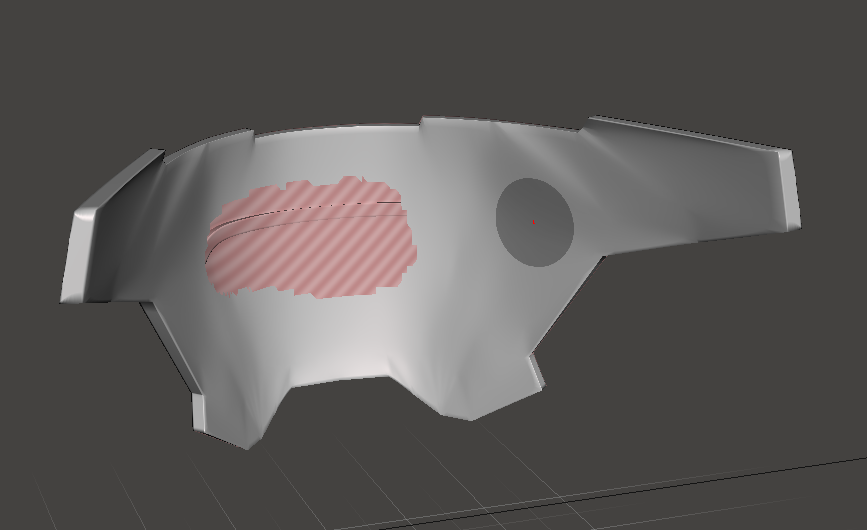
You should have something like below left.
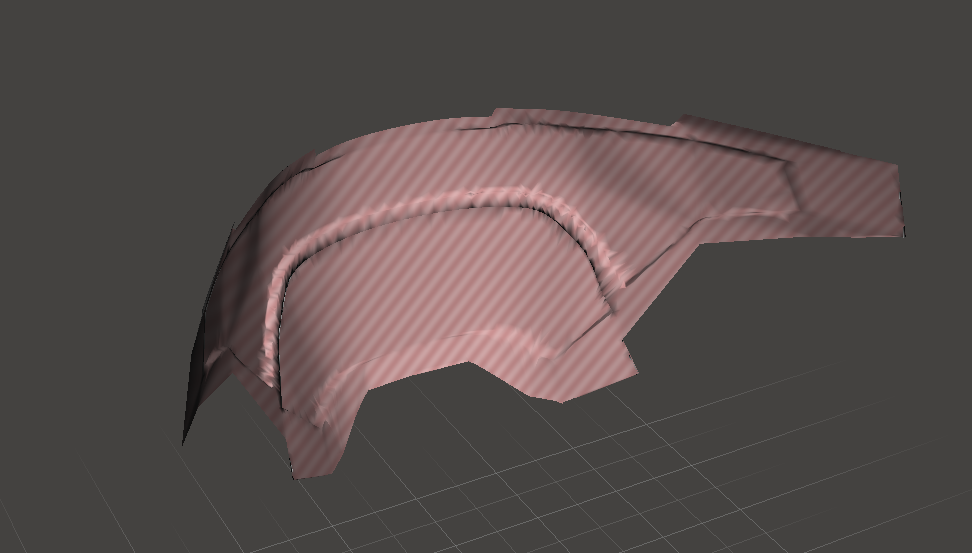
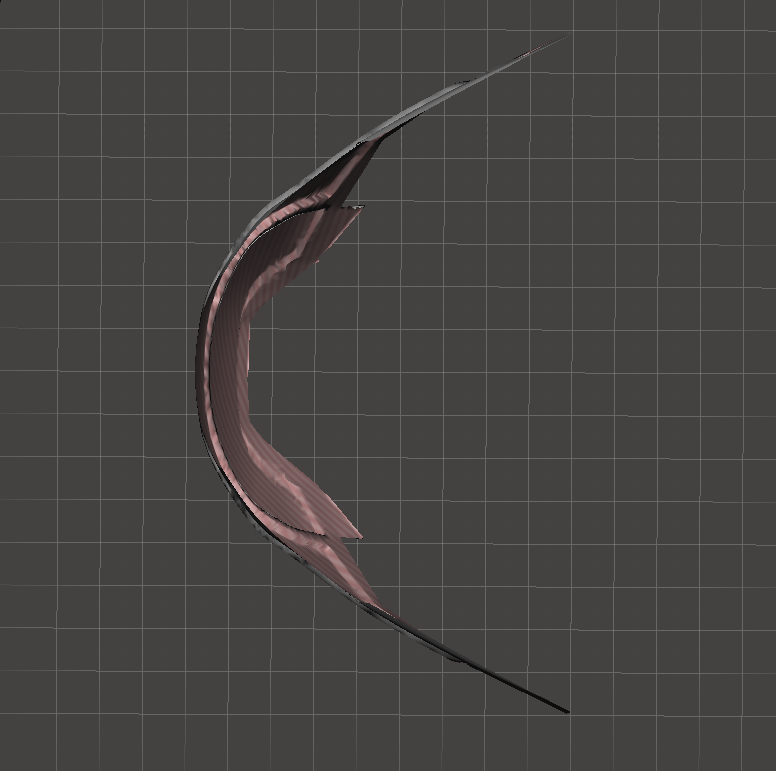
Next is to export this and import it into Fusion 360.
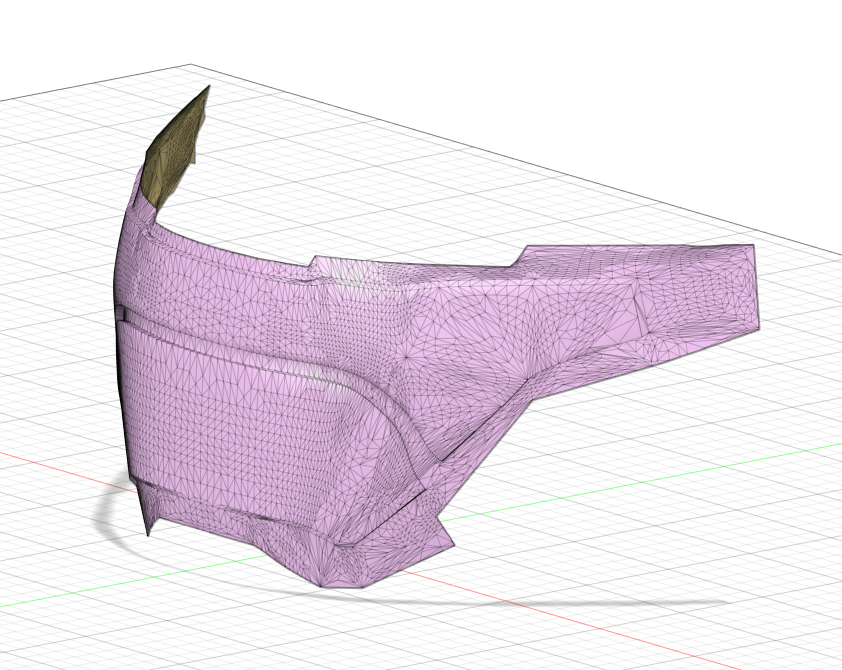
This must be converted from a mesh into a BRep. (Capture history needs to be turned of to allow this)
(This is where ReCap may be needed as a model with to much facets can't be converted and needs to be reduced)
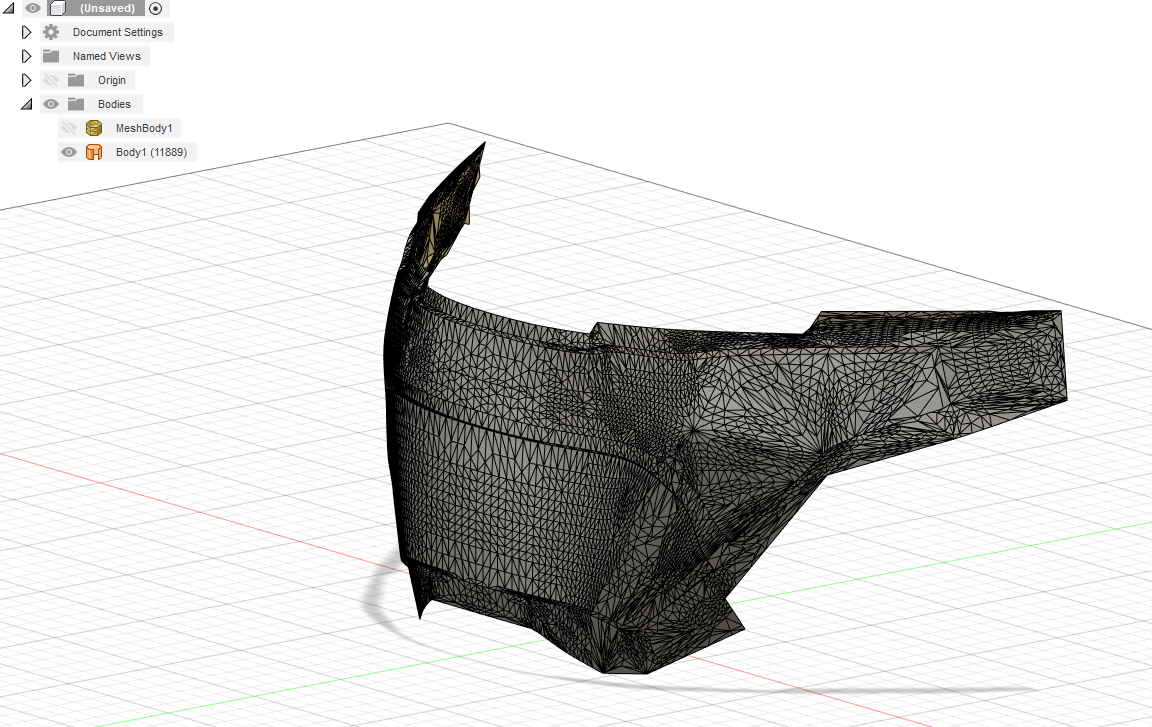
Now create a offset plane behind the model and make it larger than the model and position it a few millimeters behind it.
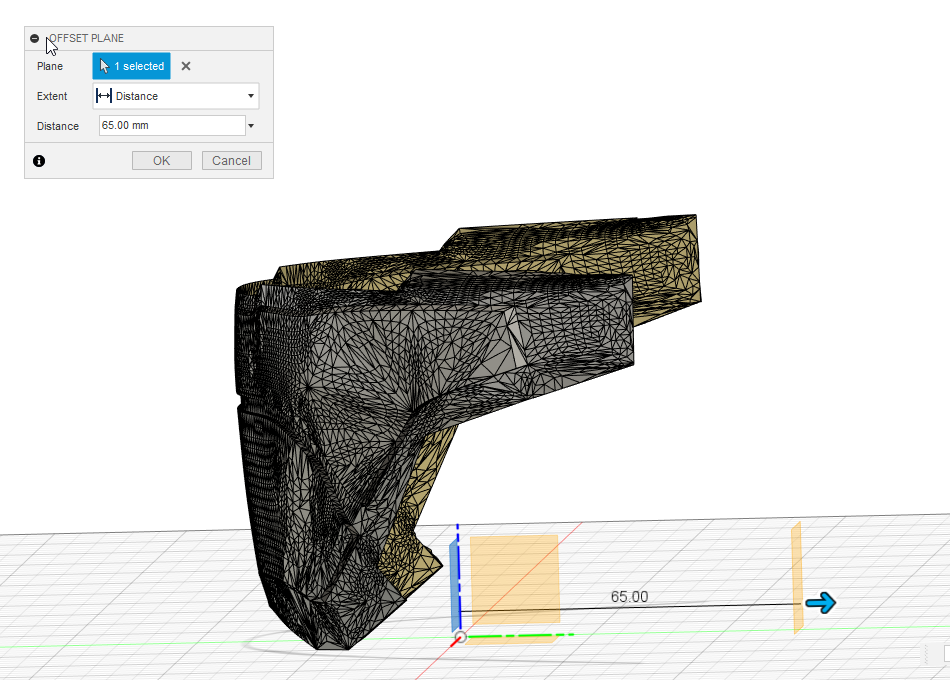
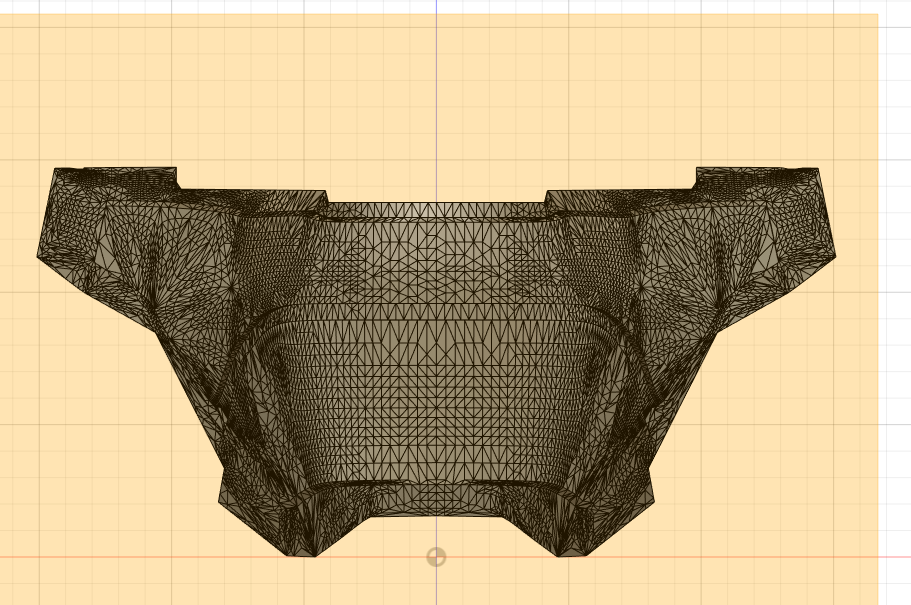
Once that is placed start a sketch on it for the front view like shown above and select the project option in the "create" tab and select the visor.
This will create an outline of it from the current point of view.

The sketch created can be edited to join up any parts that were missed like shown above. This will then allow it to be extruded.
When using the extrude tool use the "Join" operation and change the "Extend" option to "To Object" and select the visor.
This should extrude the sketch to the full curve of the visor.
(This be difficult to get right and sometimes only extrudes to a certain point so a few attempts are needed to select the right part of the visor)
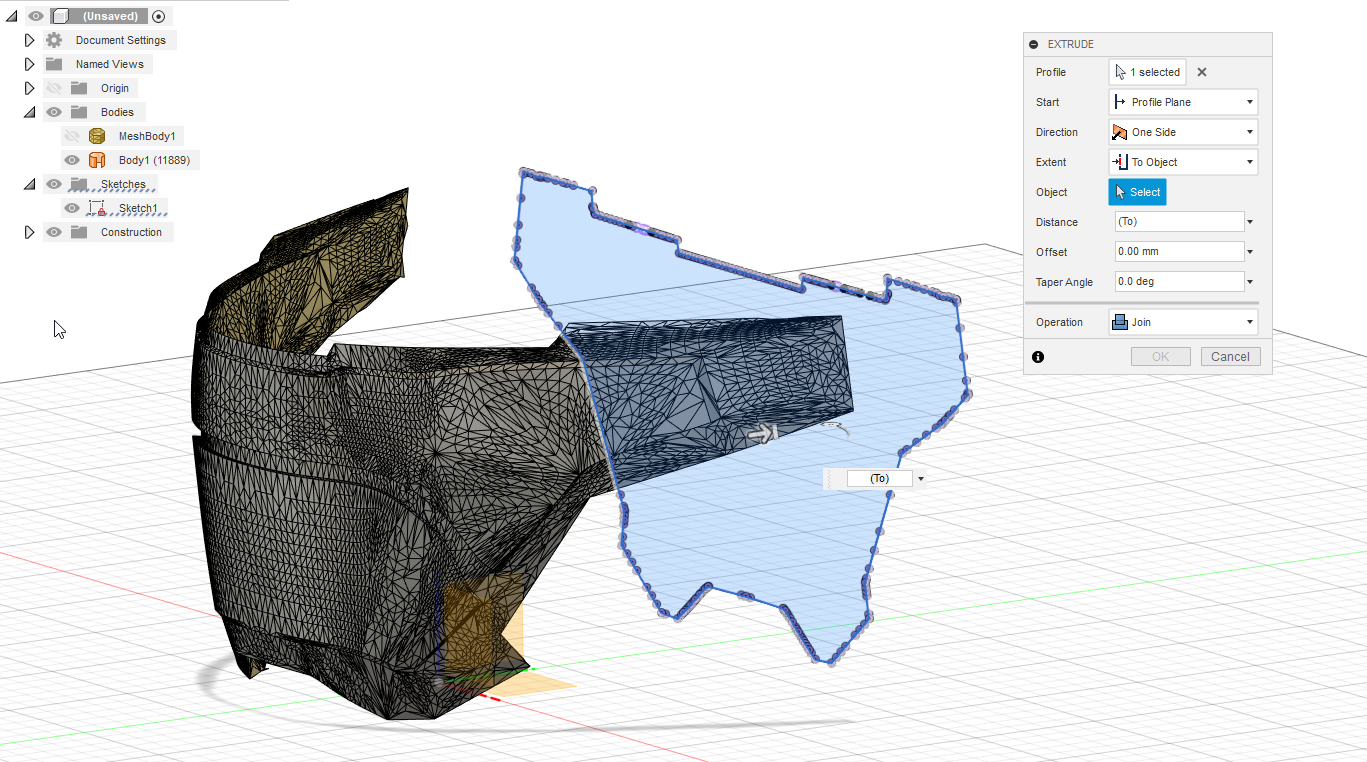
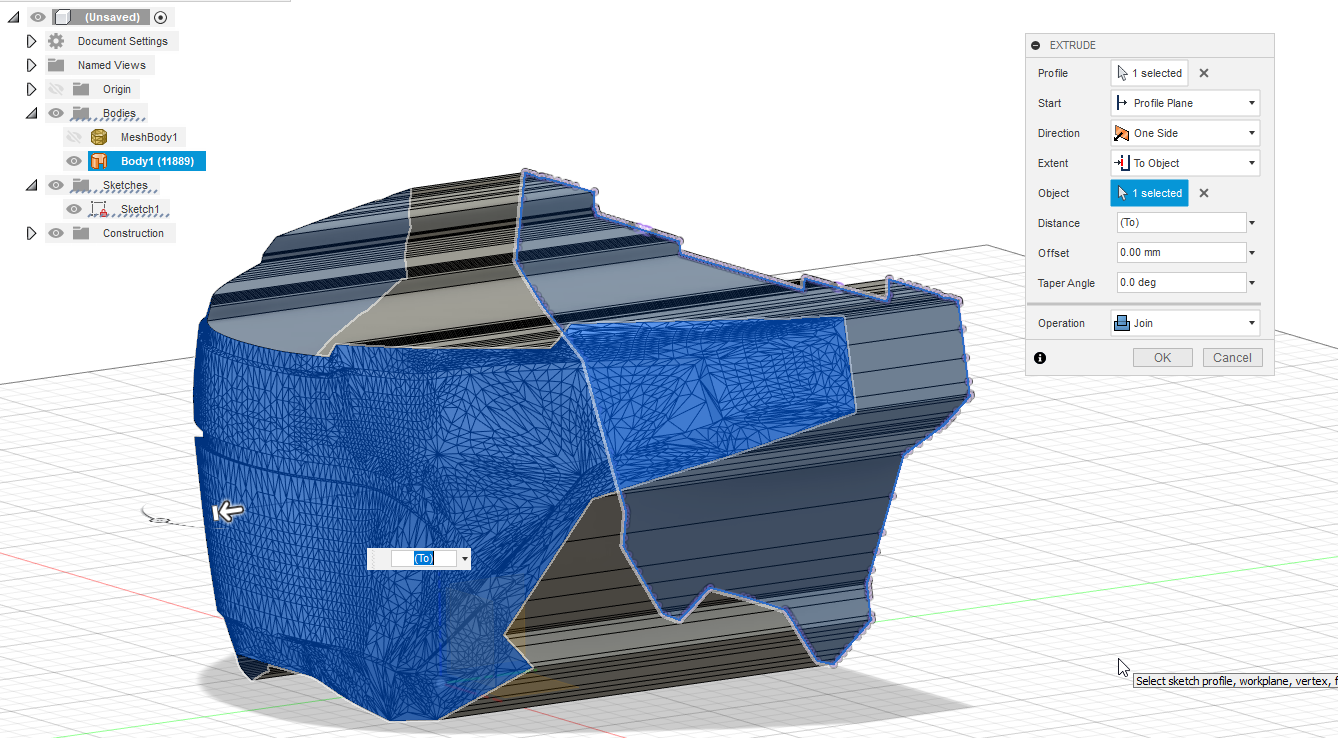
If the extrude works you should now have a visor buck which can now be printed once its extracted as an STL.
(I sliced an angle into mine after I placed it into the slicer so the visor portion is printed smoother with a higher layer count.)
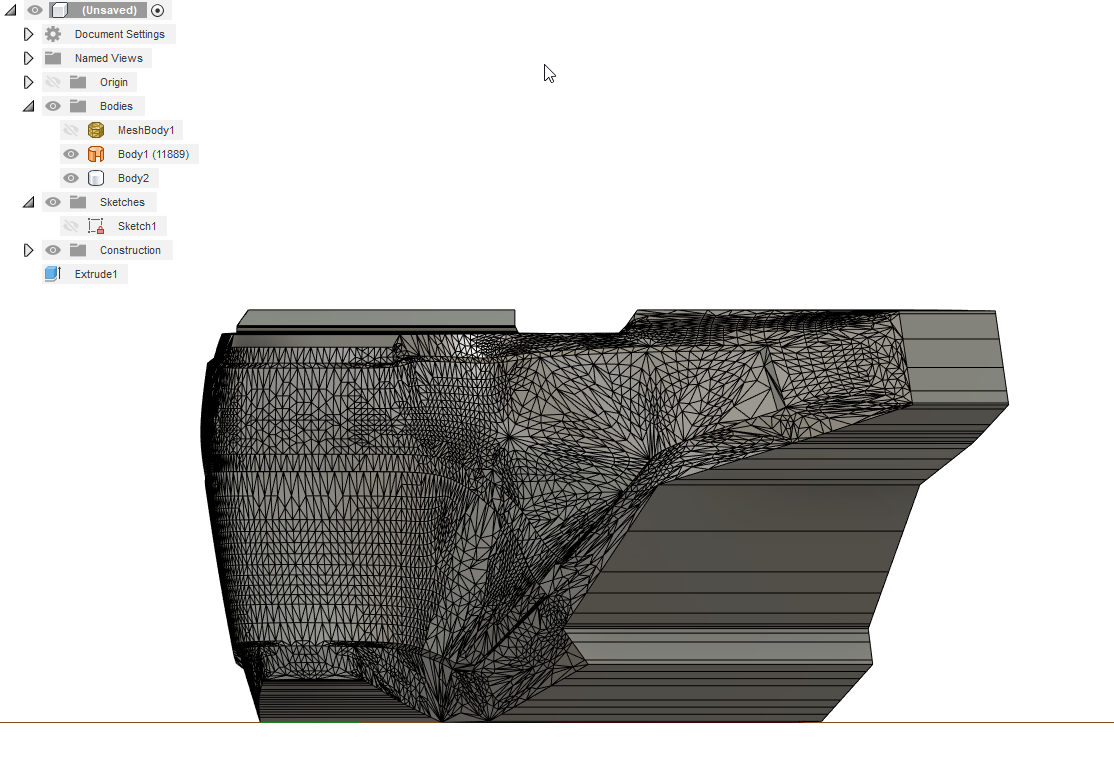
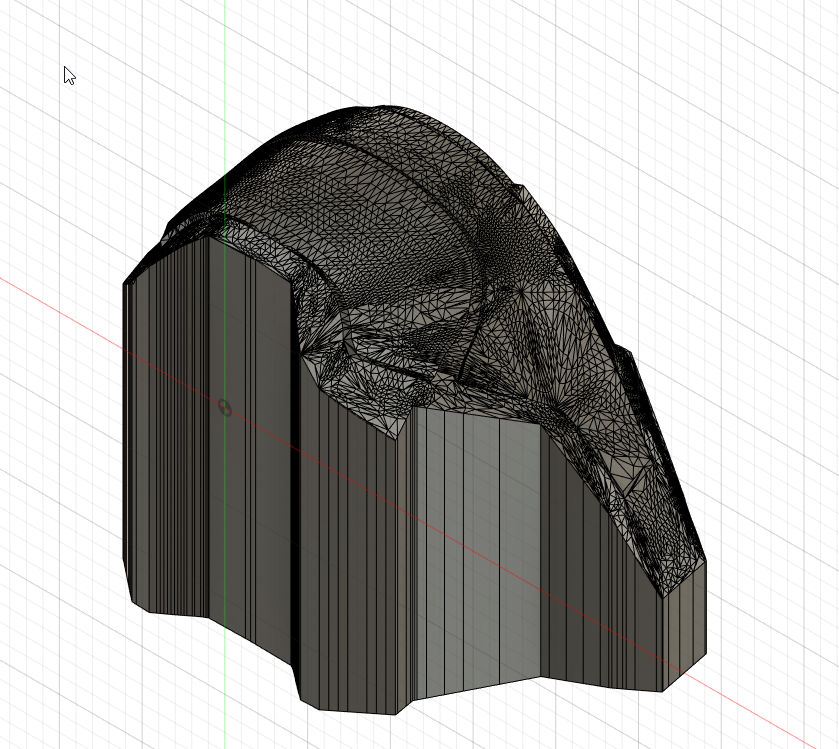
Below is the buck printed and sanded.
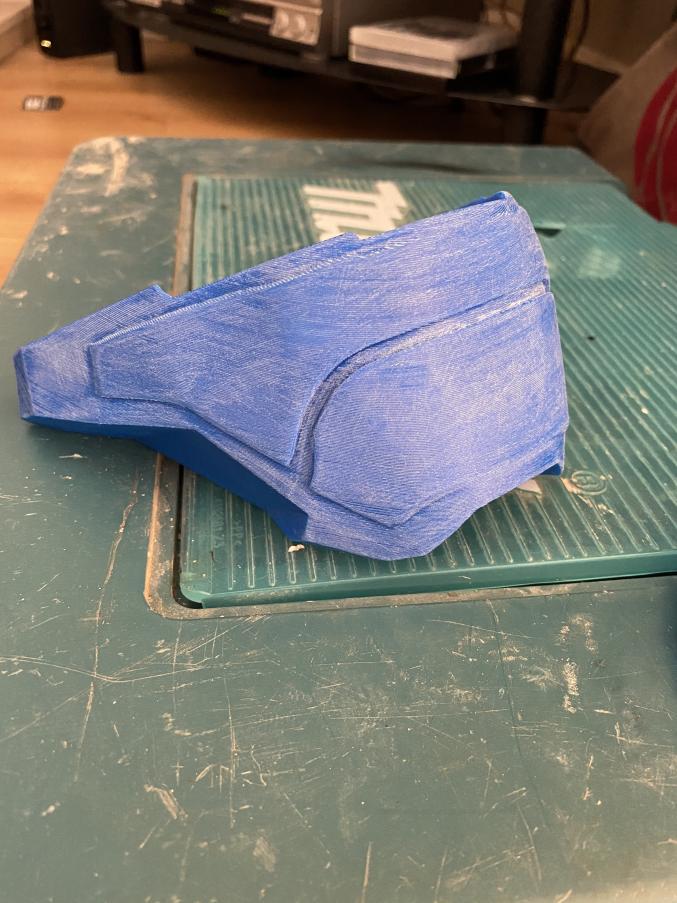
I hope this was able to help people and please add to this if you have a better way to do this.
As some may have seen from my most recent helmet build I created a visor buck to allow me to vaccum form a clear visor for my helmet. This used a visor model designed for the helmet but was was not designed to be vaccum formed so I needed to make a base. Now a base could be made from other material after printing but I wanted a buck I could just print then immediately vacuum form.
This started me on a journey to use my amatuer modeling skills to find a way to do so. As mentioned this took a number of attempts to get right and its not perfect for all visors so trial and error is needed for each visor.
Software used:
- Meshmixer
- Fusion 360
- ReCap (optional to lower facet count)
Now use the select option and highlight everywhere that is not the front surface of the visor and delete them.
You should have something like below left.
Next is to export this and import it into Fusion 360.
This must be converted from a mesh into a BRep. (Capture history needs to be turned of to allow this)
(This is where ReCap may be needed as a model with to much facets can't be converted and needs to be reduced)
Now create a offset plane behind the model and make it larger than the model and position it a few millimeters behind it.
Once that is placed start a sketch on it for the front view like shown above and select the project option in the "create" tab and select the visor.
This will create an outline of it from the current point of view.
The sketch created can be edited to join up any parts that were missed like shown above. This will then allow it to be extruded.
When using the extrude tool use the "Join" operation and change the "Extend" option to "To Object" and select the visor.
This should extrude the sketch to the full curve of the visor.
(This be difficult to get right and sometimes only extrudes to a certain point so a few attempts are needed to select the right part of the visor)
If the extrude works you should now have a visor buck which can now be printed once its extracted as an STL.
(I sliced an angle into mine after I placed it into the slicer so the visor portion is printed smoother with a higher layer count.)
Below is the buck printed and sanded.
I hope this was able to help people and please add to this if you have a better way to do this.
