Boba Fett
Well-Known Member
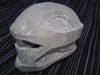
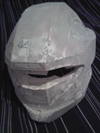
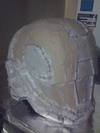
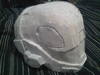
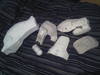
Yeah, the chin might be bigger than I'm expecting... I would definately choose hugh's, as he's coming out with a lot of "add-ons" for different Character ODST's (dutch and romeo are already done) plus you can make it into a reach odst as well. The construction method is a bit weird, but I really like the concept. Whatever you choose, Looking forward to seeing you build it! You do VERY clean pep-work, that EVA looks like it doesn't even need a smear of bondo..
")