- Member DIN
- S147
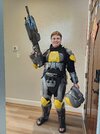
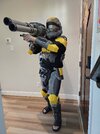
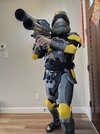
I feel you there on jumping on to too many things. I have so many half built projects that are just collecting dust. I'm pretty sure you know this already, but its easier said than done; "Stick to one thing at a time."Well no real work done on the ODST suit. All that is left is the legs, but I have this horrible habit of measuring 4 times, but still having to cut 5 times. Never fails. My wife has been a little under the weather so I don't want to pester her to help me measure myself for Armorsmith right now either. Ive been messing around a little with scaling some pieces and then just printing a slice or two of them, but nothing concrete yet.
In the mean time though, I was looking around on this site and found a wonderful thread by MrJamin and how he designed a M41 SPNKr... Halo 3 SPNKr
Sometimes I hate myself for jumping in on to many things...
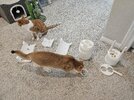
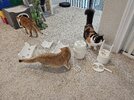
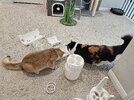
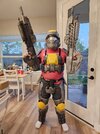
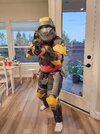
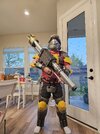
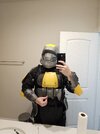
Your suits looking really clean so far already! And your doing a really good job with the cat scaling photos, they're important for making sure its a good fit. Cat scaling photos make my day
")