Fricken dope, son!
Really looks like it's coming along nicely
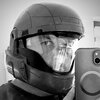
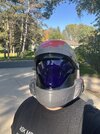
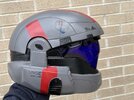
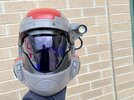
Good luck with that visor
Really looks like it's coming along nicely
Good luck with that visor
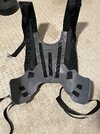

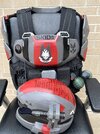
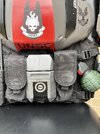

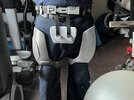
Absolutely loving it man, this turned out effing awesome! Can't wait to see it in person at TCC!HydrationPatrol my armor is mainly built off an Amazon plate carrier. So I can attach the belt to the bottom of the carrier and have it all as one unit.
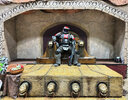
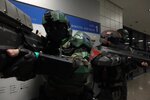
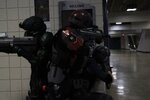
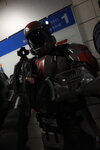
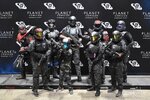
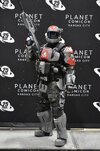
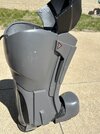
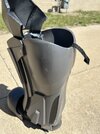
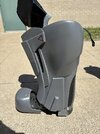
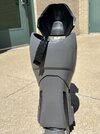
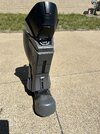
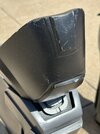
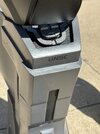
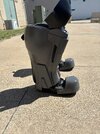
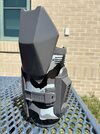
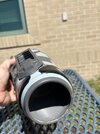
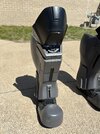
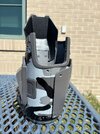
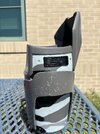
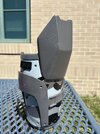
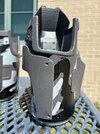
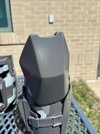
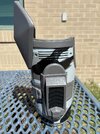
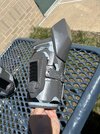
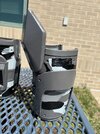
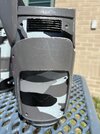
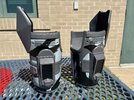
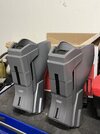
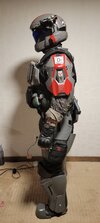
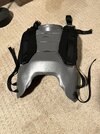
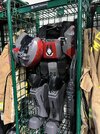
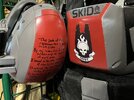
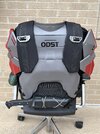
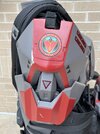
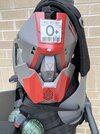
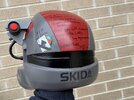
Massive-ish update.
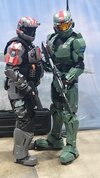
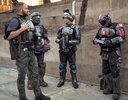
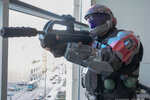
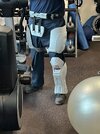
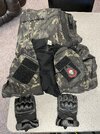
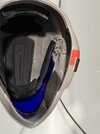
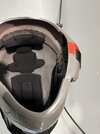
I have been rushing to finish for Haloween and the Twin Cities Con. There is more I would like to do (Finish forearms paint a camo pattern on the thighs and forearms and put fans in the helmet.) but I finally reached the stage where it is wearable and I will be focusing on durability and comfort of the suit.
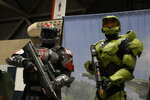
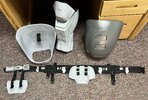
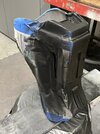
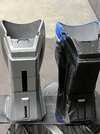
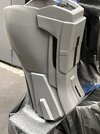
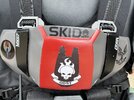
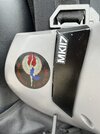
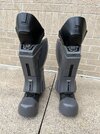
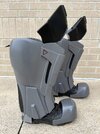
Until I get some pictures wearing the whole thing enjoy the photo dump.
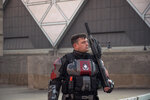
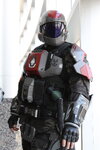
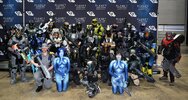
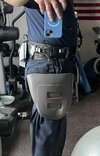
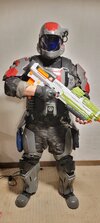
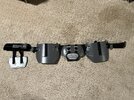
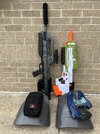
Yeah I’m excited now. I test wore it for Haloween had the whole thing on about 5 hrs. I need stronger magnets for the thigh weapon mount. And the fan system I wired up didn’t work well because i only have 12v or 24v fans and a 9v power supply. But I ordered a couple 5v fans from Amazon and I should be able to sort that out. I did also get some photos for the Deployment application. I can share here.Absolutely loving it man, this turned out effing awesome! Can't wait to see it in person at TCC!
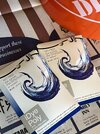
That looks so awesome! Love the color scheme you went with for it, looks great! Whatever magnets you end up using for the thigh mount please share, mine aren’t strong enough either so I need new ones lol.Yeah I’m excited now. I test wore it for Haloween had the whole thing on about 5 hrs. I need stronger magnets for the thigh weapon mount. And the fan system I wired up didn’t work well because i only have 12v or 24v fans and a 9v power supply. But I ordered a couple 5v fans from Amazon and I should be able to sort that out. I did also get some photos for the Deployment application. I can share here.
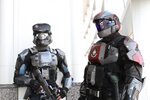
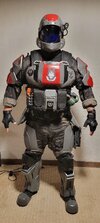
What are you using for an undersuit? Just black BDU's, or something else?Everything fits. I only have to build the belt and rig the thigh pieces. And then sand paint and weather everything. And perhaps ad some foam to the insides of the forearms shins and thighs. Almost in the home stretch.
I am wearing black multi cam I got from Amazon. The whole armor attaches to a plate carrier I got also from Amazon and a belt. All are advertised as airsoft gear.What are you using for an undersuit? Just black BDU's, or something else?
I actually never considered attaching the torso armor to a plate carrier. I'll have to try that. Thanks!I am wearing black multi cam I got from Amazon. The whole armor attaches to a plate carrier I got also from Amazon and a belt. All are advertised as airsoft gear.
PAVEHAWK G3 Combat Clothing Suit... Amazon.com
YAKEDA Tactical Vest Military... Amazon.com
Gloves belt and belt padding were from AliExpress.