ARCsaber987
Jr Member
UPDATE ON THE UPDATE: 2nd Version of the Blade (with much better handle) page 4!
UPDATE: Final Product on the bottom of the 4th page...
UPDATE: Final Product on the bottom of the 4th page...
Long time no see 405th, maybe that should be long time no post...
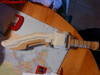
anyway I have found my self in some welcome free time and so I started a new project, Emiles Combat Knife as seen in Halo Reach. I'm using Juliet76's amazing blueprints, thank you so much!
So far I've put 5-6 hours into this and I hope to finish it within the next couple of weeks.
Note: These picture have been reduced to a really low quality for quick loading
Progress so far:
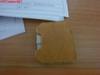
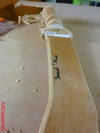
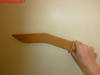
Sanding the edges:
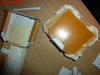
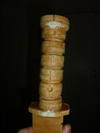
Starting the Sheath:
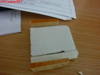
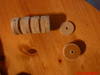
Some Early Detailing:
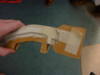
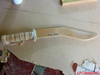
The 'Rear(?)' of the sheath:
Top of the rear (where the blade passes through):
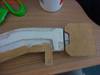
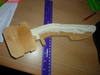
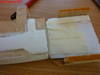
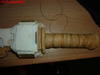
Everything together so far:
The side cardboard is covered in a wood gap filler to add strength. The same stuff has bee added to some of the sides for sanding and shaping
The back of the sheath is so far a bit taller than it should be due to the thinkness of the wood, but I doubt anyone will really notice. The section where the blade slides through on the rear of the sheath it much more open then it whould be at the moment so I can make sure the blade will slide through. Functionality then appearence.
Thoughts and critcism welcome, that's why we're all here! Thanks for reading
Last edited by a moderator: