NachoPipps
New Member
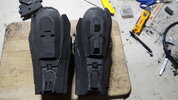
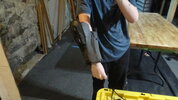
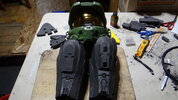
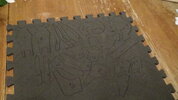
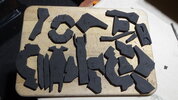
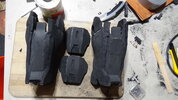
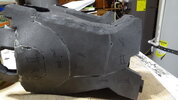
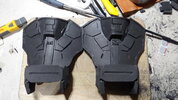
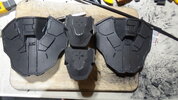
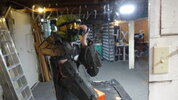
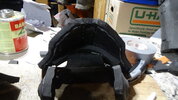
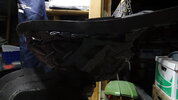
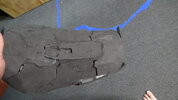
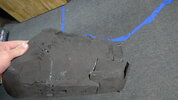
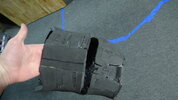
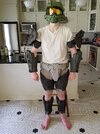
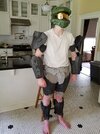
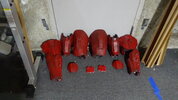
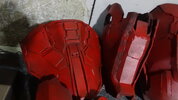
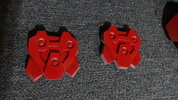
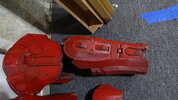
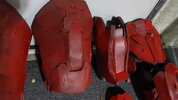
Hi, I am very new to foam working and this is my first big project. I am very open to criticisms and any tips or helpful advice for the future and I'll gladly share what little knowledge I have learned thus far. All pieces are made of foam and I'm using 1/2 inch thick foam mats with a smaller 5mm mat for small details. I did not make the helmet, it's just there for reference, but I do plan on making my own as soon as we can get the 3D printer up as it has some issues right now. I was inspired to make this by Impact Props series "Living with Chief" and I am going to make the helmet the same way they did. Please enjoy, and good luck to your own projects.