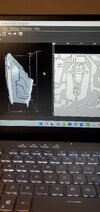
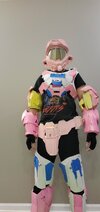
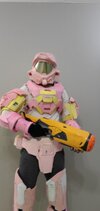
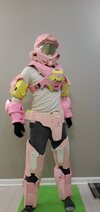
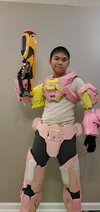
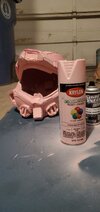
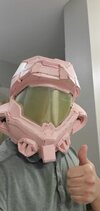
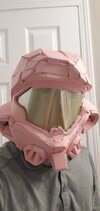
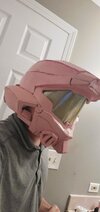
Hello everyone! I'm back with another build after starting my first year in college! I'm Remaking some parts of my Mark 7 build hopefully by reusing previous parts. I learned a lot from my many builds since last year and I took the opportunity to improve my crafting skills.
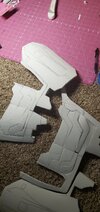
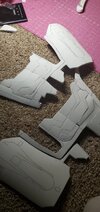
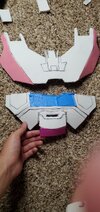
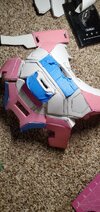
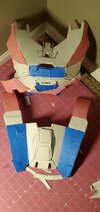
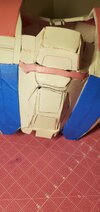
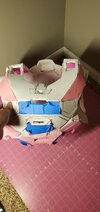
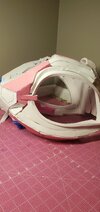
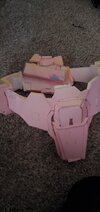
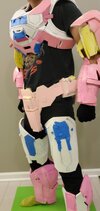
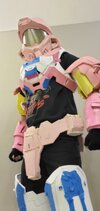
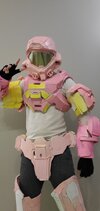
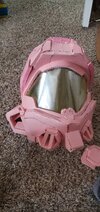
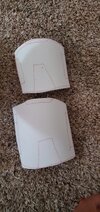
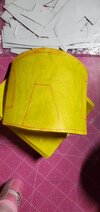
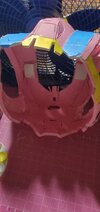
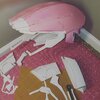
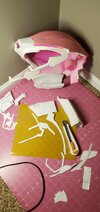
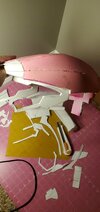
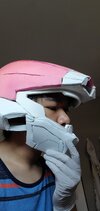
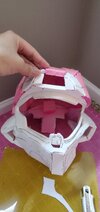
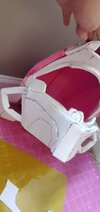
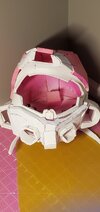
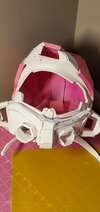
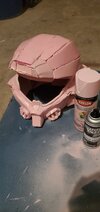
The pieces I have to remake so far are the helmet, thigh parts, and the big chest piece. This time I know for sure what I'm doing and I hope this new build will turn out great!
The pieces I have to remake so far are the helmet, thigh parts, and the big chest piece. This time I know for sure what I'm doing and I hope this new build will turn out great!
Attachments
-
 IMG_20220915_214945_279.jpg1.2 MB · Views: 183
 -
 20220915_215237.jpg982.8 KB · Views: 171
 -
 20220915_215250.jpg949.9 KB · Views: 210
 -
 20220917_121306.jpg516.6 KB · Views: 192
 -
 20220917_130428.jpg986.2 KB · Views: 177
 -
 20220917_130433.jpg987.1 KB · Views: 203
 -
 20220917_181351.jpg607.7 KB · Views: 179
 -
 20220917_181415.jpg591.9 KB · Views: 175
 -
 20220918_201547.jpg1.1 MB · Views: 192
 -
 20220918_201641.jpg1 MB · Views: 206
 -
 20220920_165220.jpg479.9 KB · Views: 202
 -
 20220920_165703.jpg463.3 KB · Views: 176
 -
 20220920_165644.jpg950.5 KB · Views: 194
 -
 20220920_165810.jpg408.4 KB · Views: 183