Hi.
I'm new to this so bear with me. Just finished an odst build for comic con manchester and decided to up my game and go for an elite for next year.
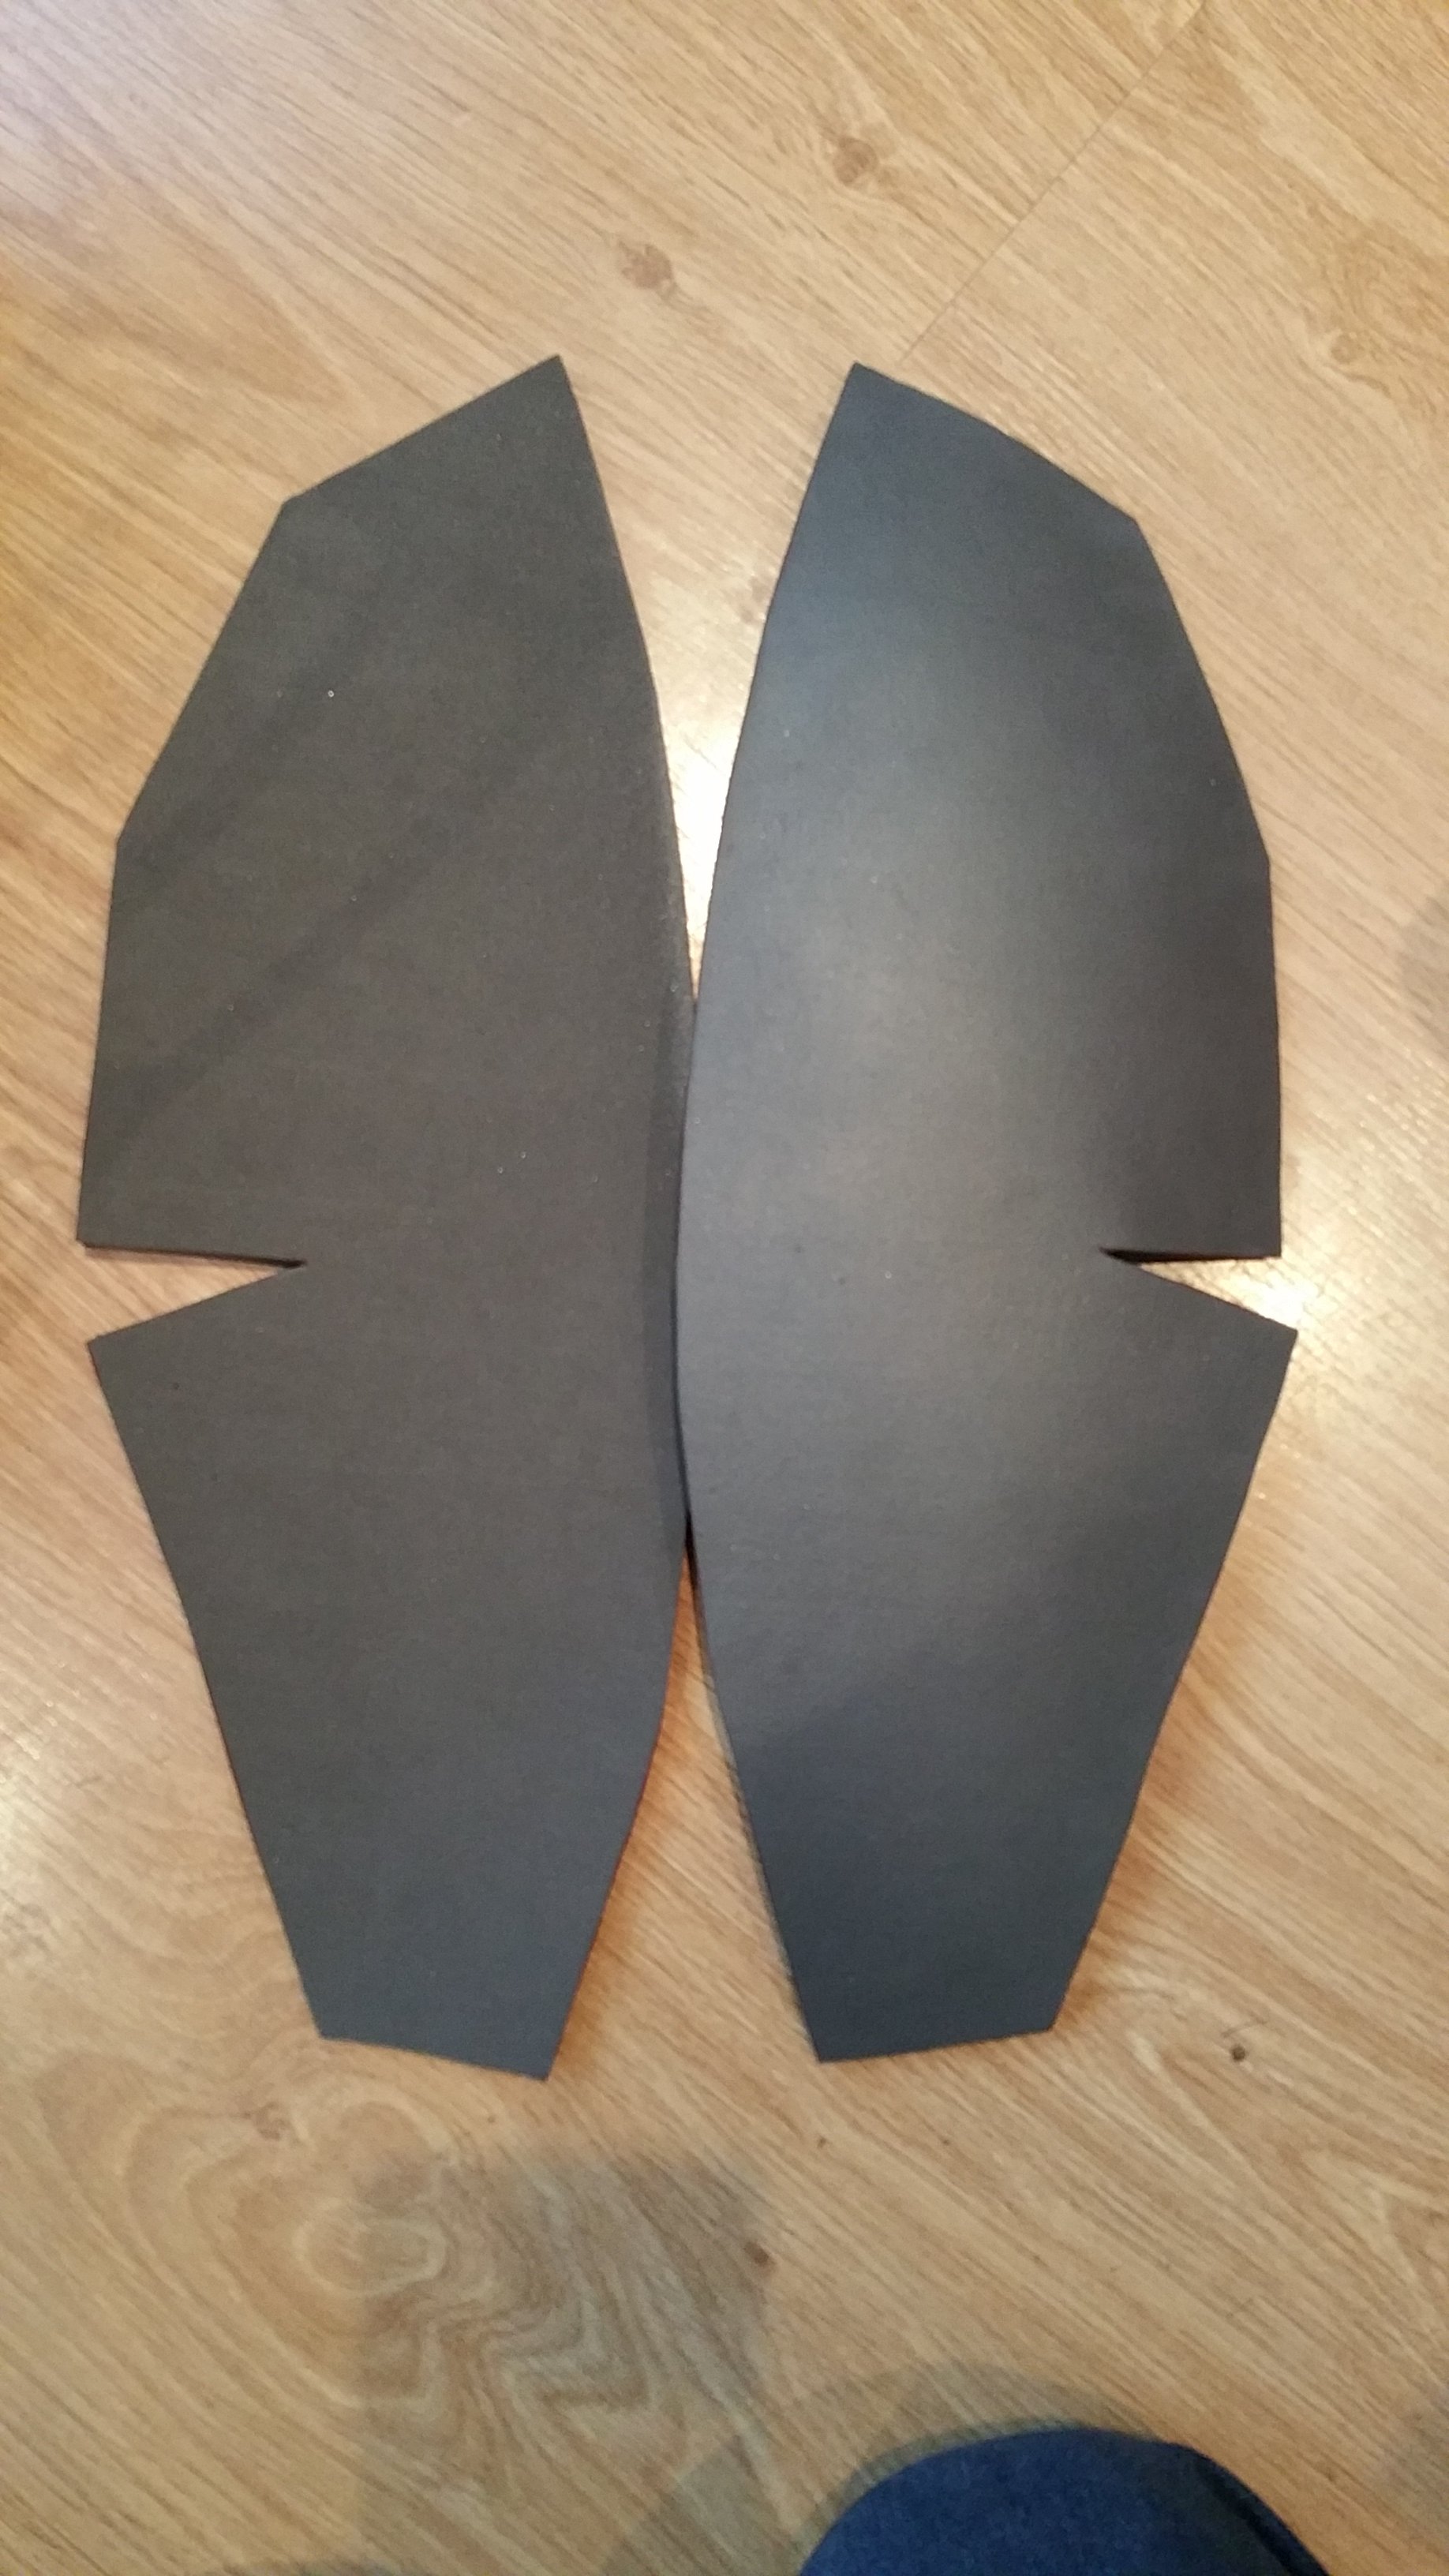
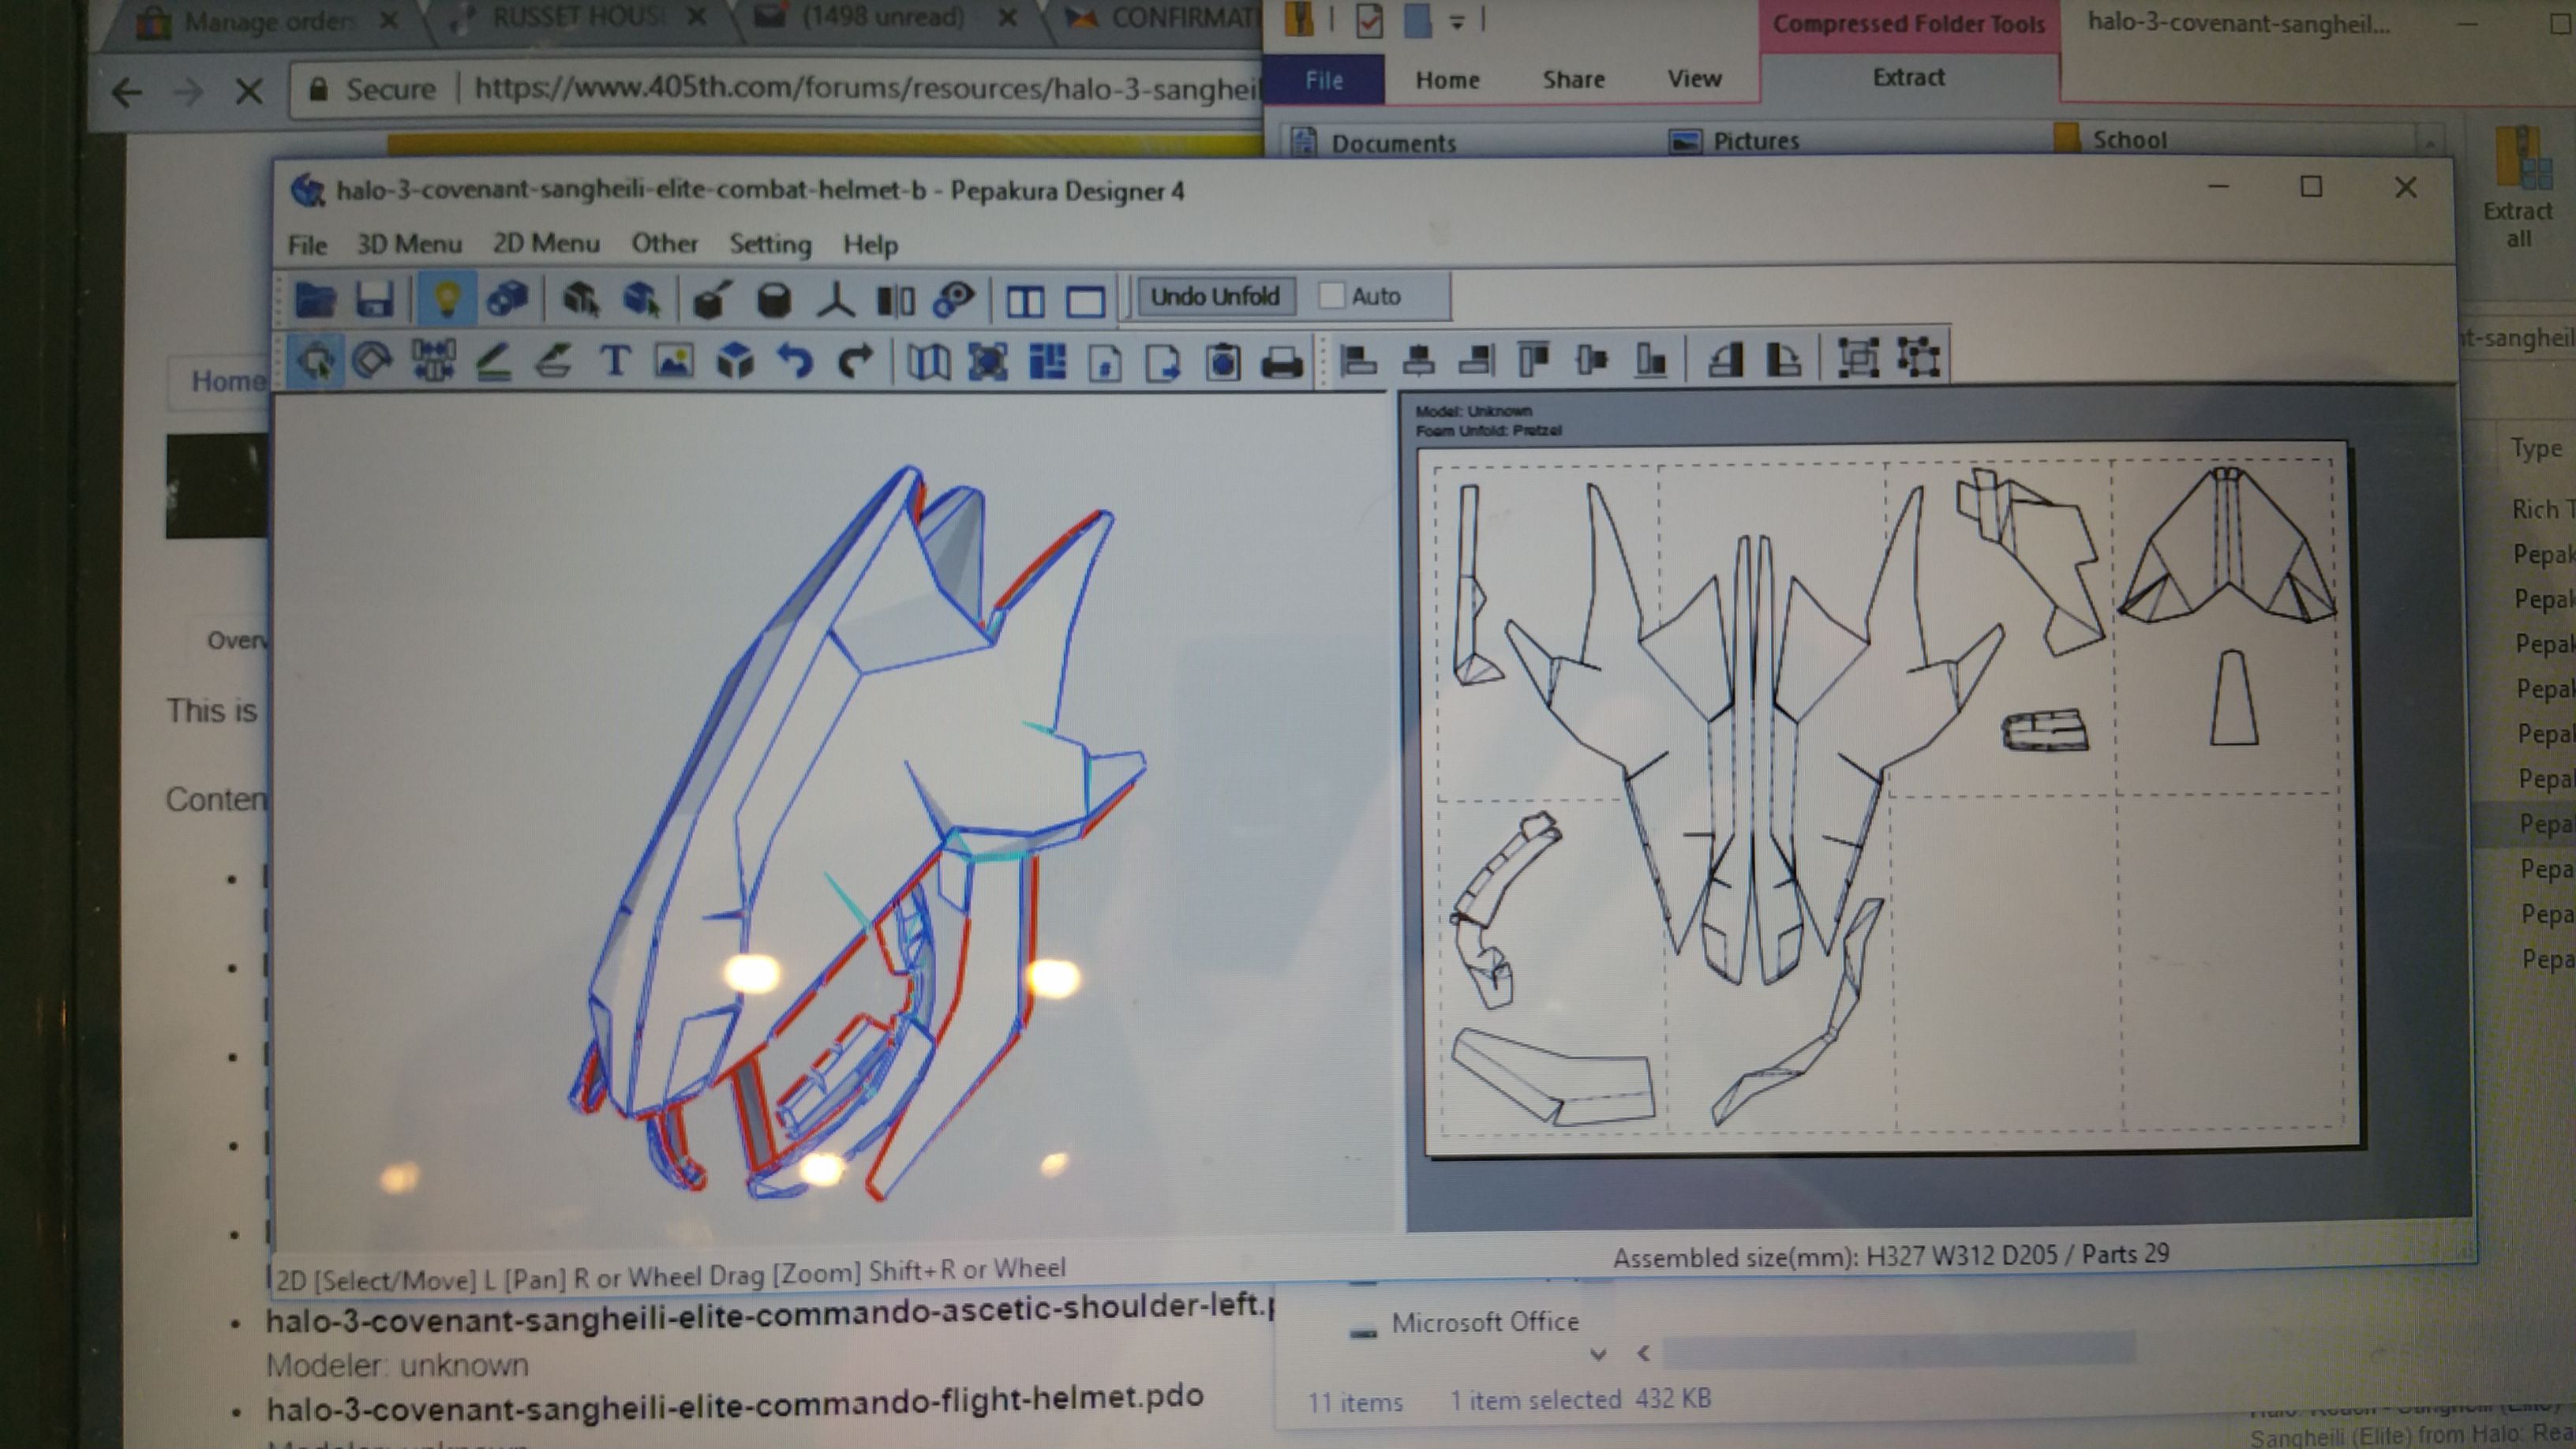
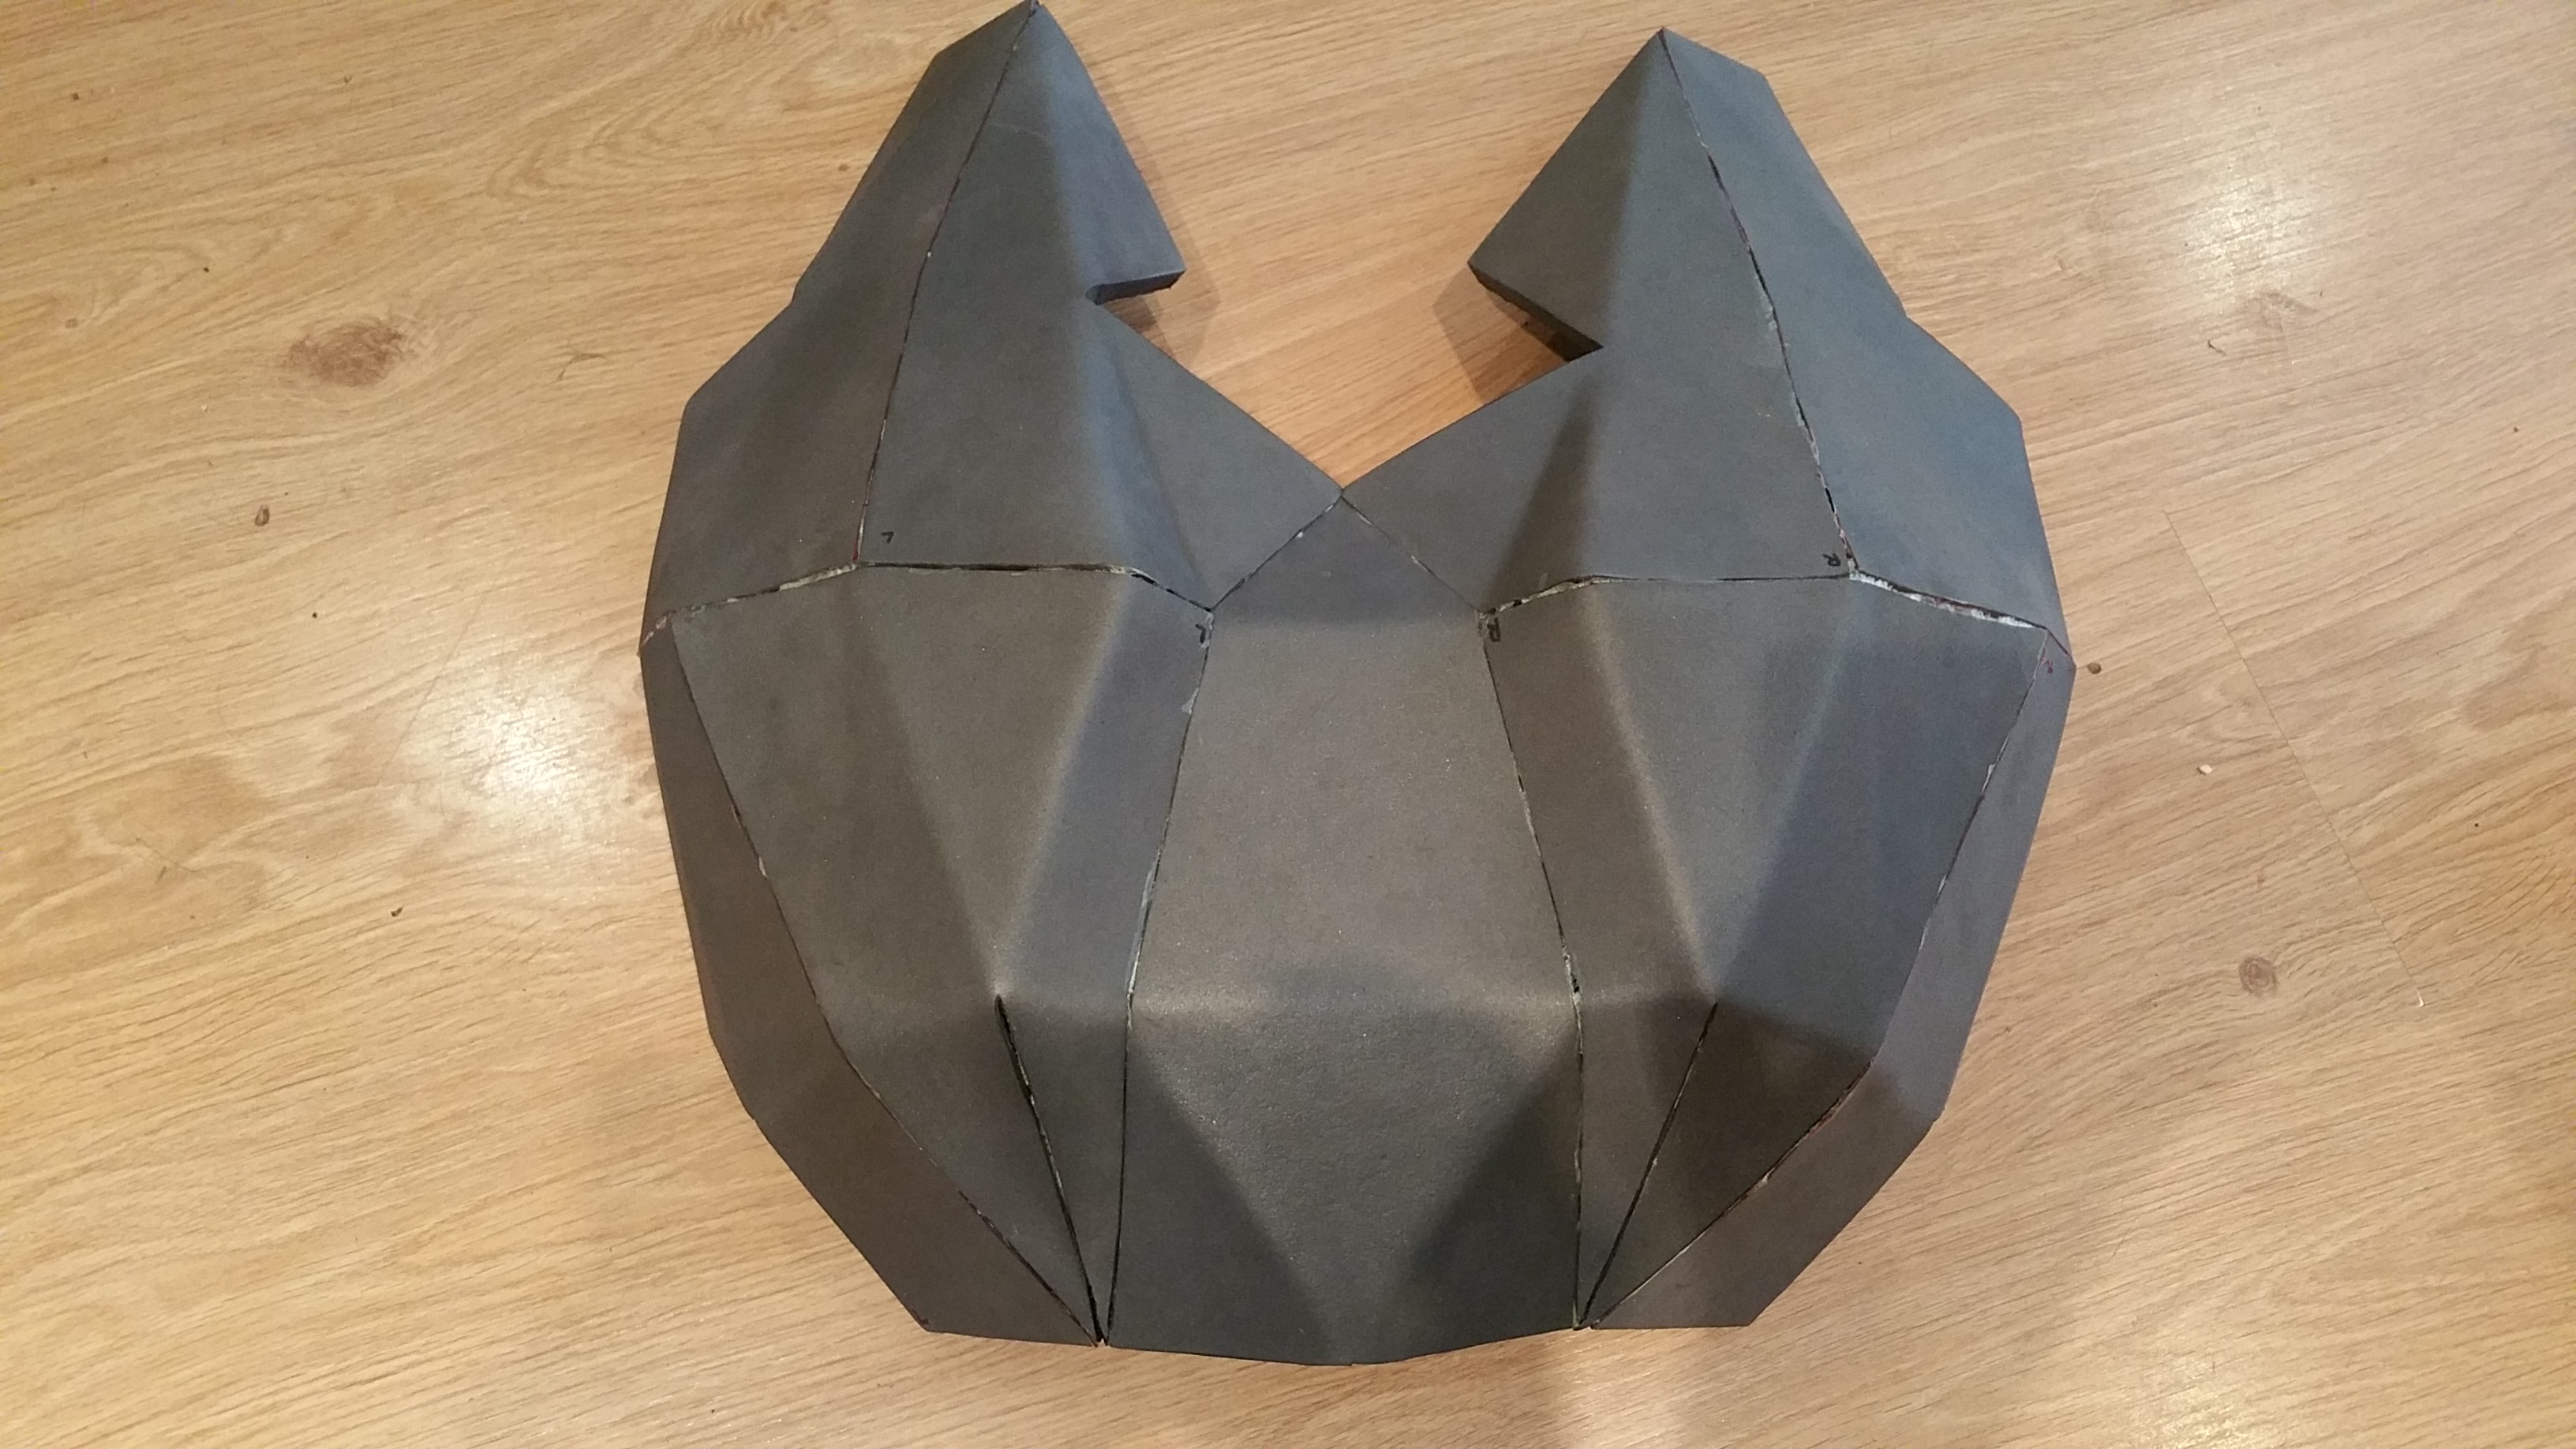
Started off with some files from the archive and played around with them.
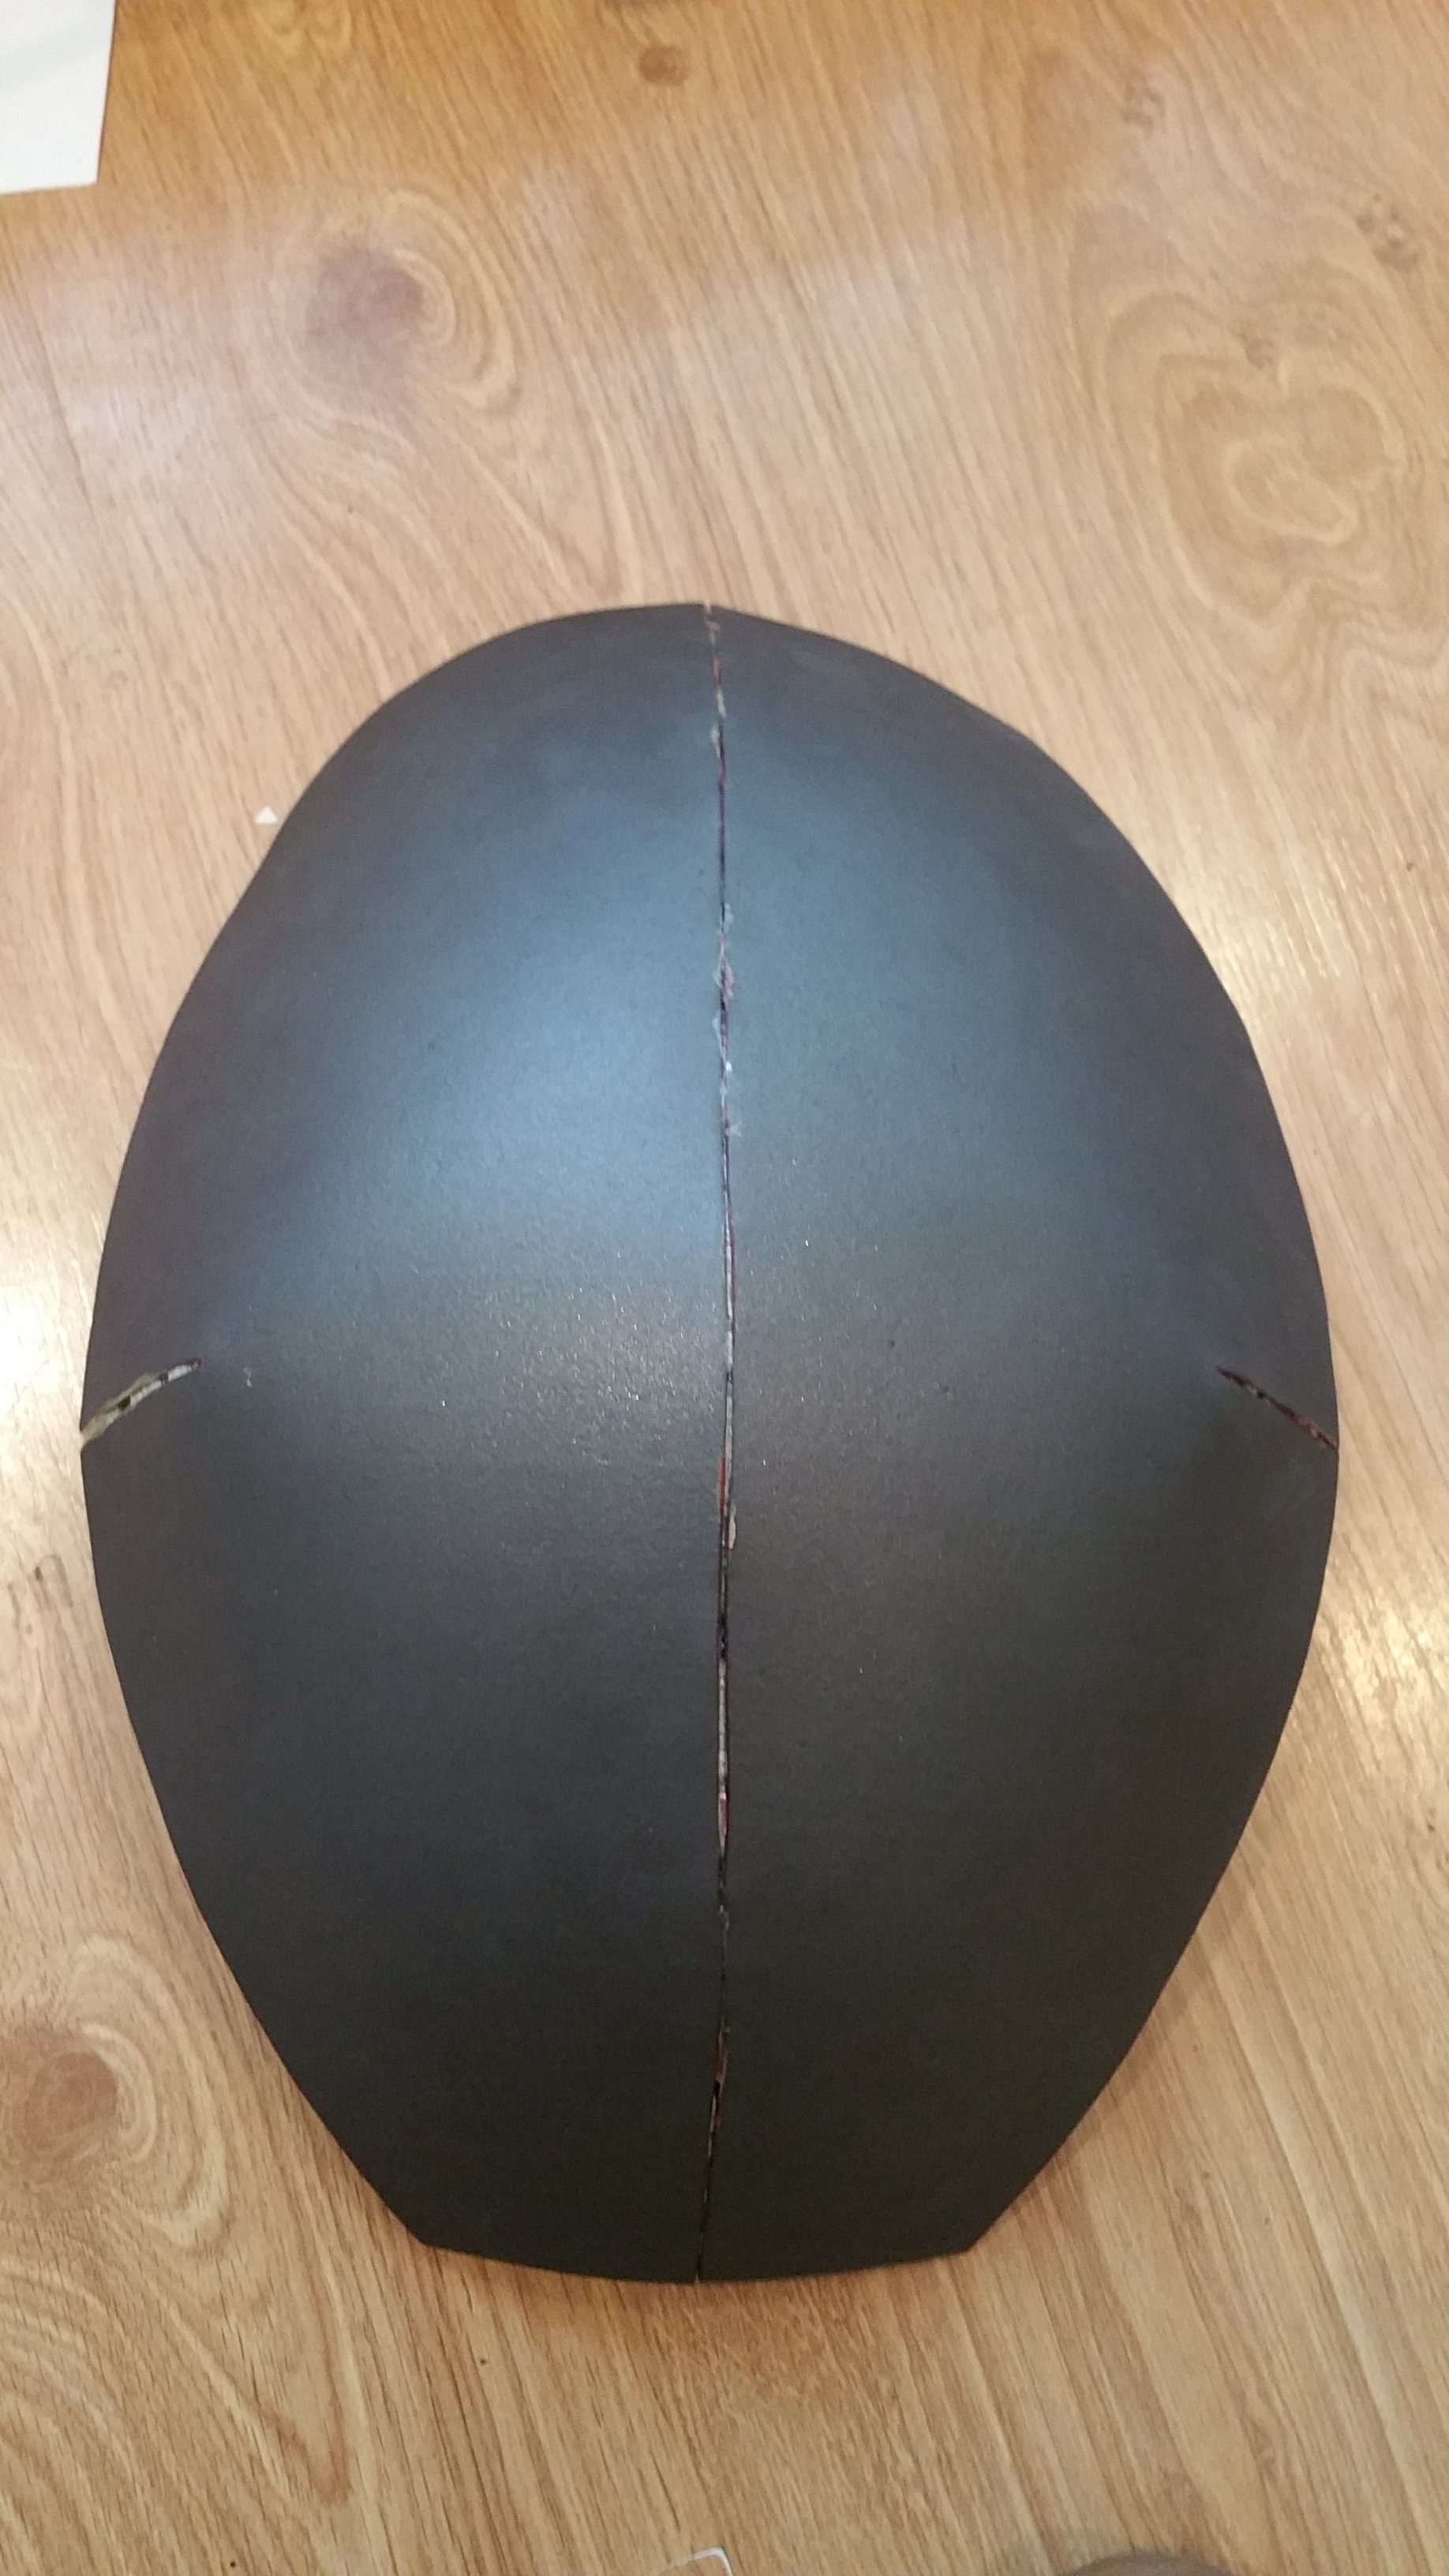
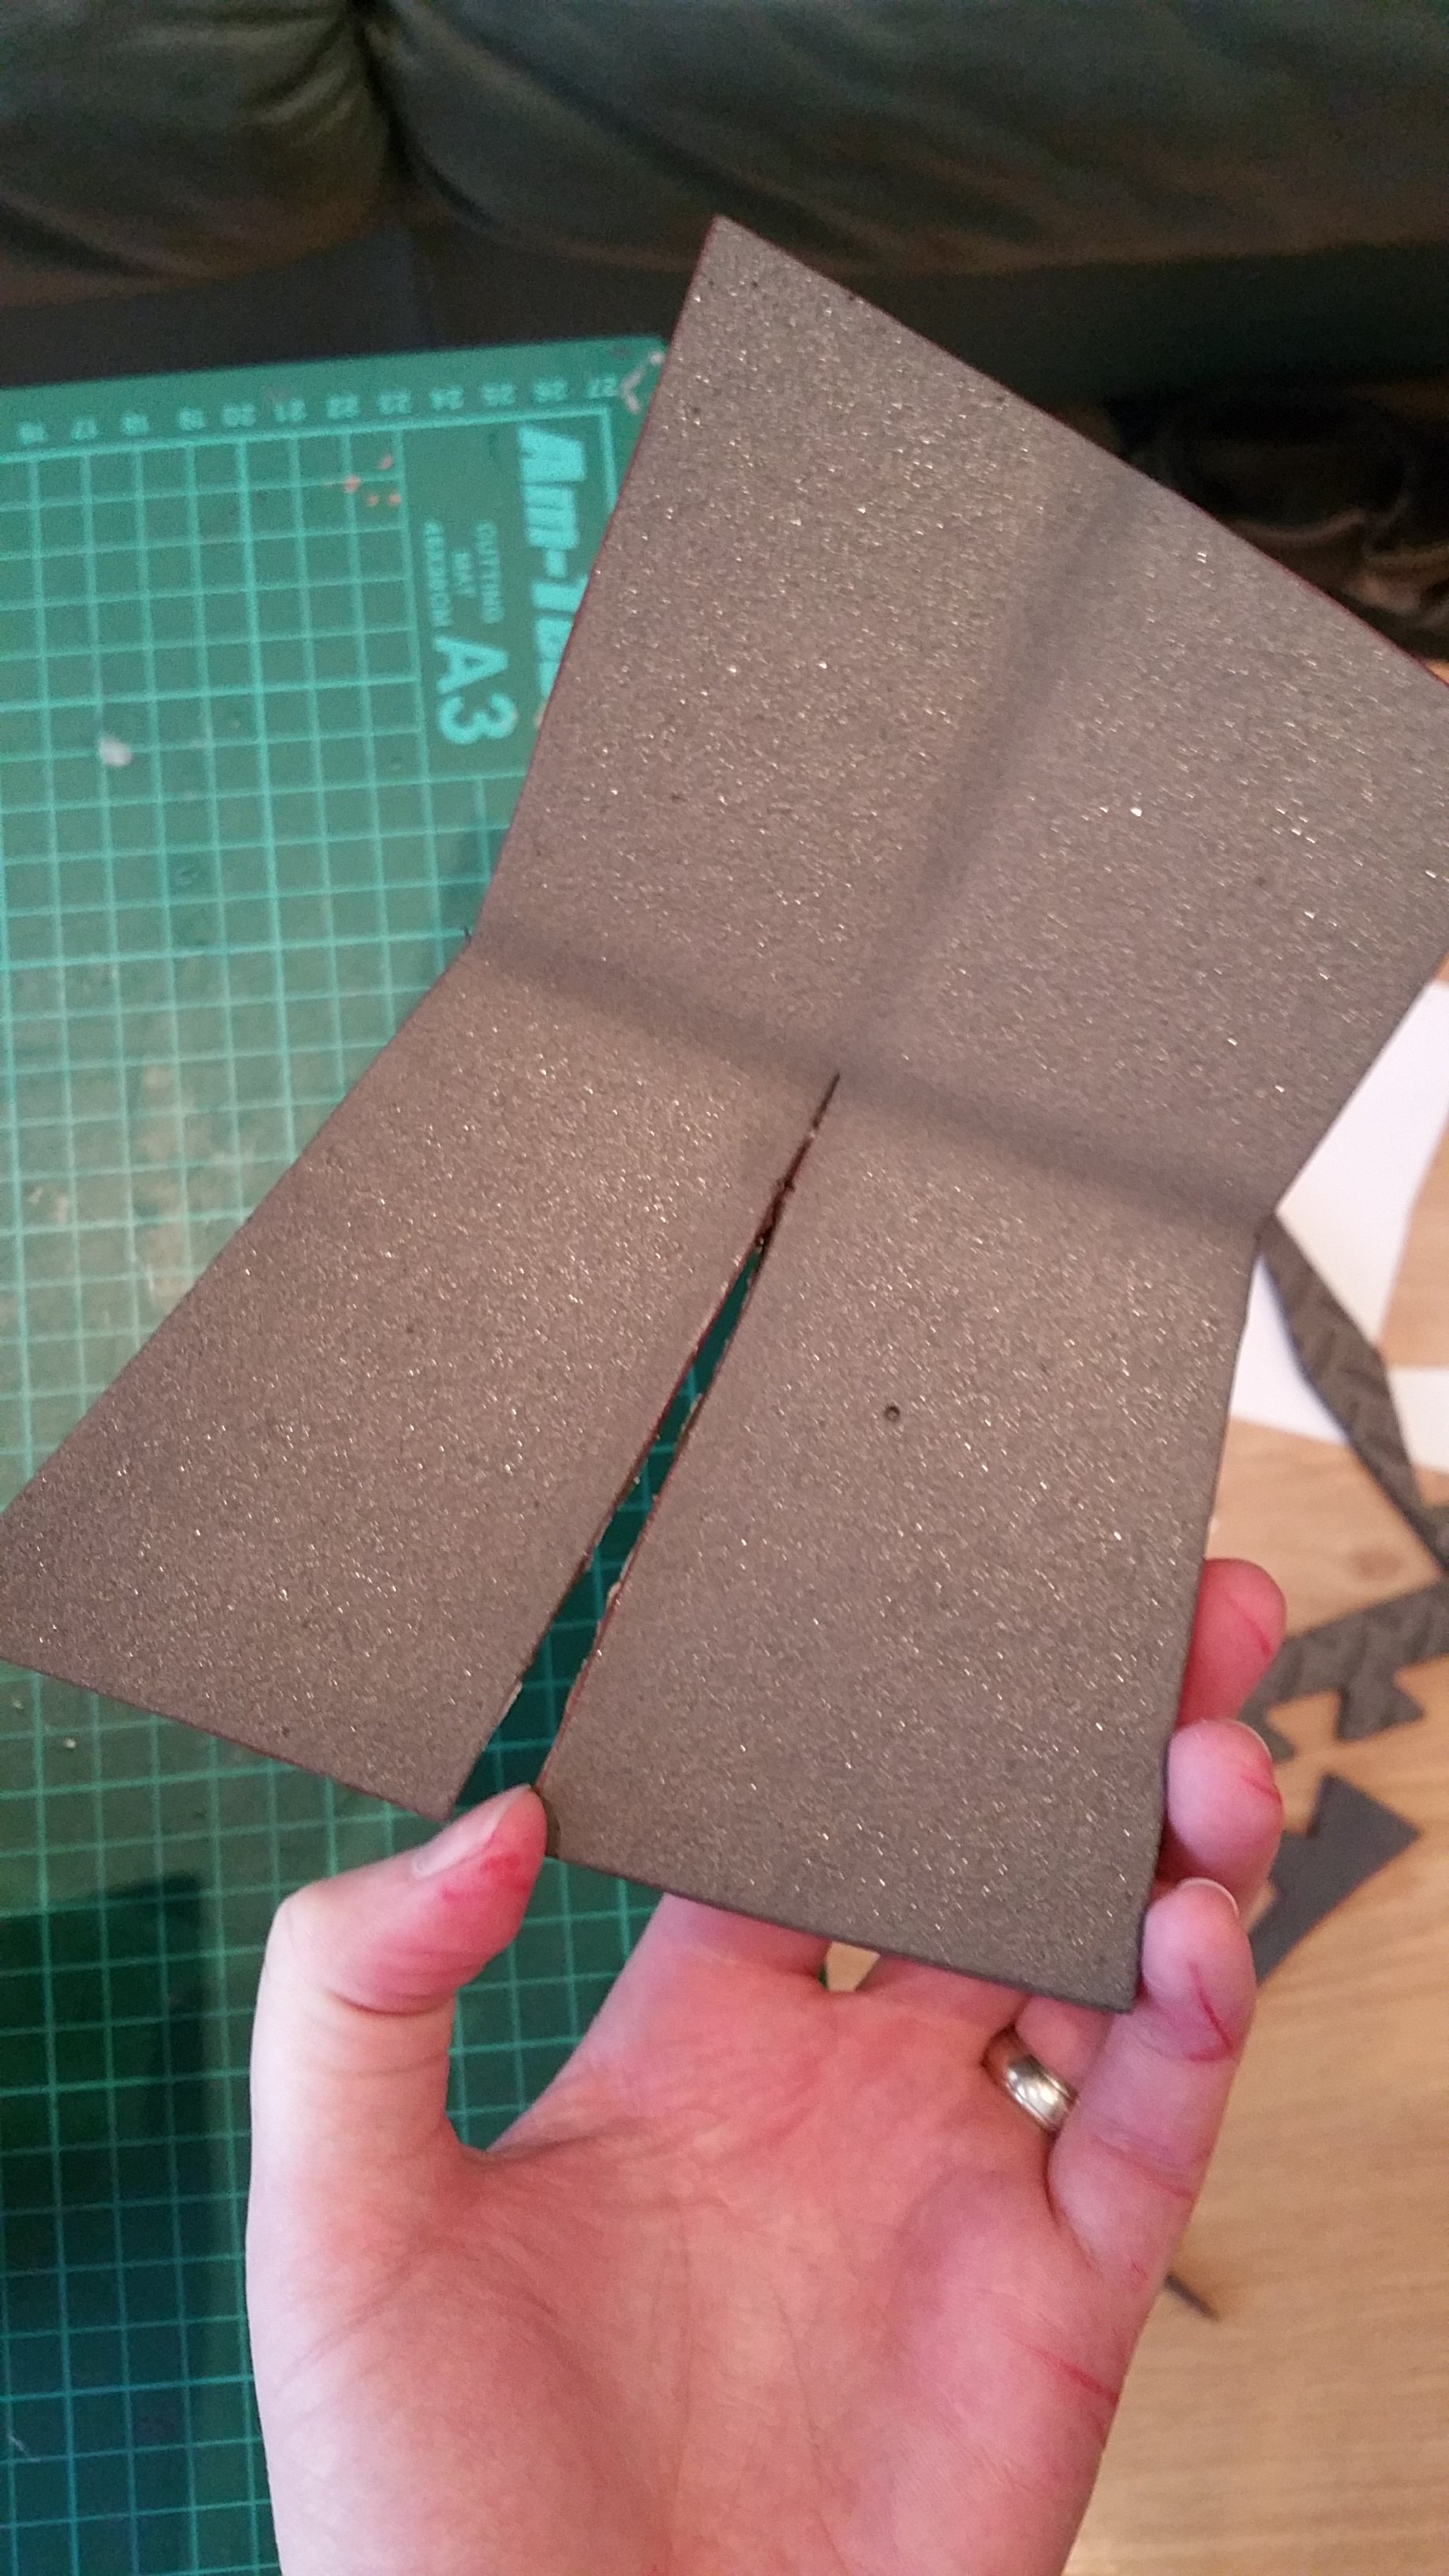
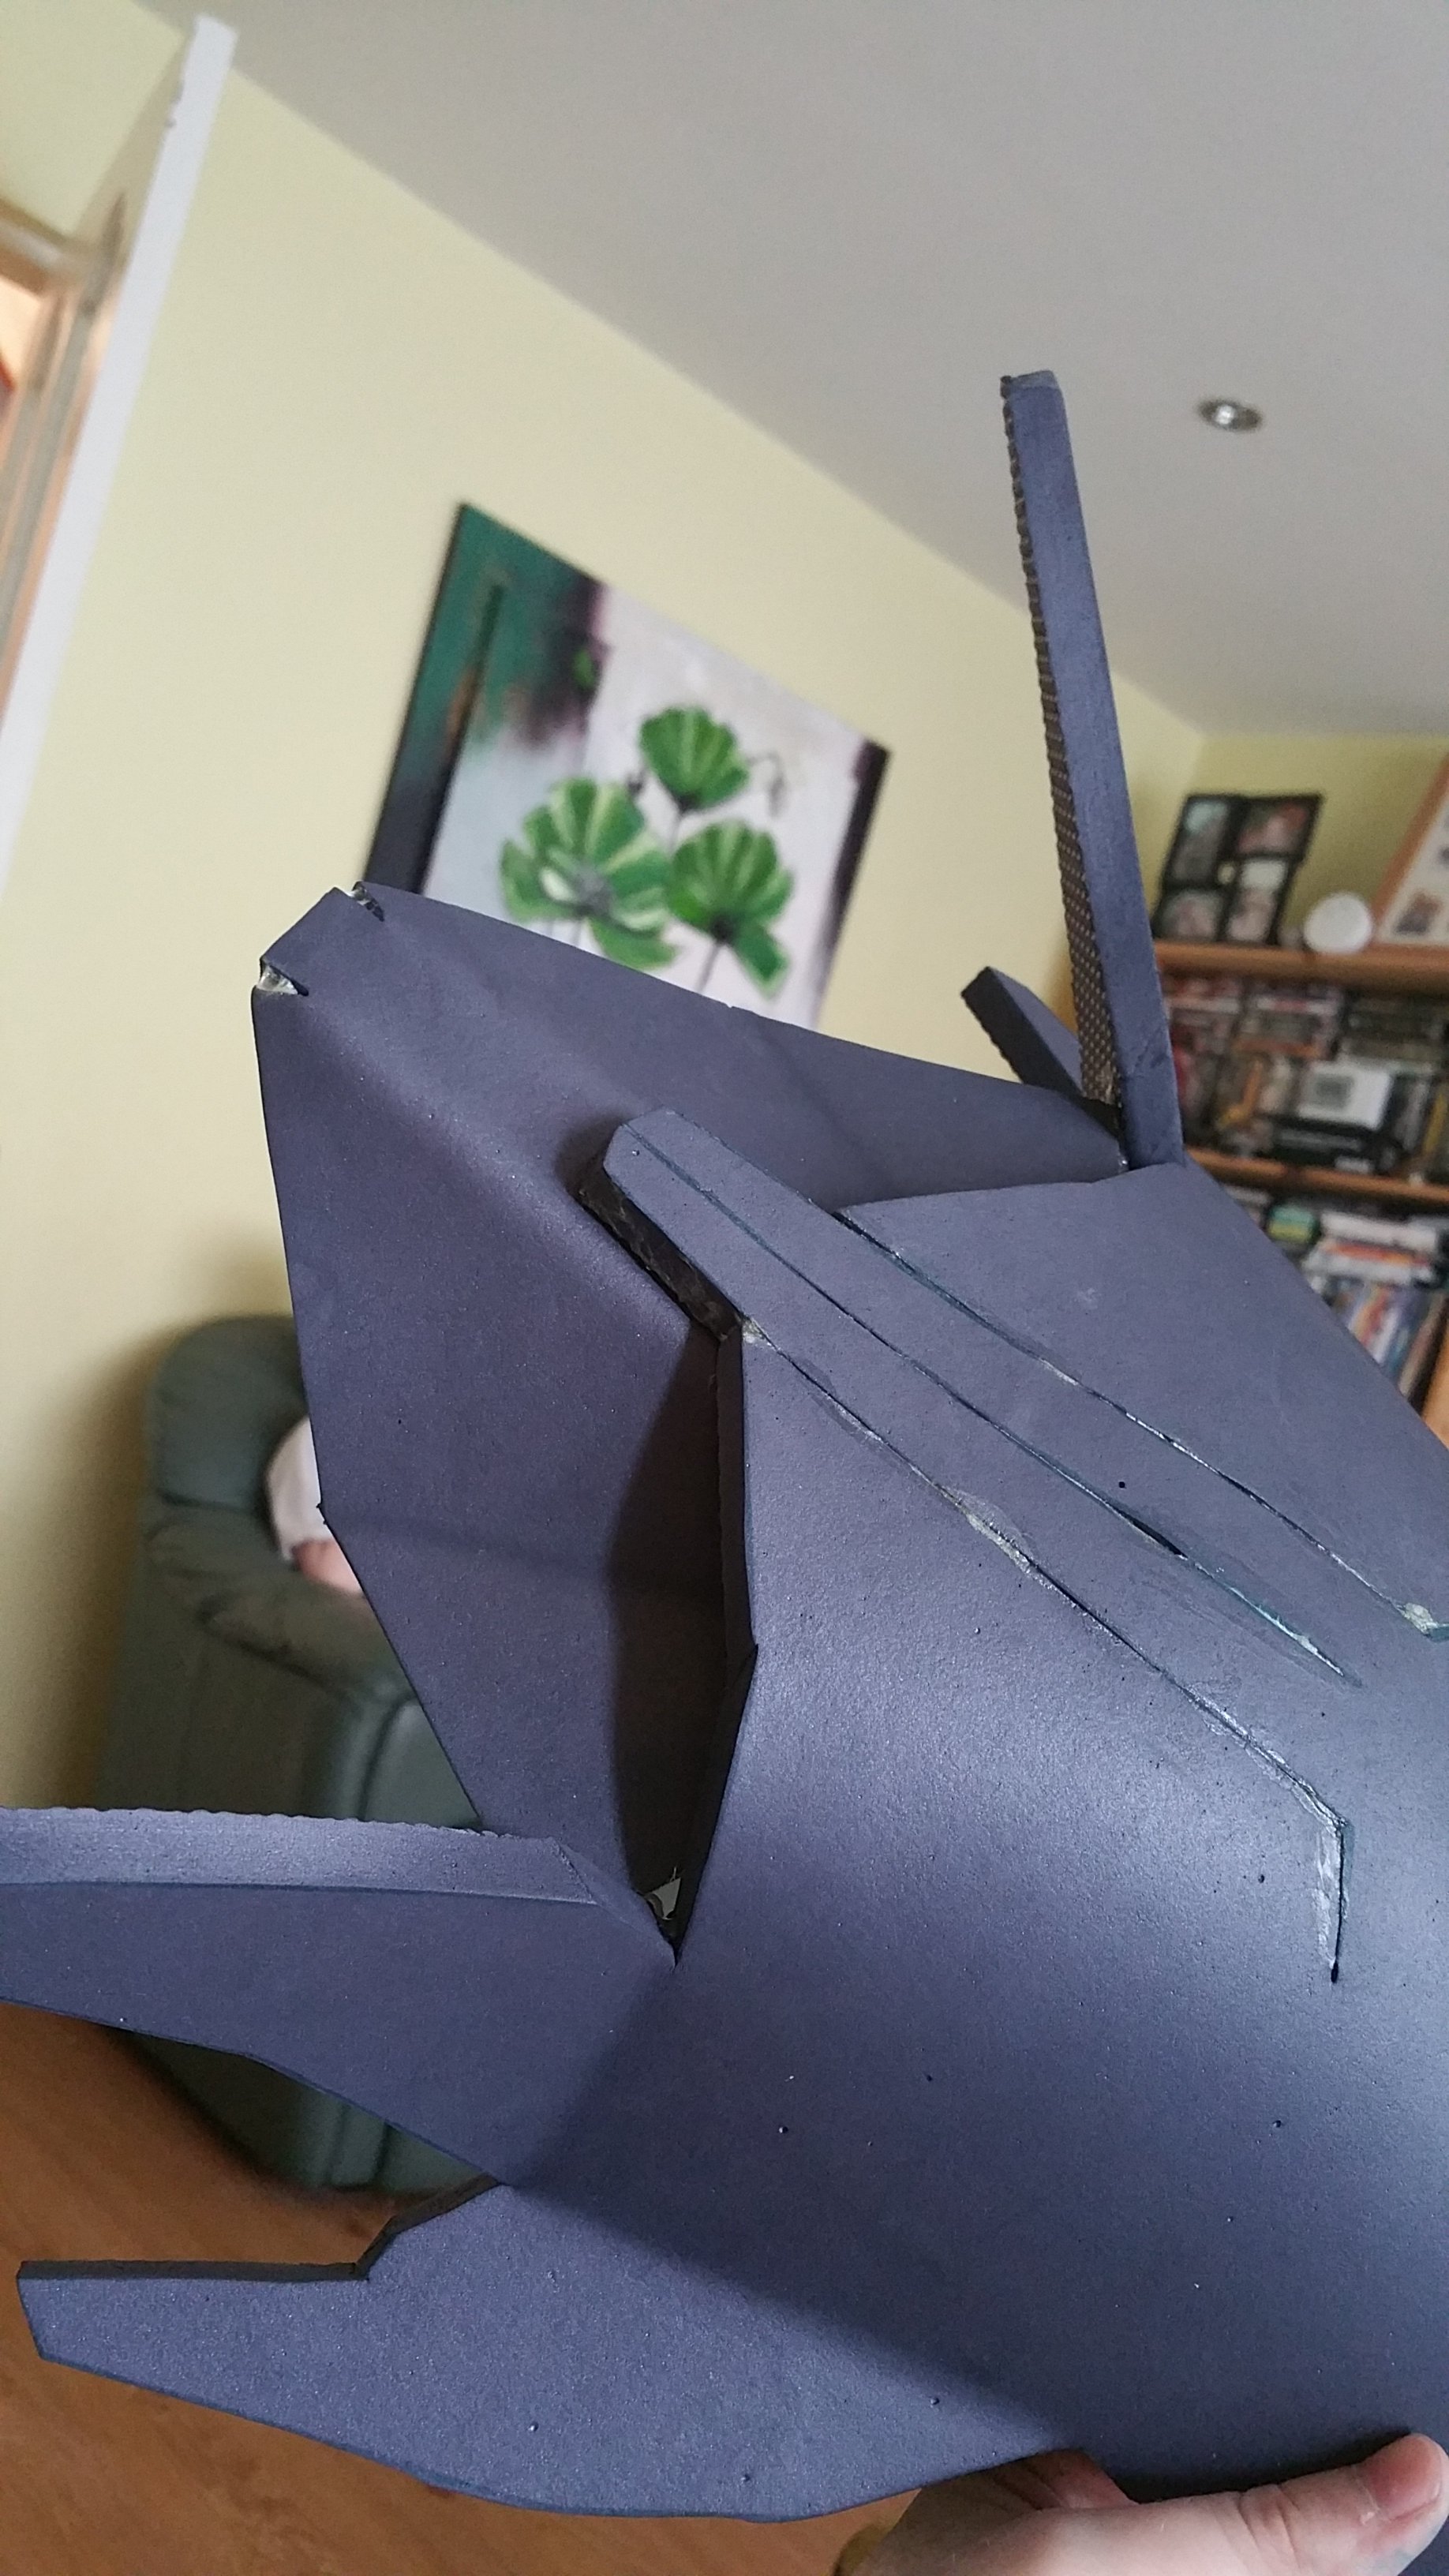
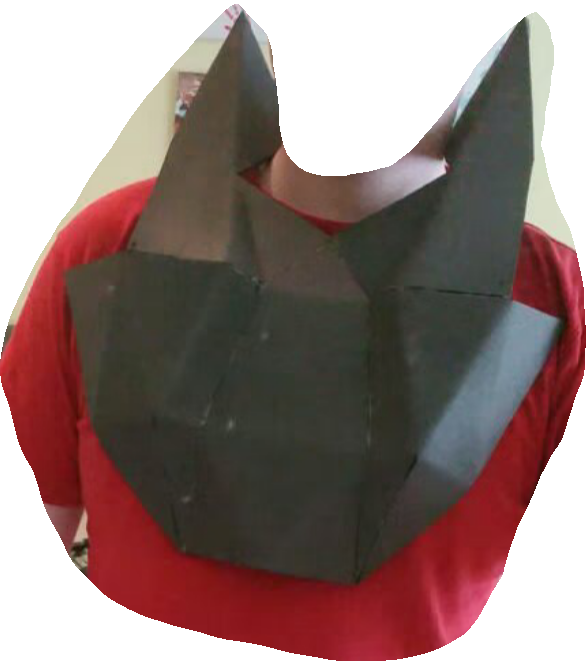
Then started the foam build
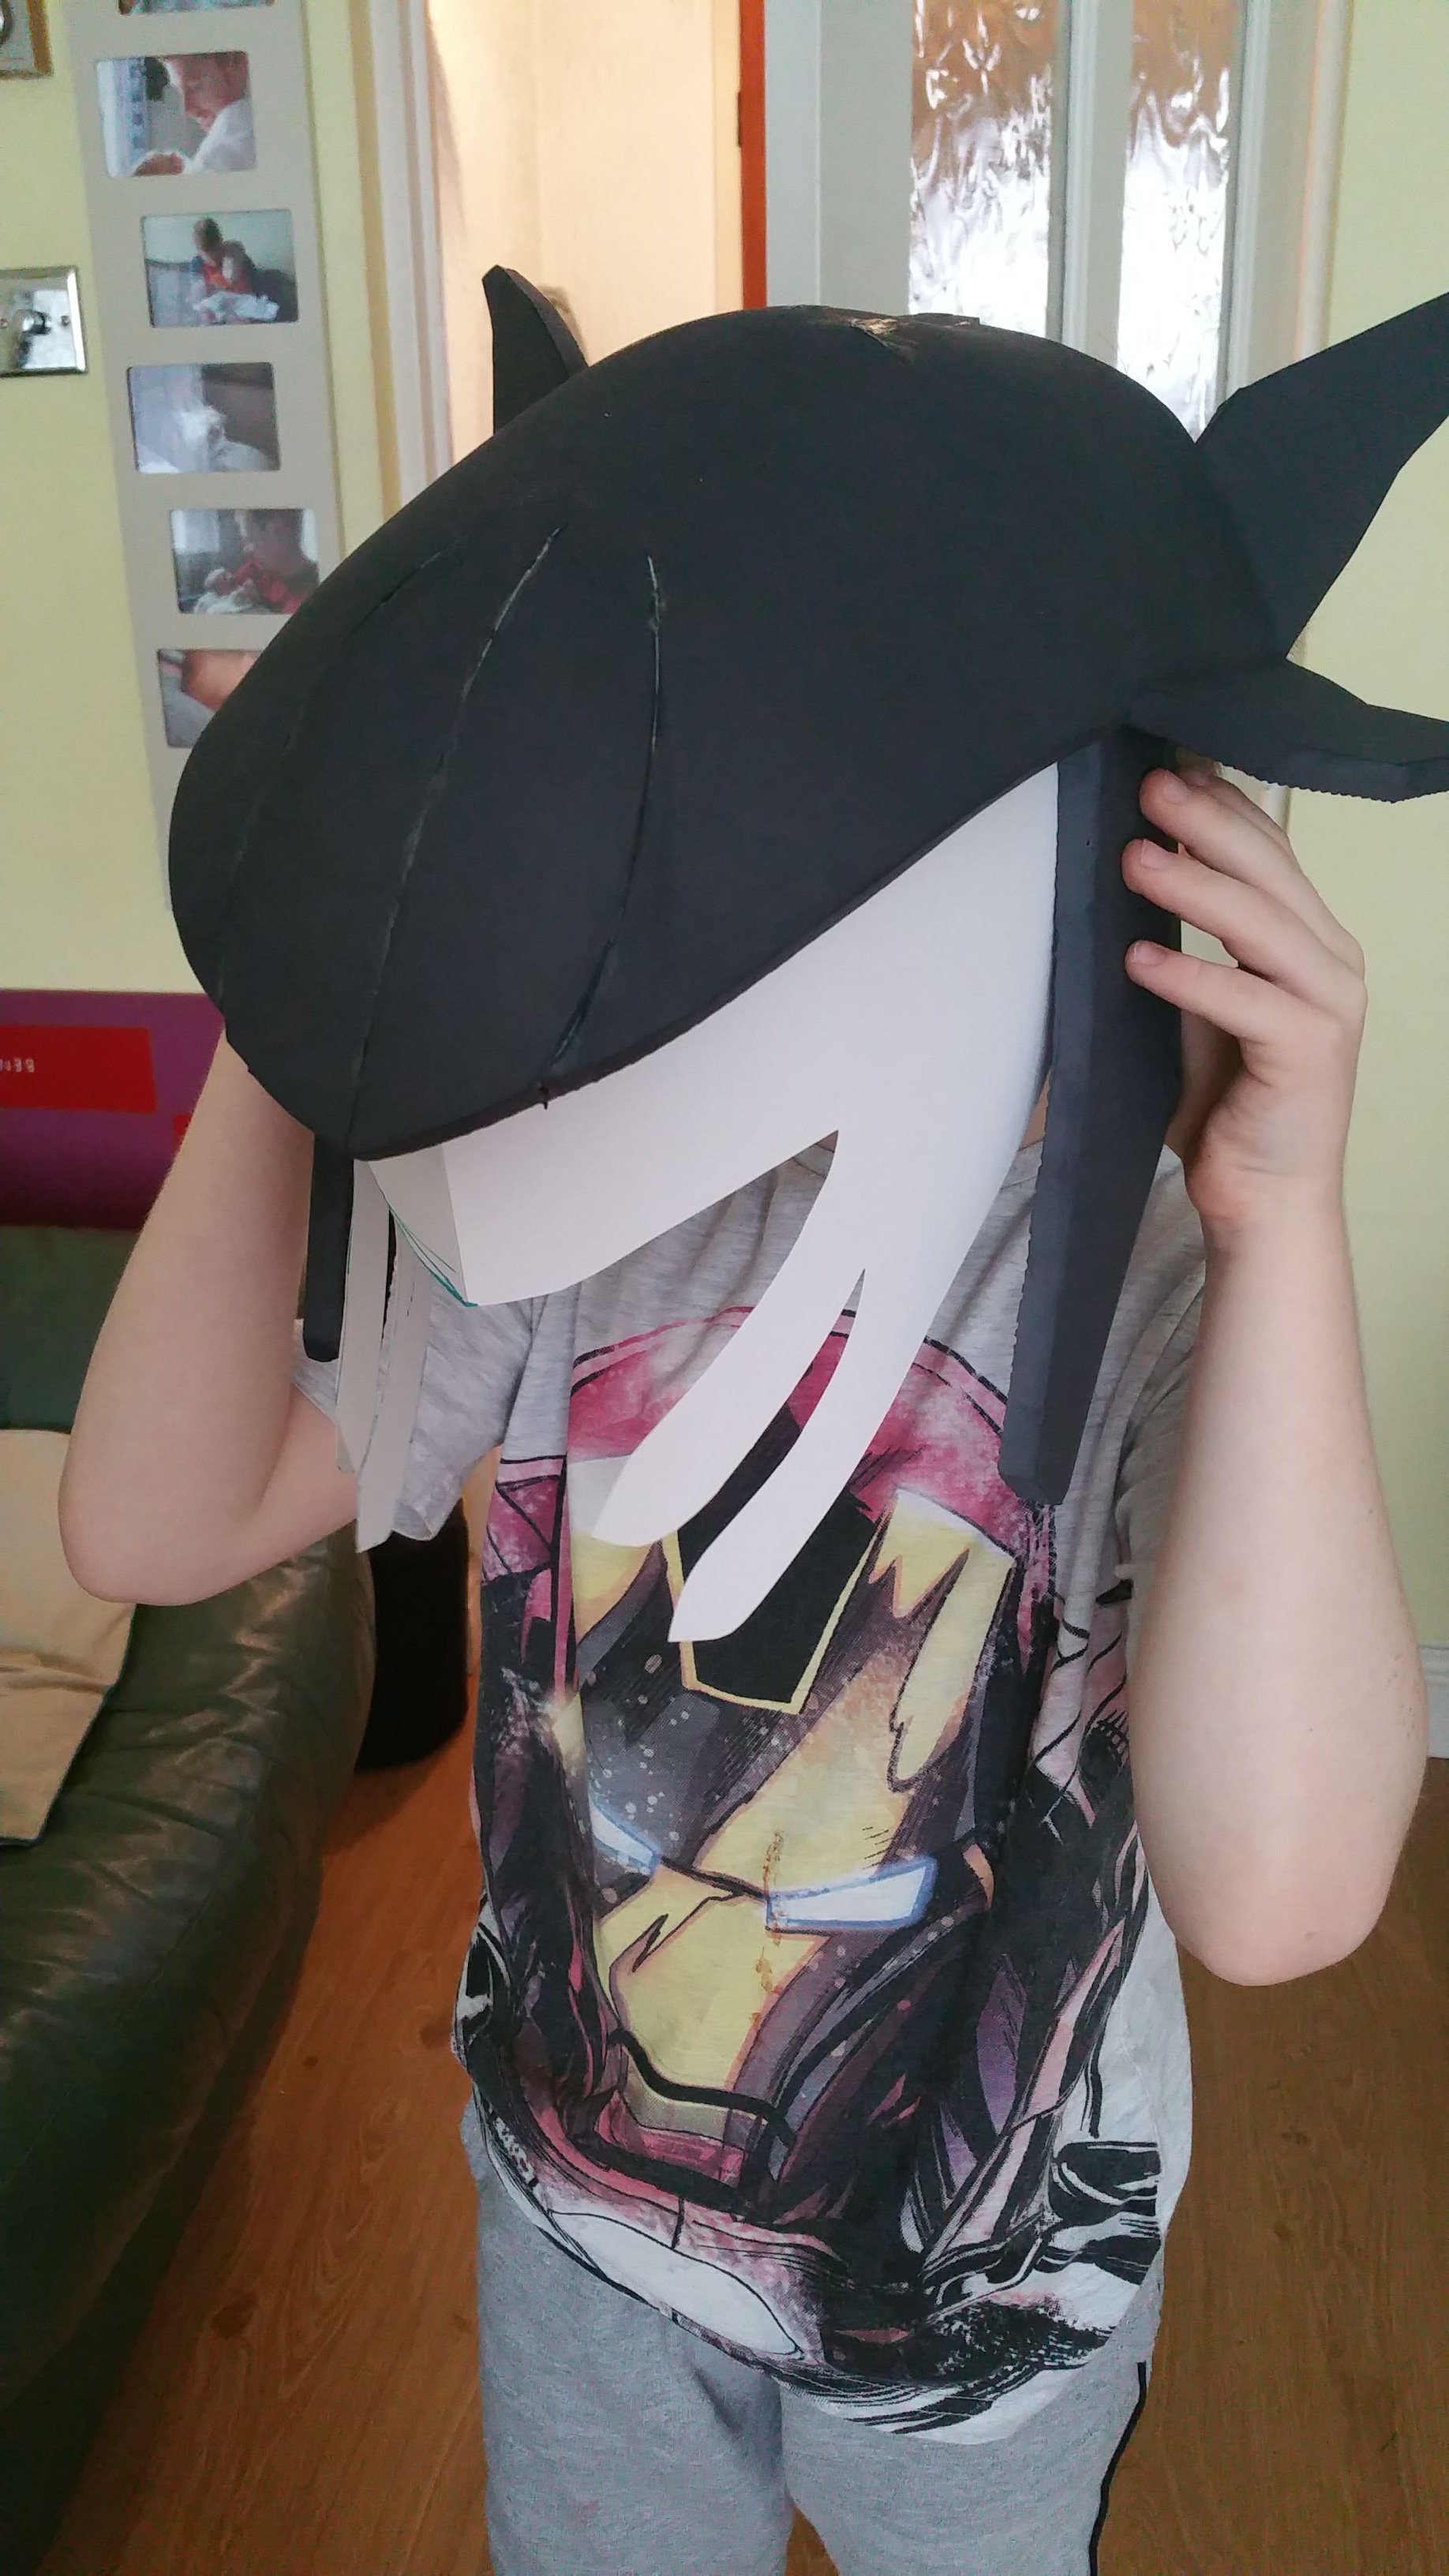
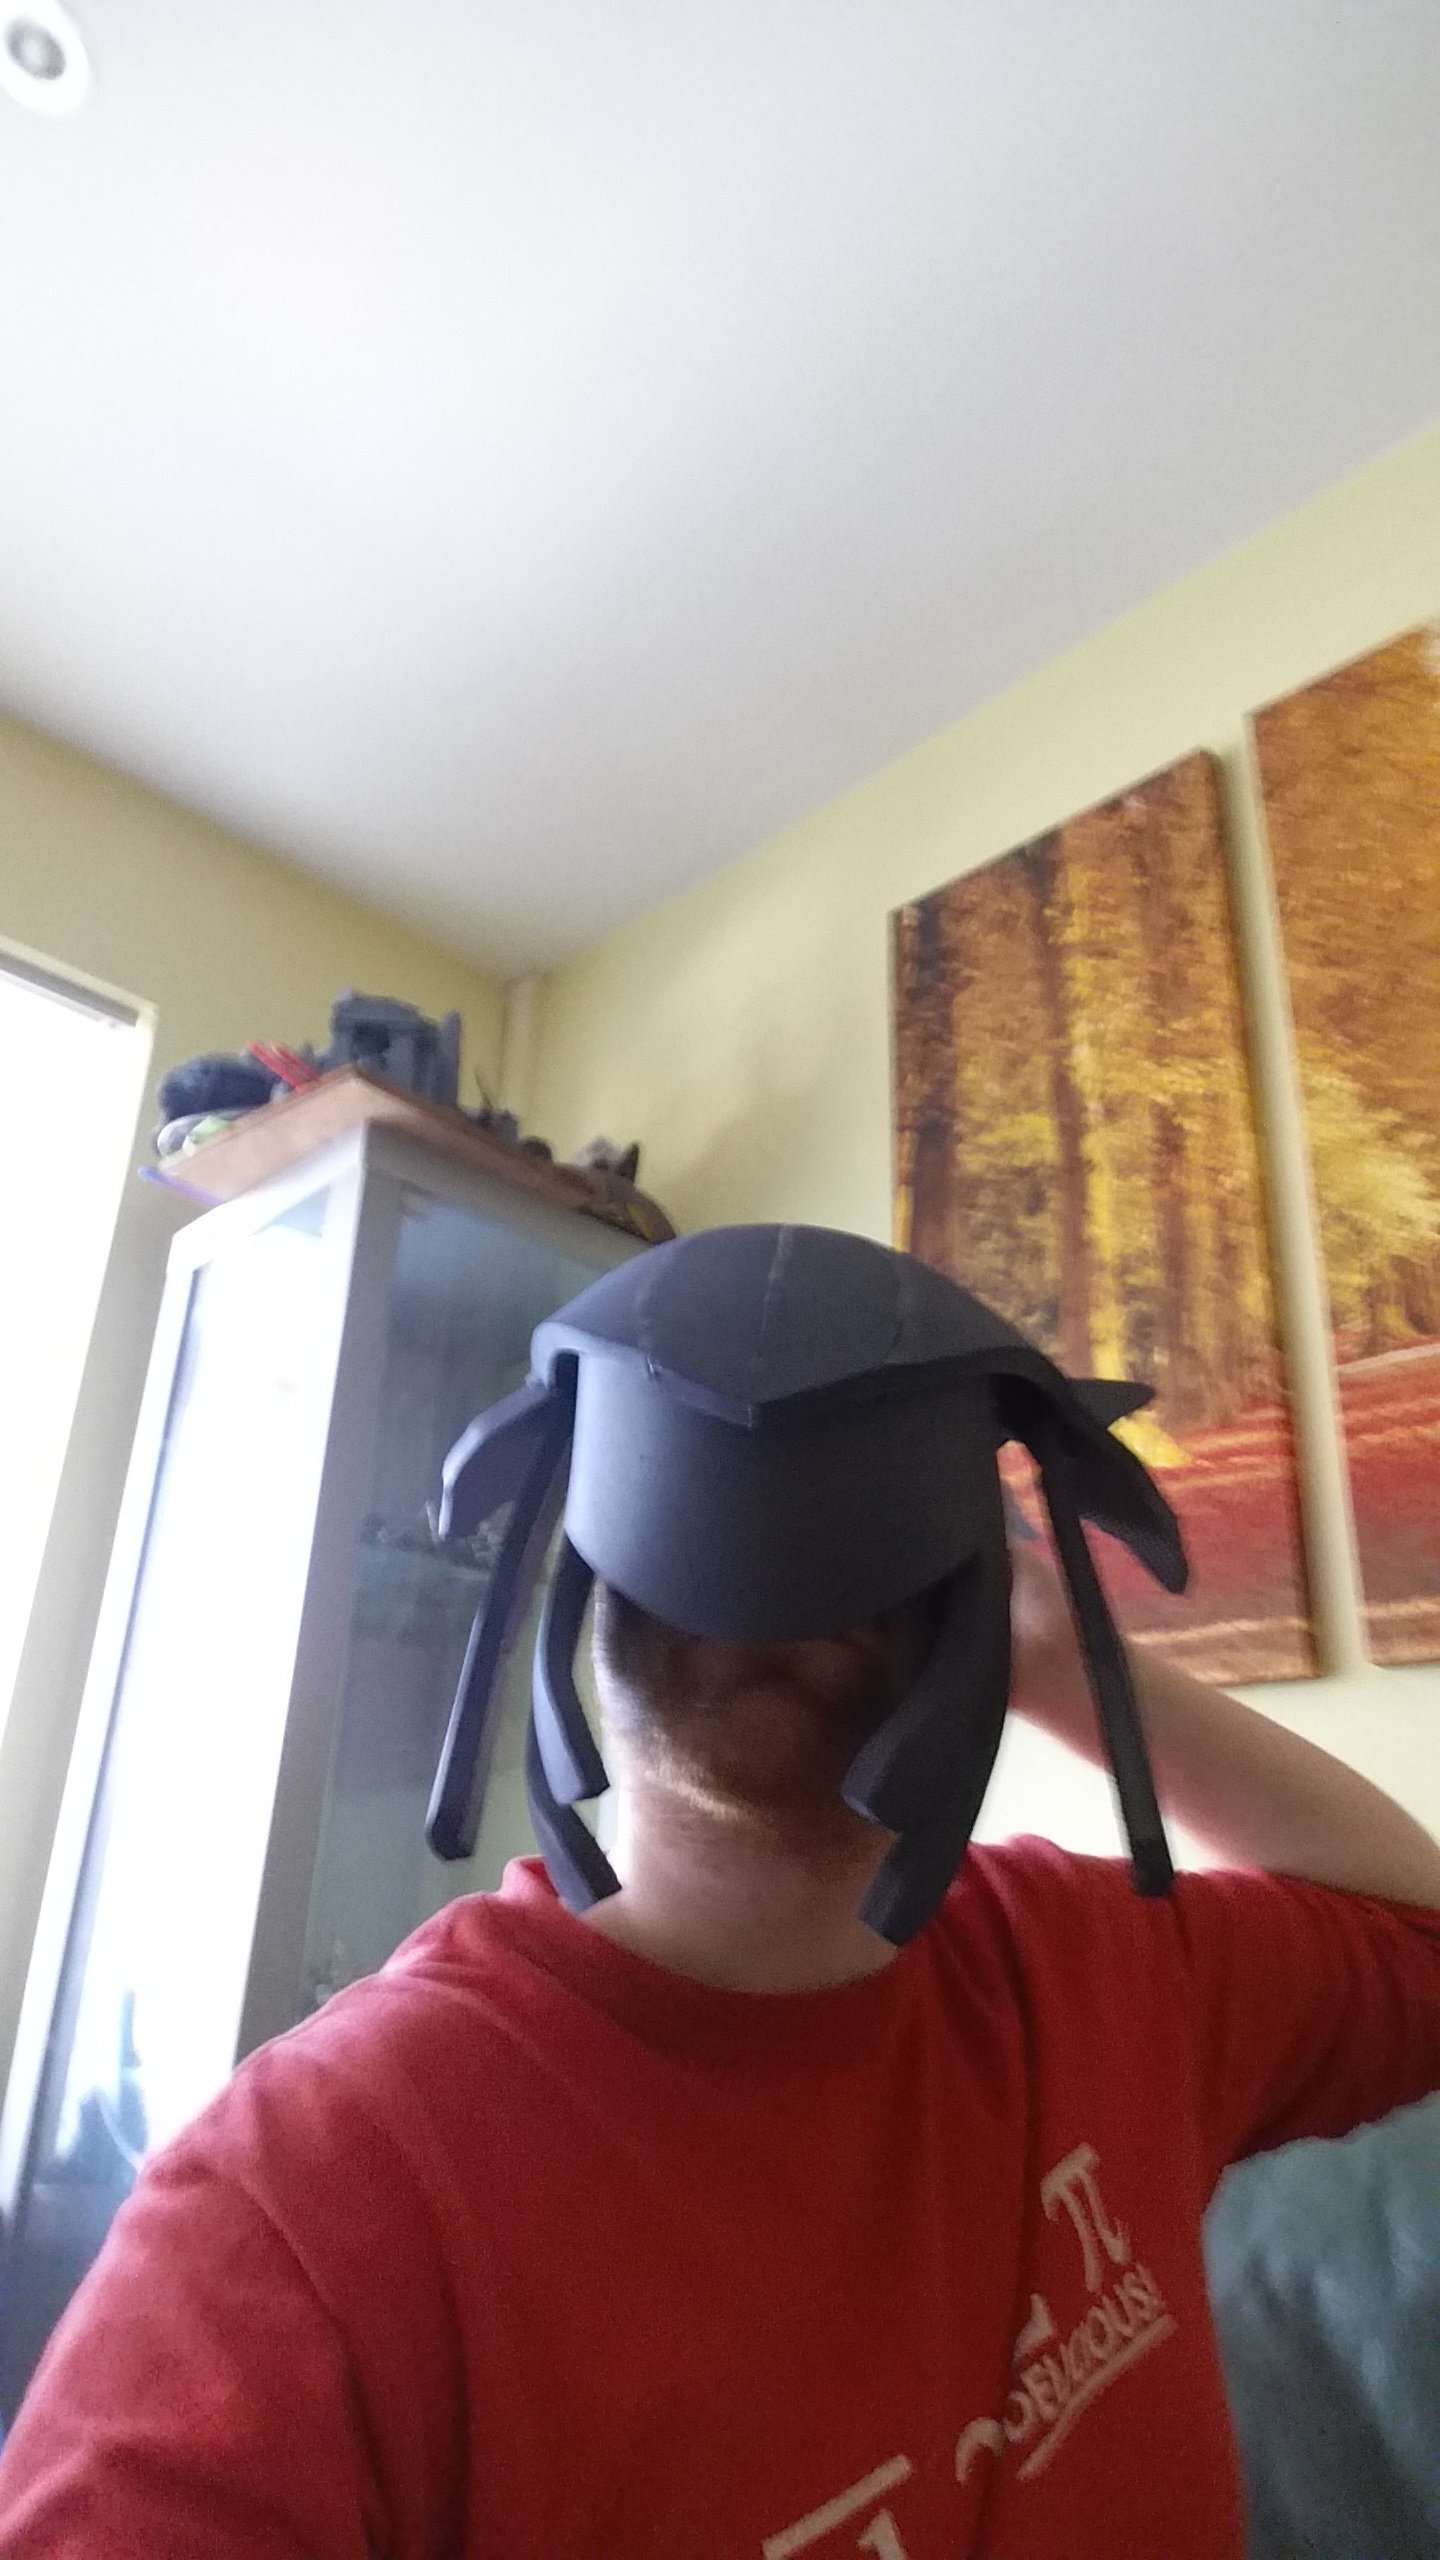
Got my kid to help out as a head model.
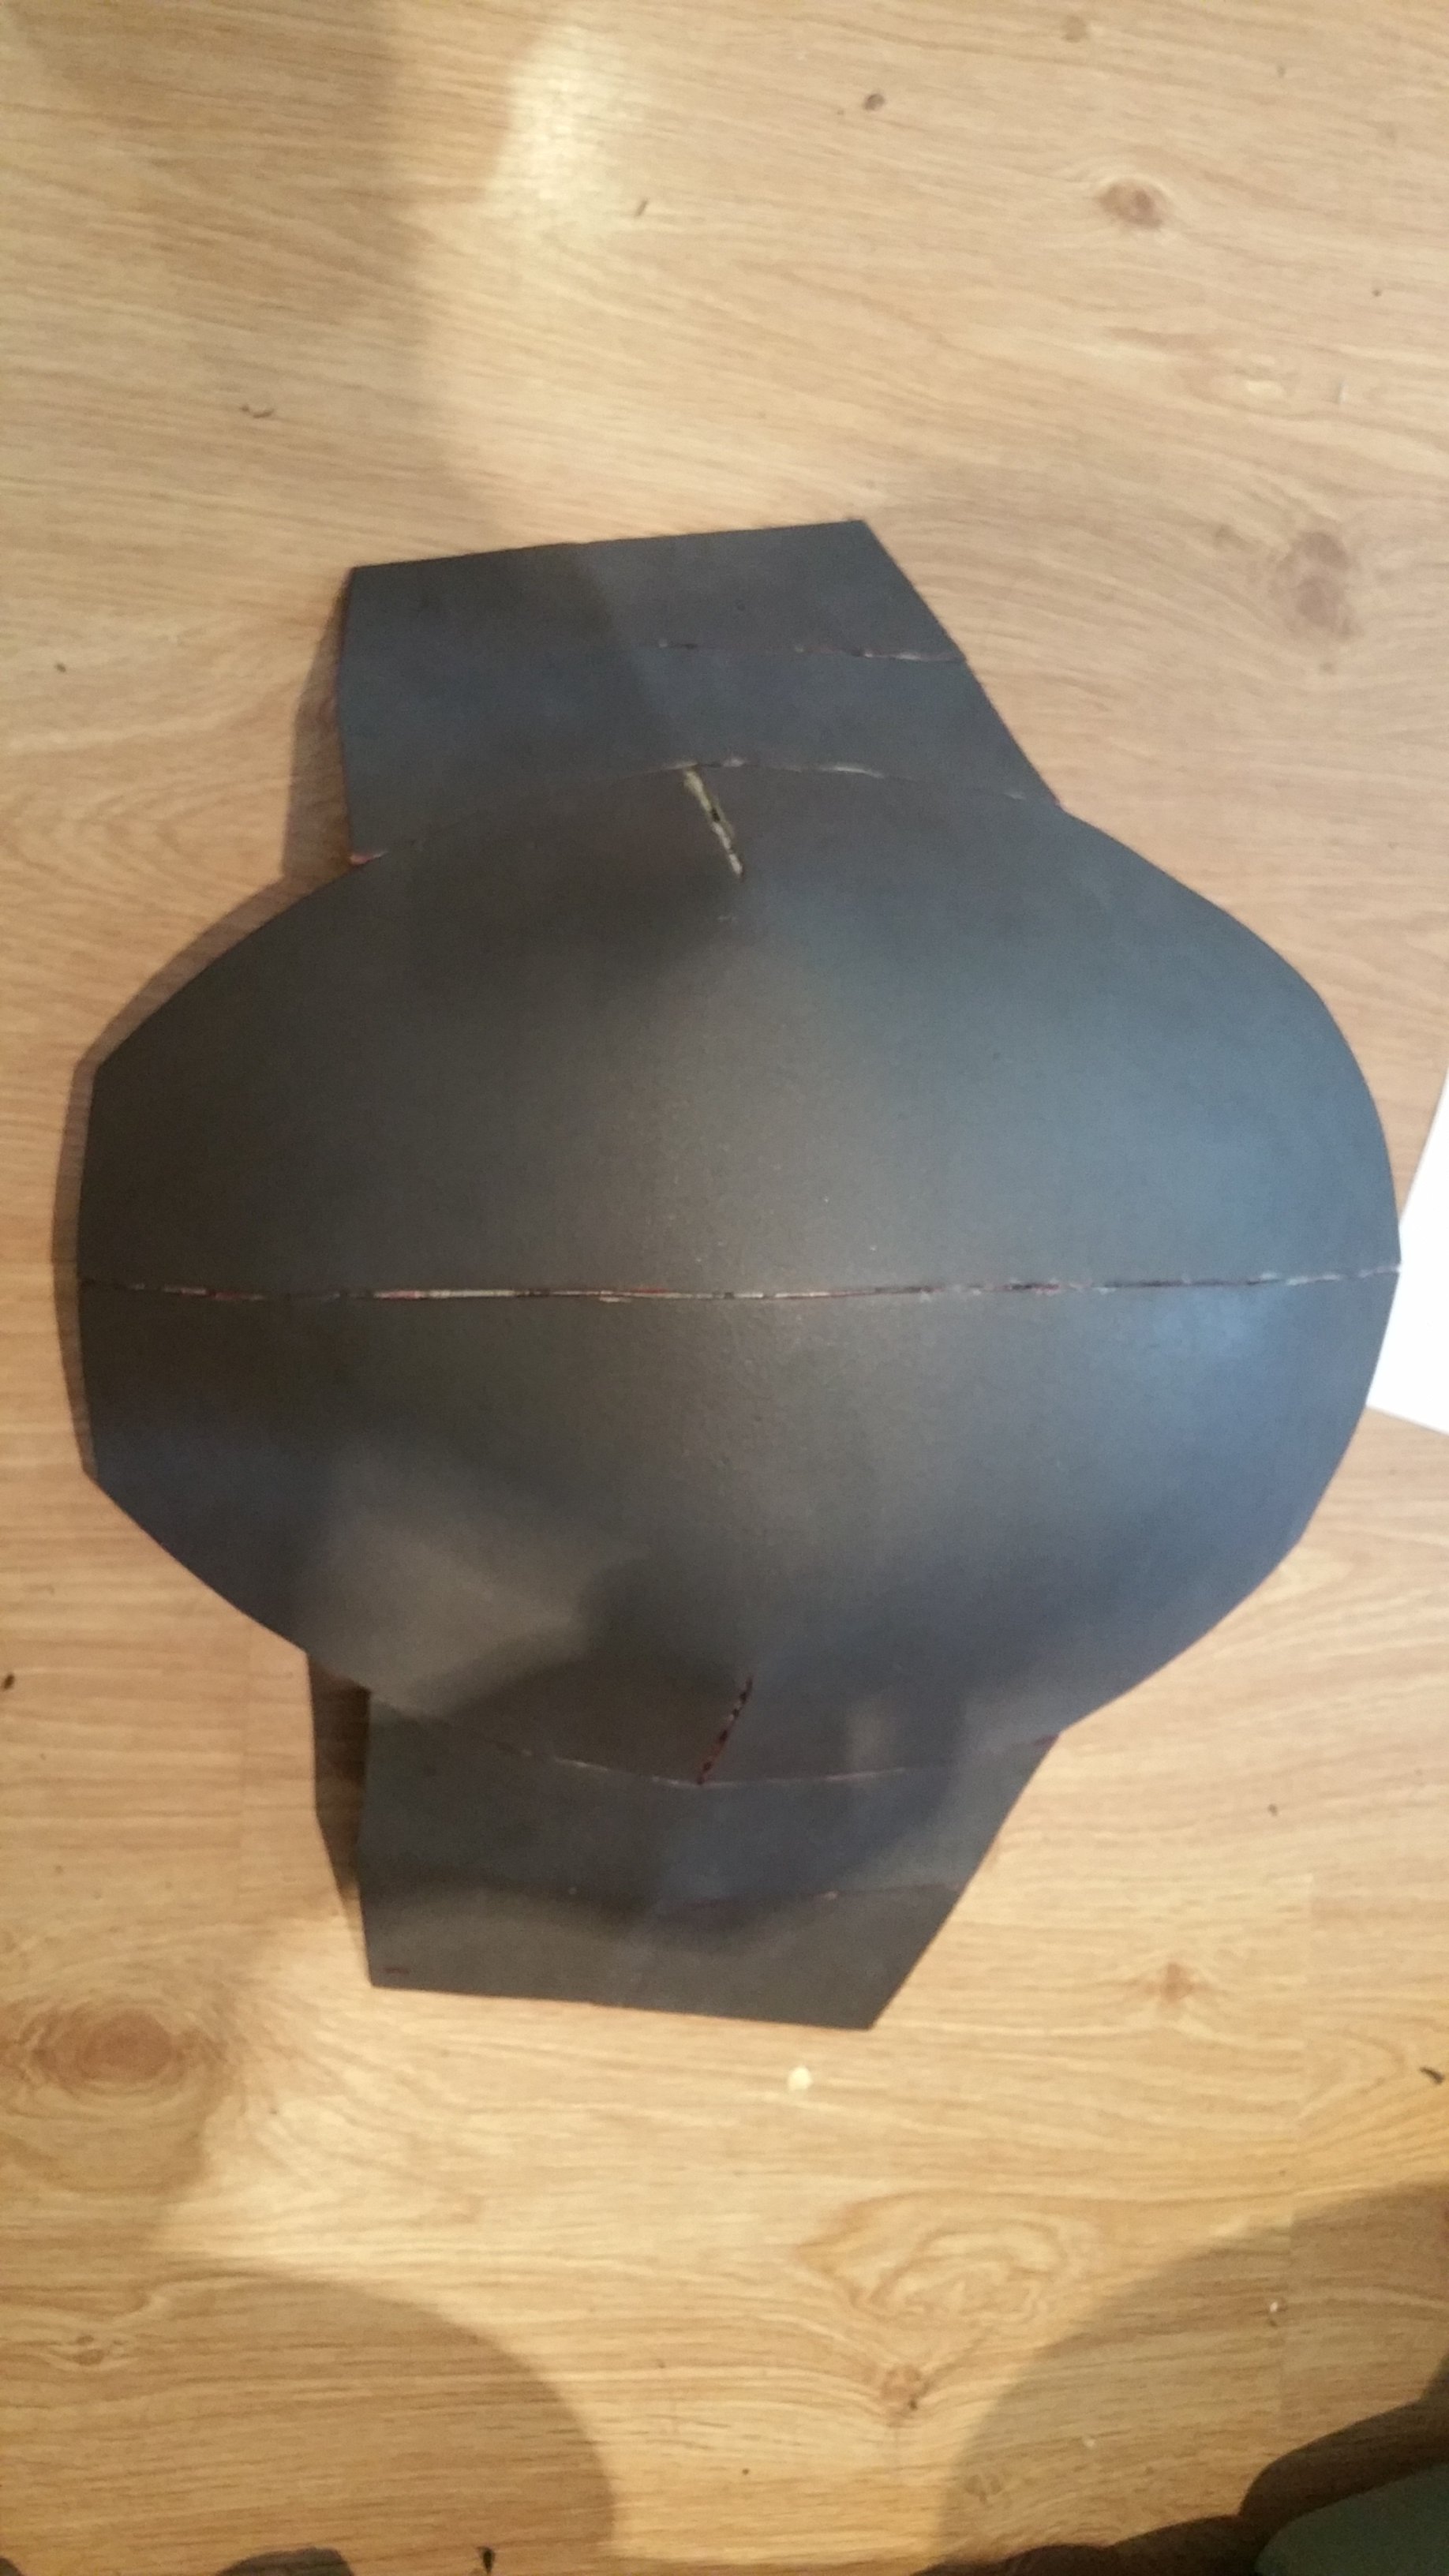
Then added a face from freehand pattern guessing.
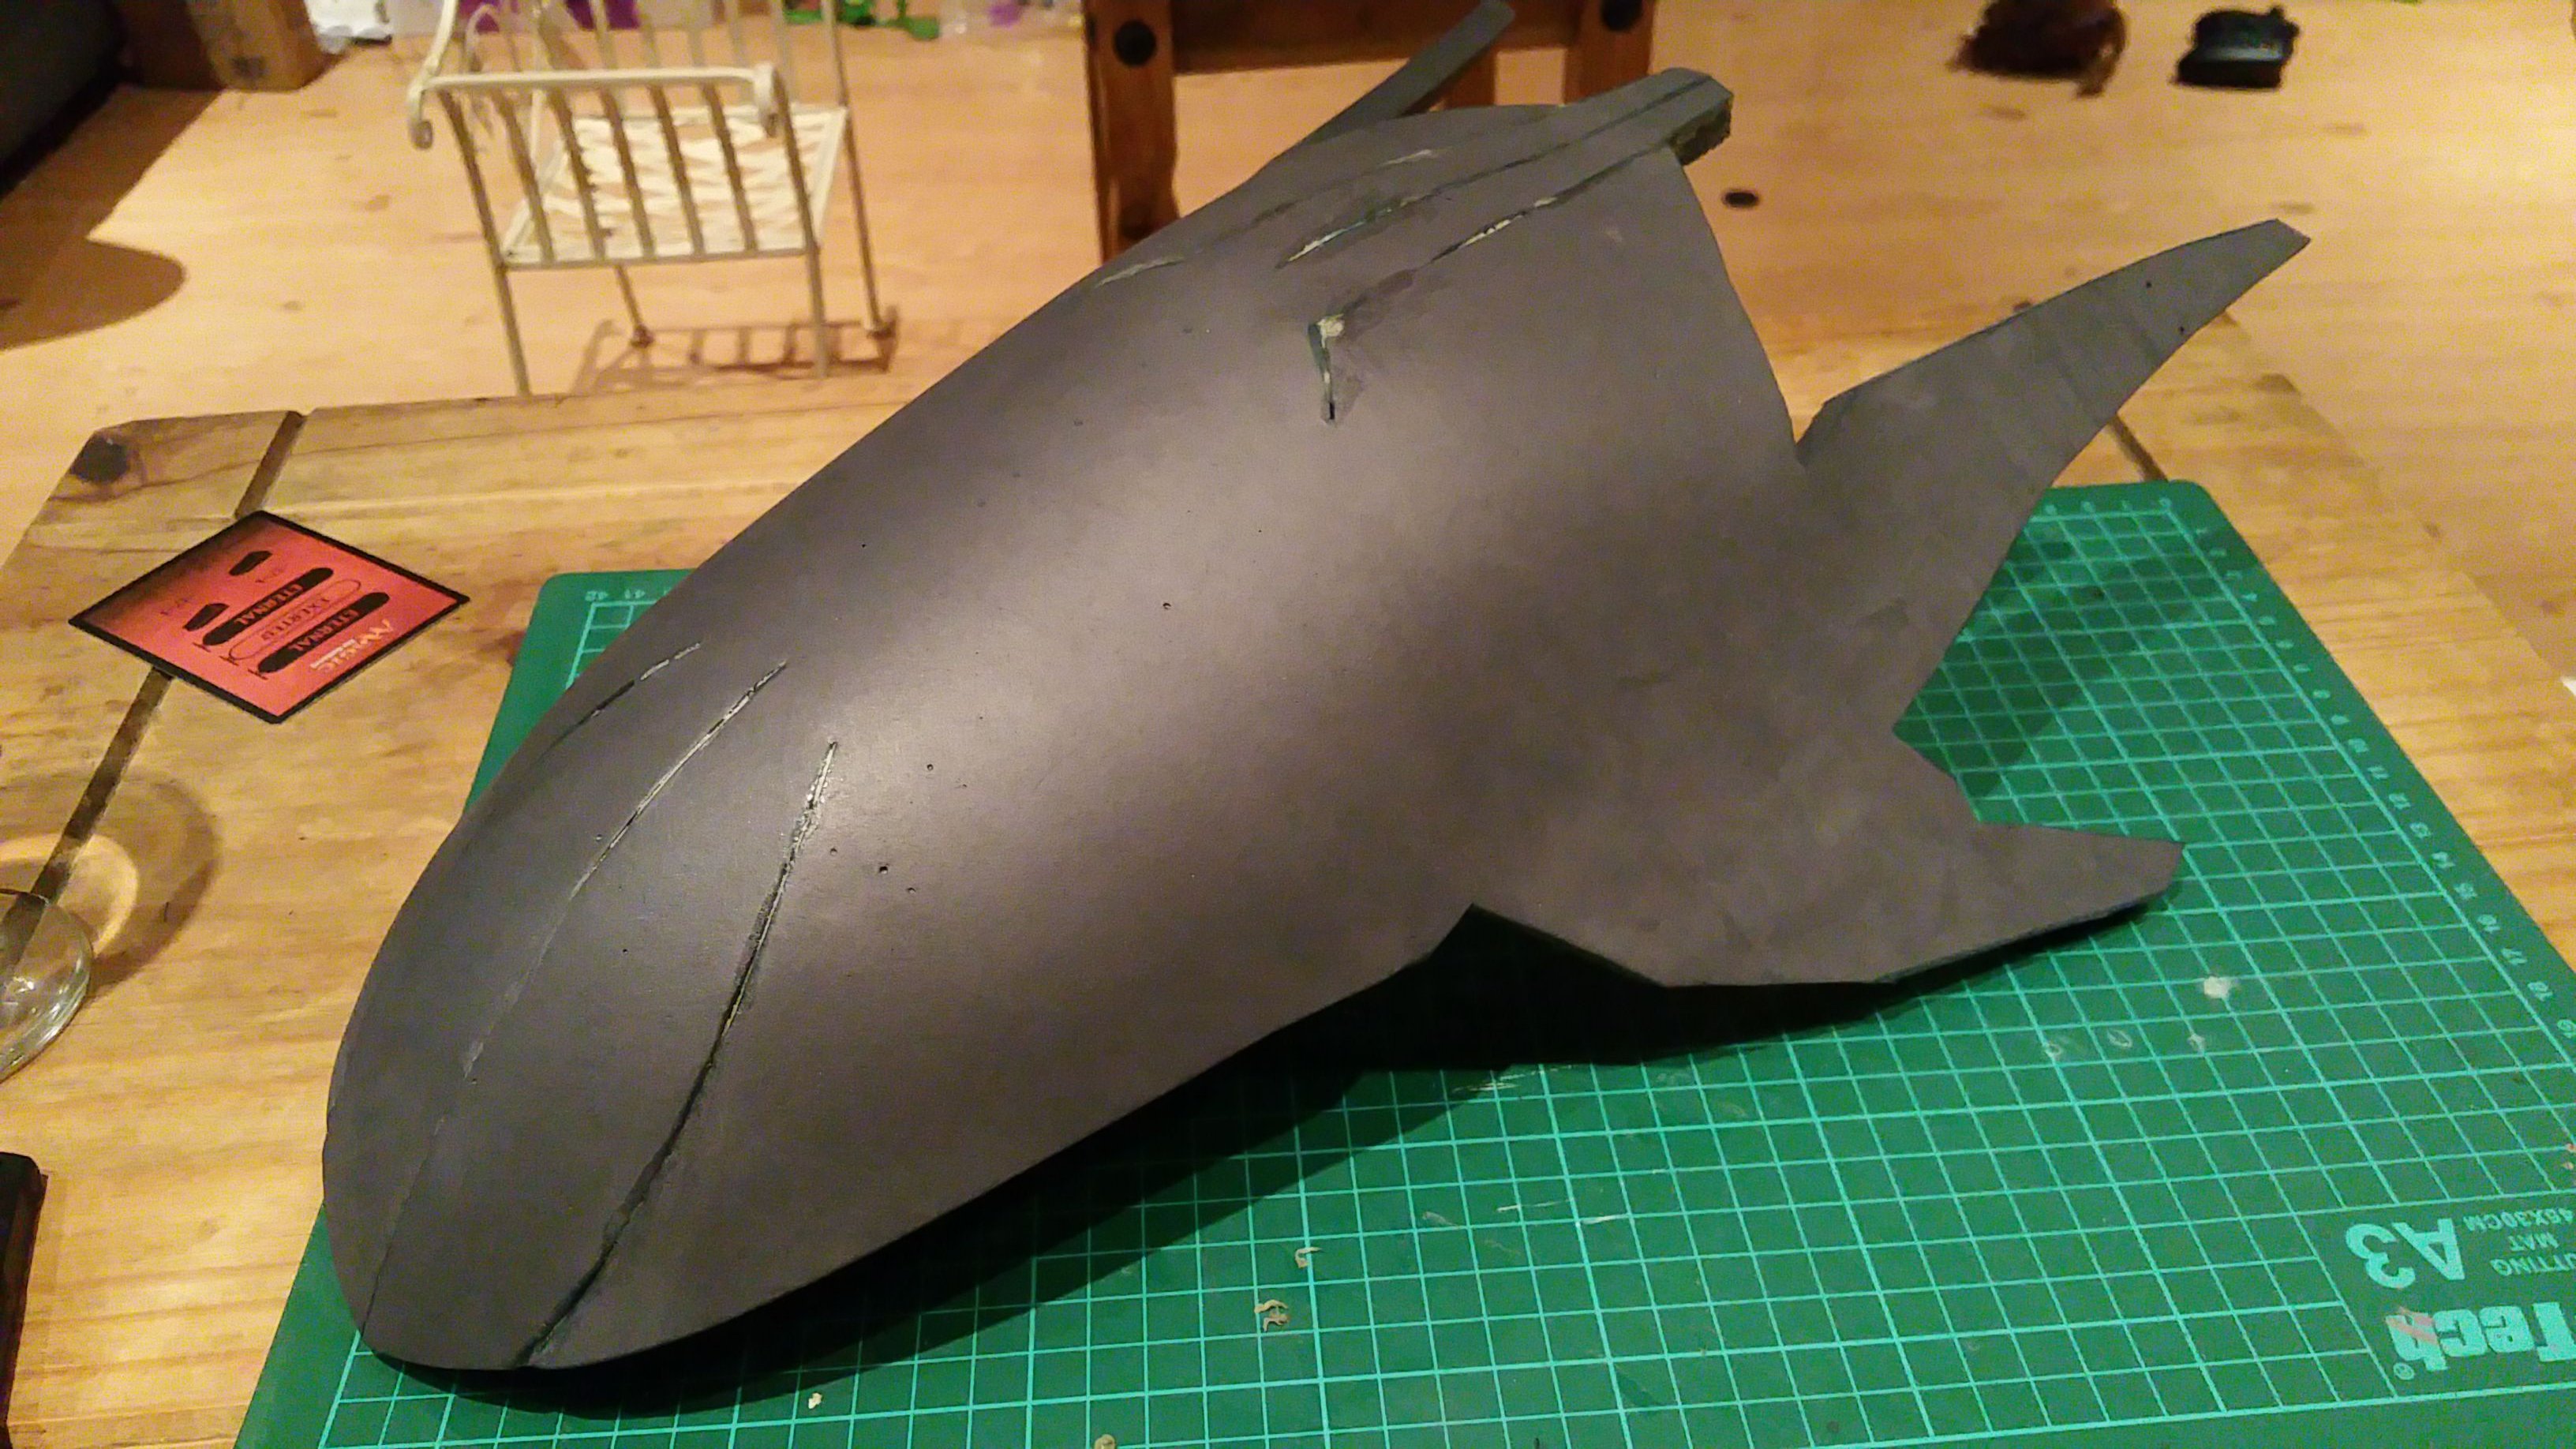
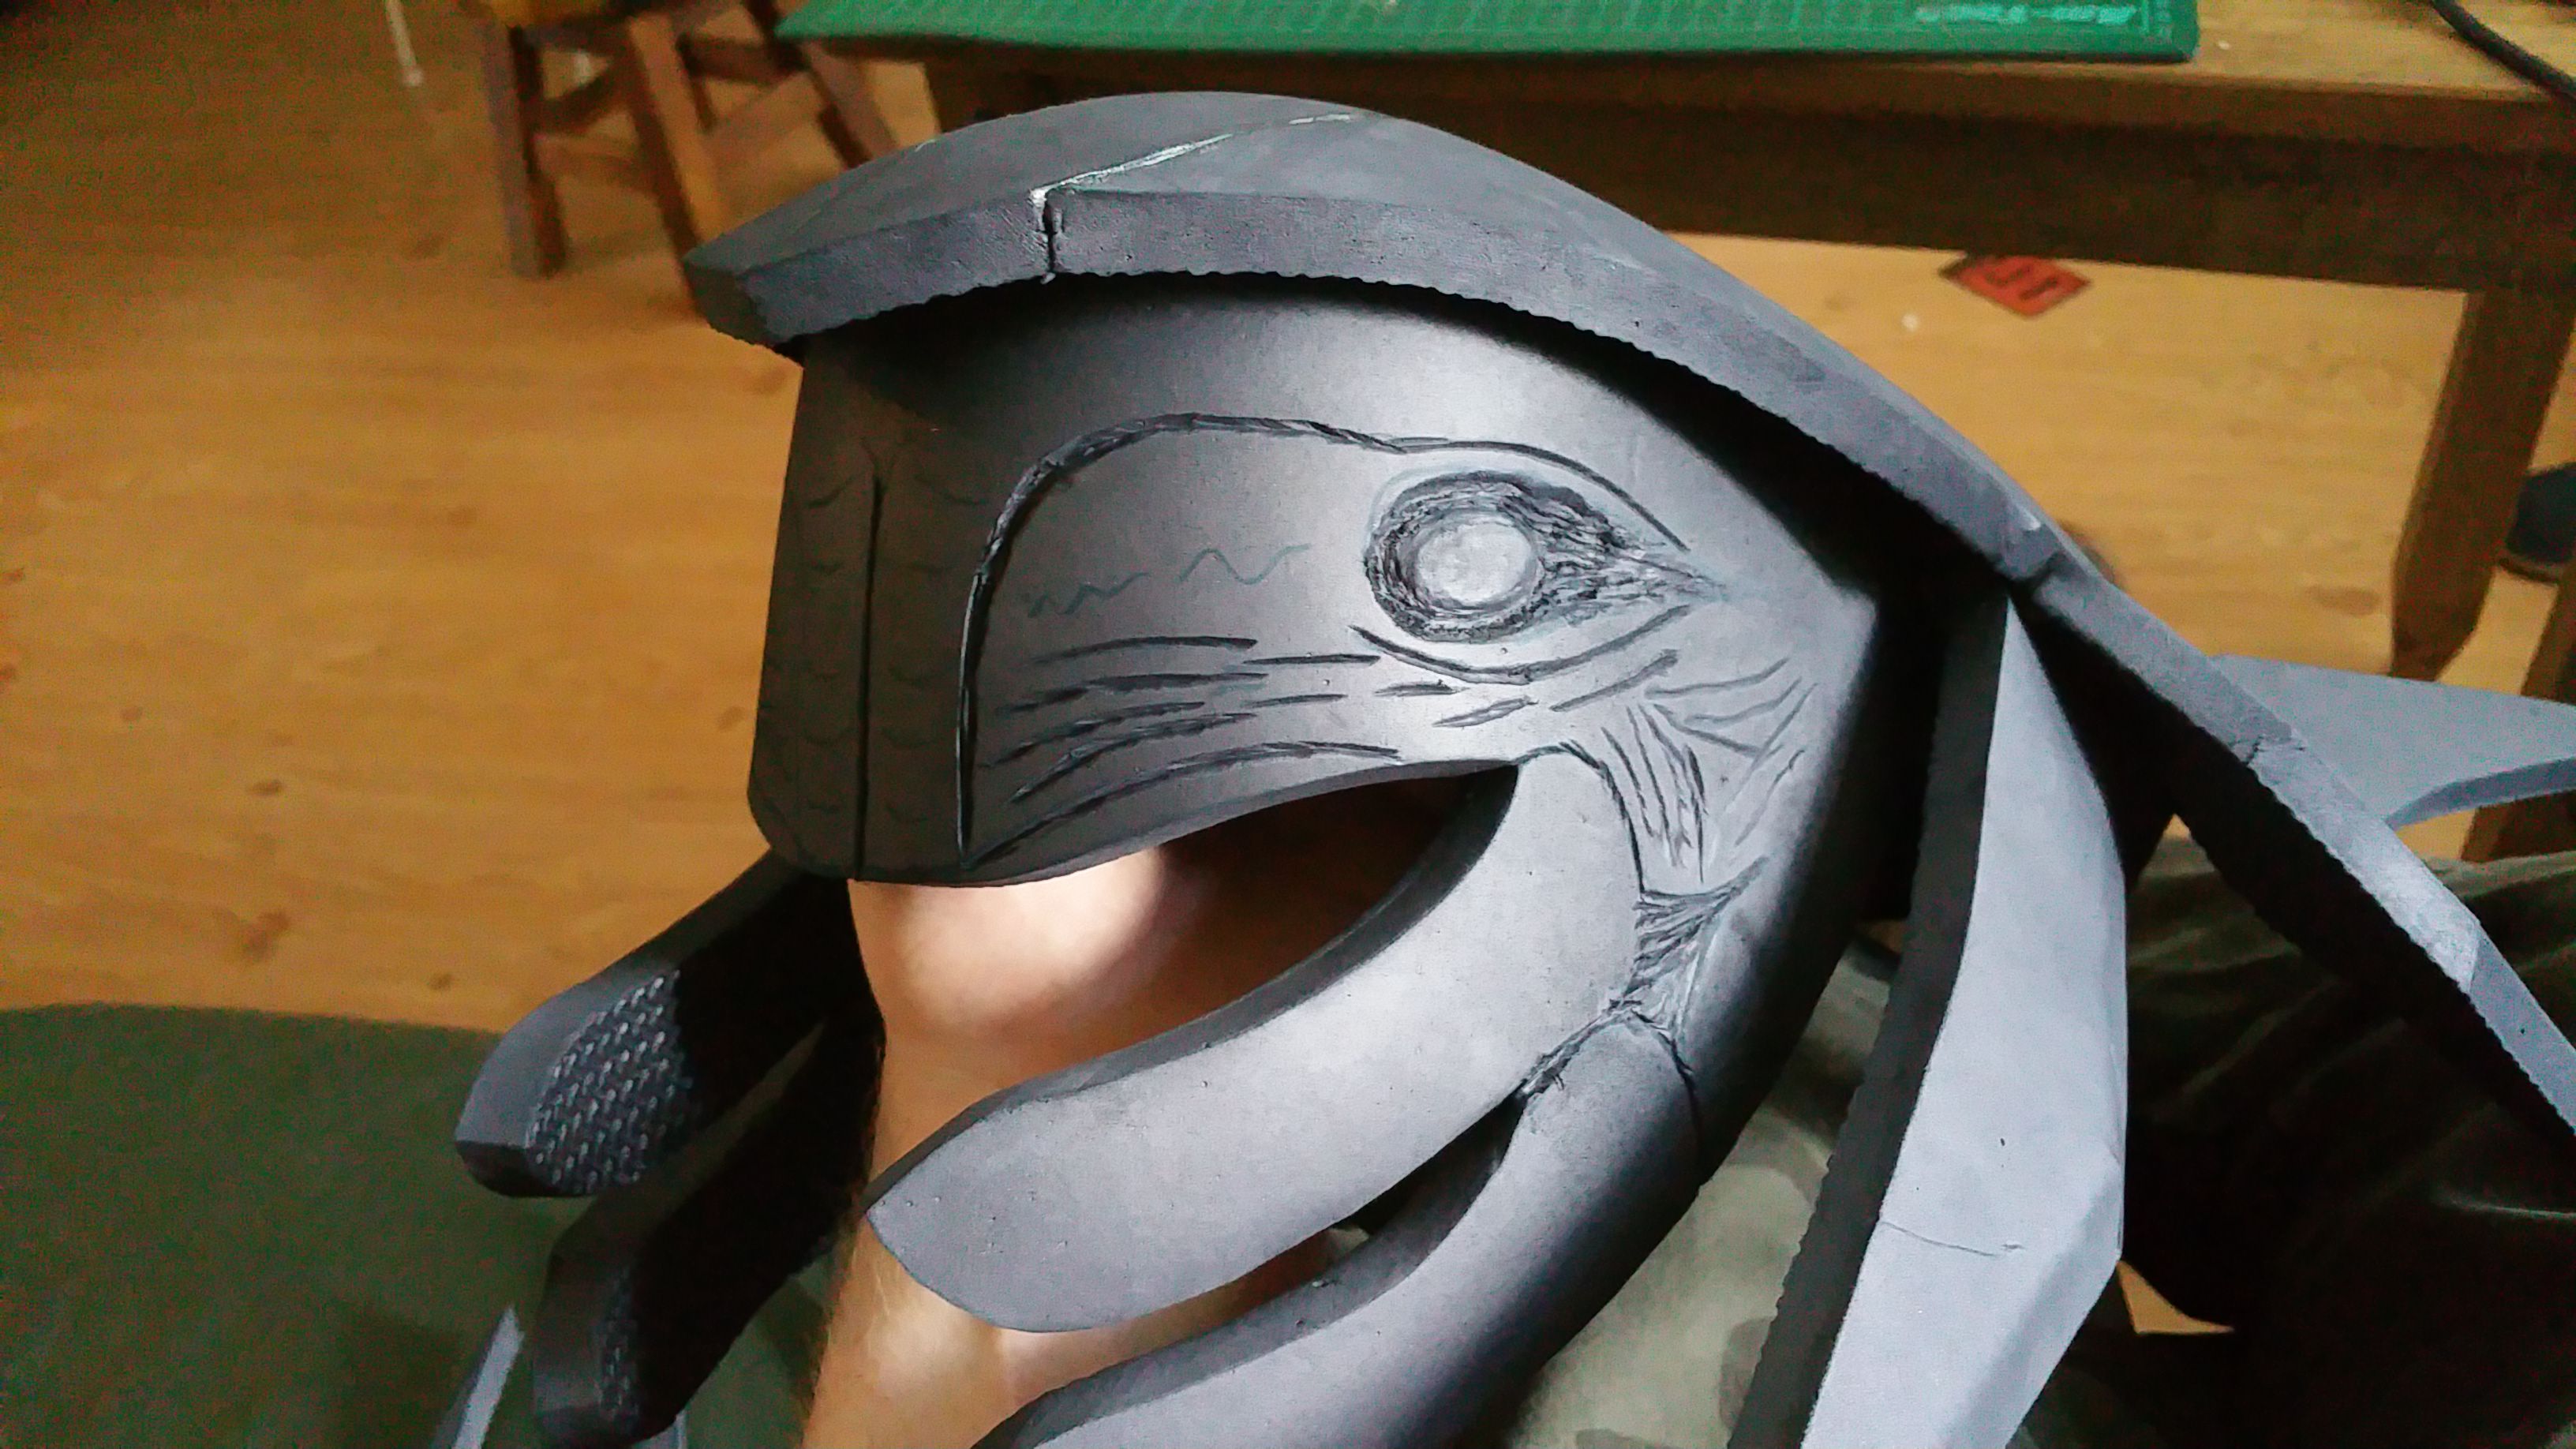
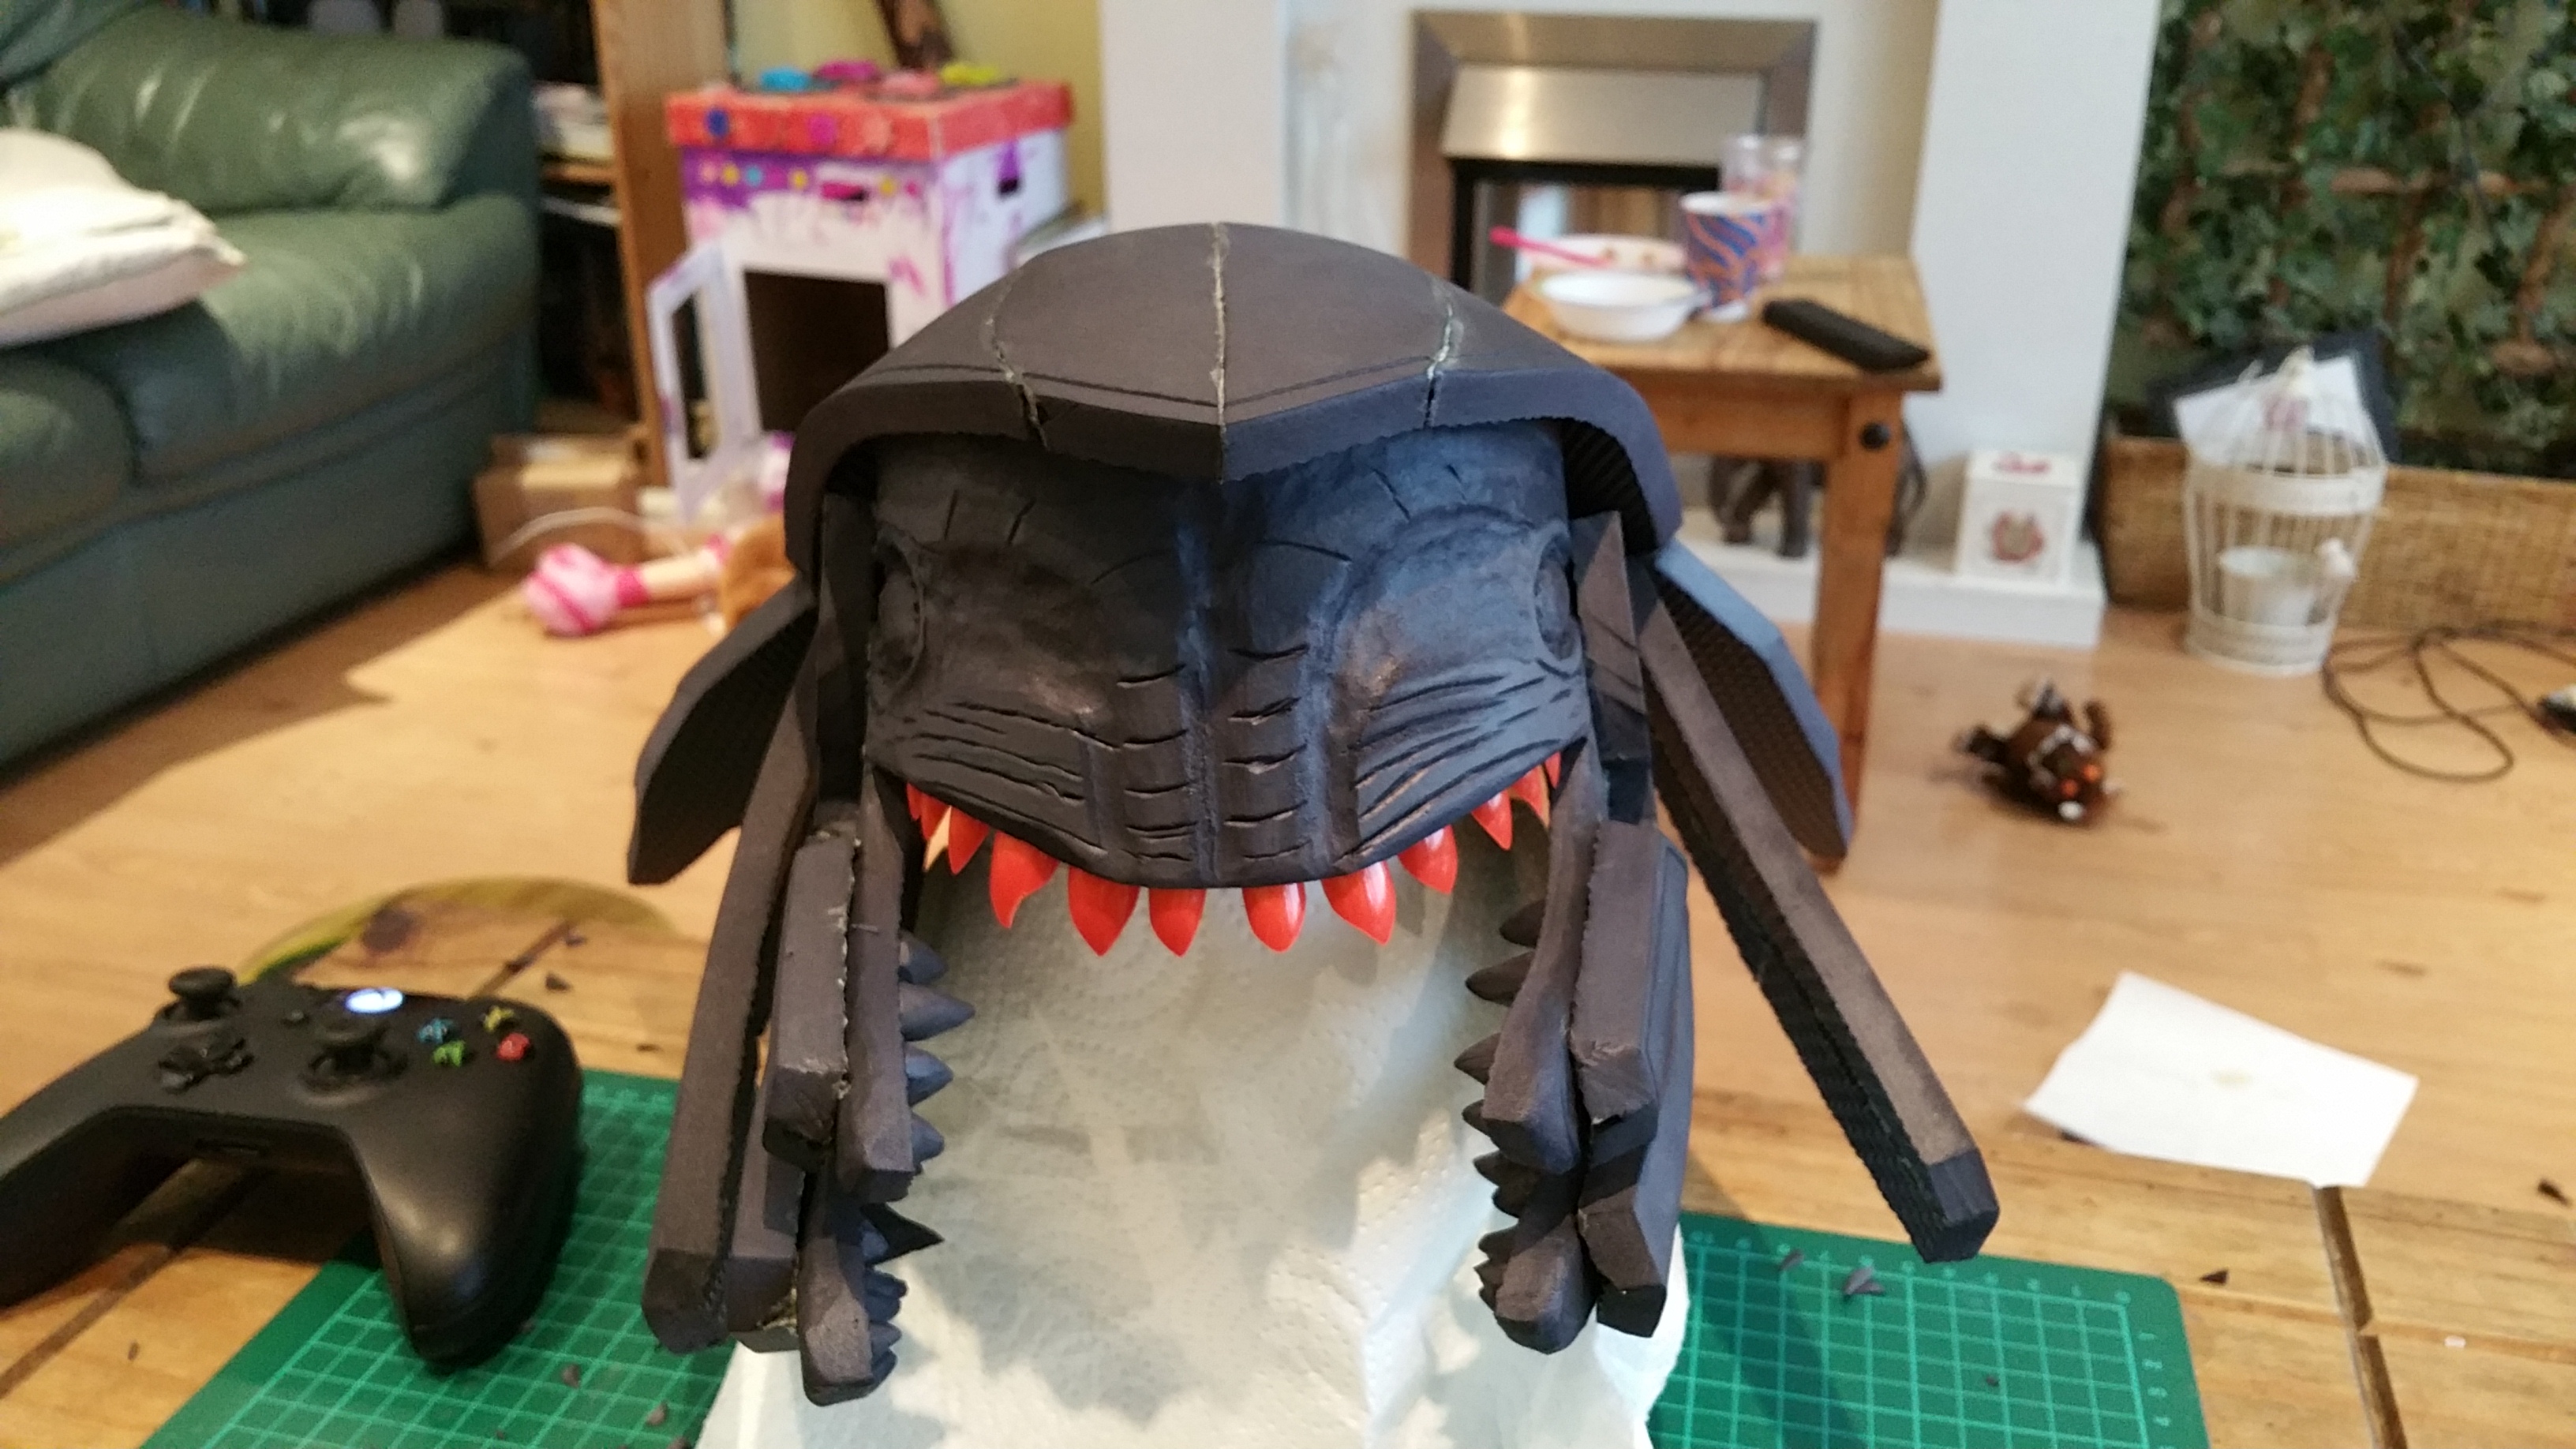
Once this was done, I started to grind details into the foam with a dremil tool and the pink grindy tools. (Told you I was new to this)
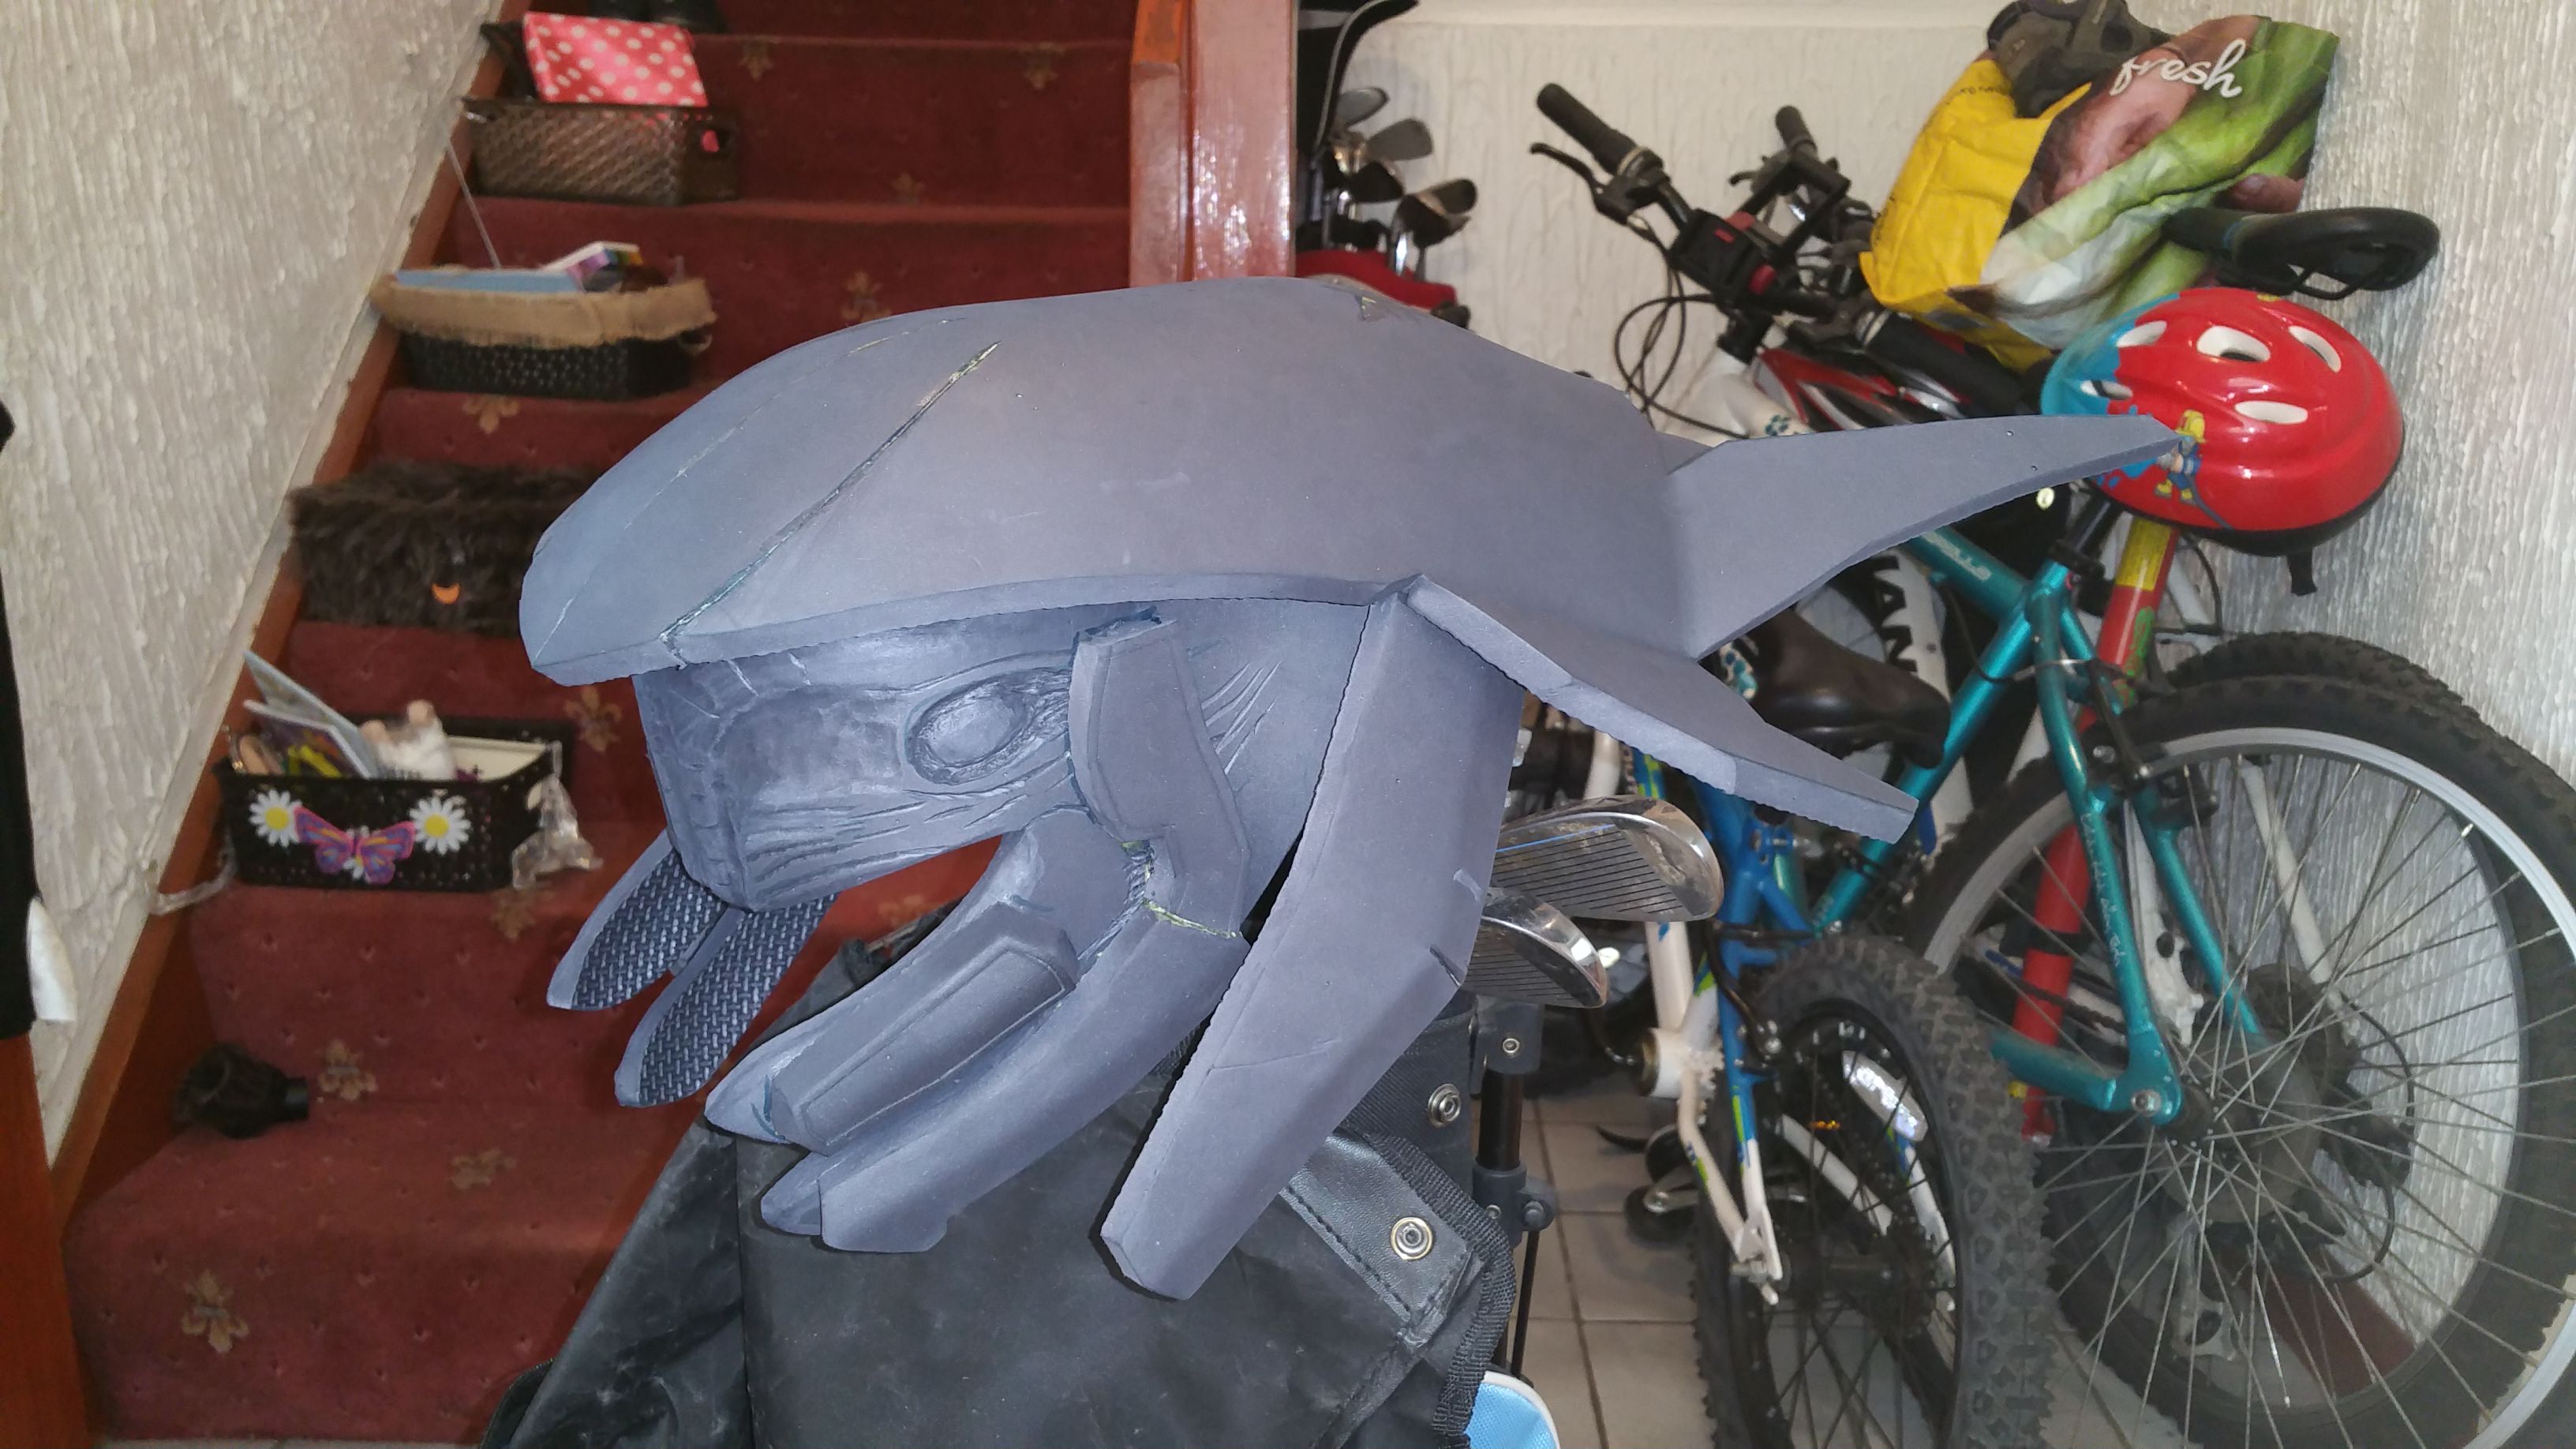
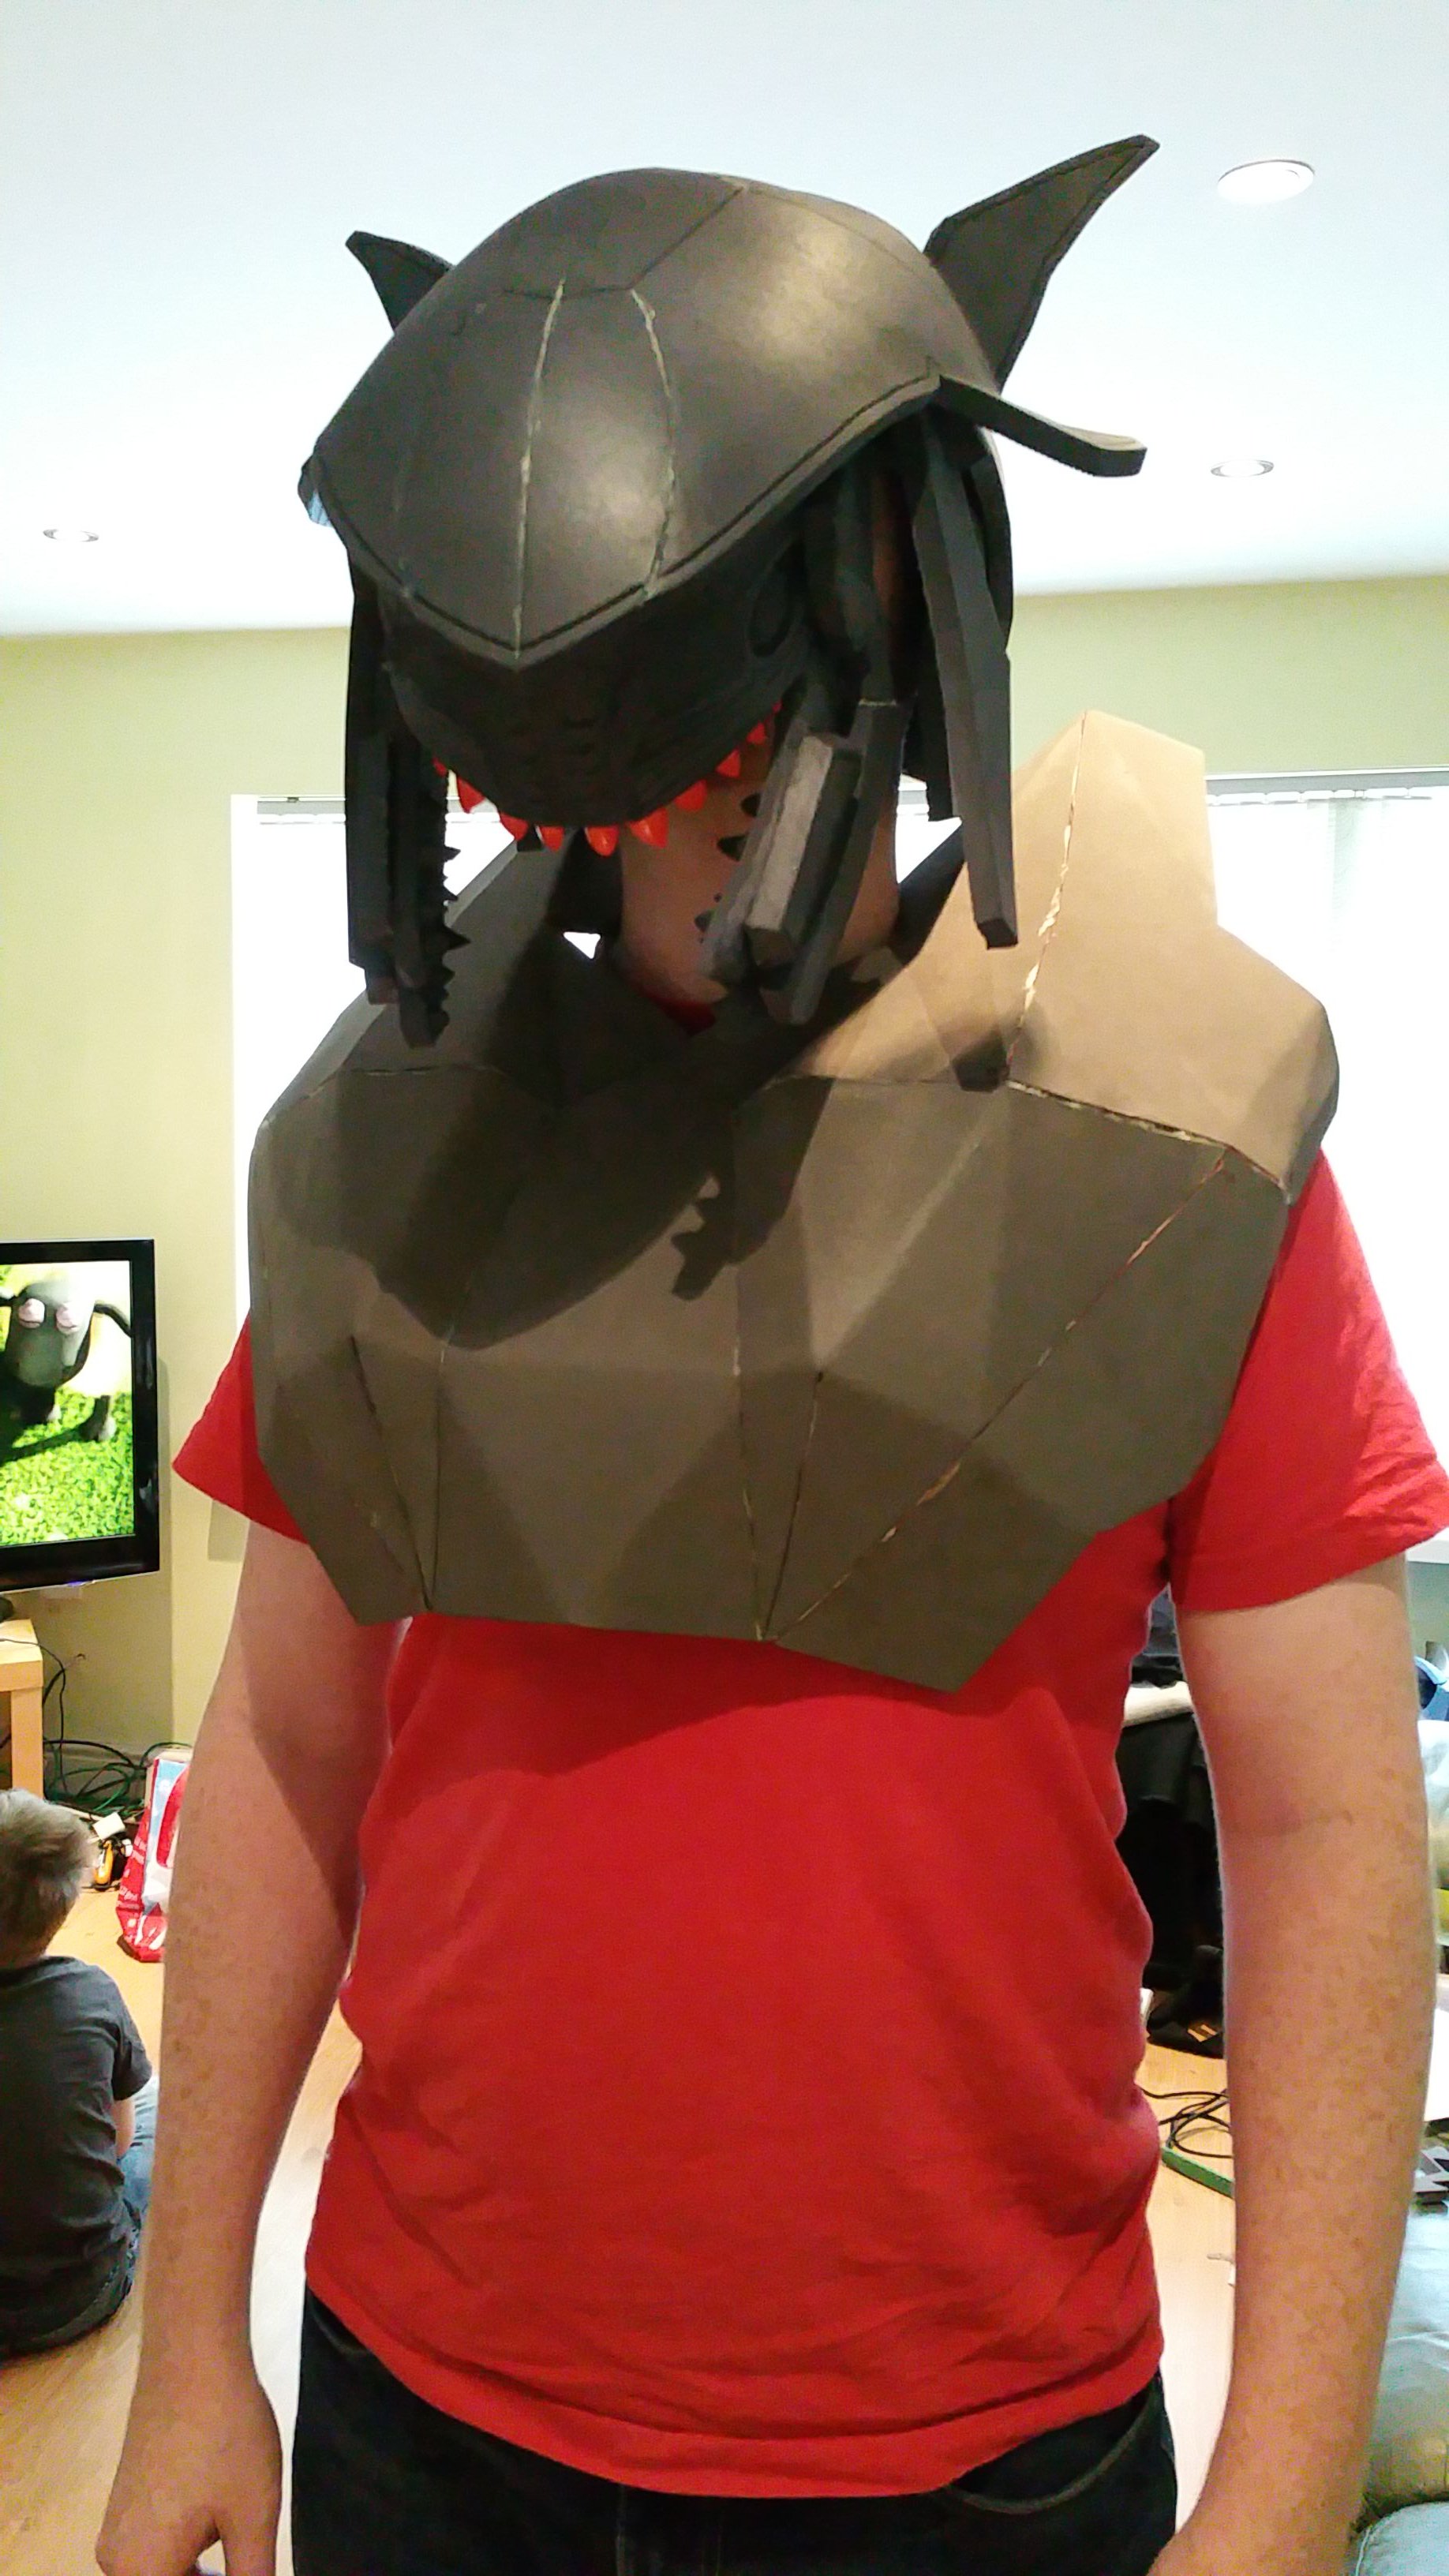
Built up the detail and then added false nails cut with scissors for top teeth.
For the mandible teeth I needed more cone shaped teeth so asked a mate and he came up with heat formed eva which seems to have come out well.
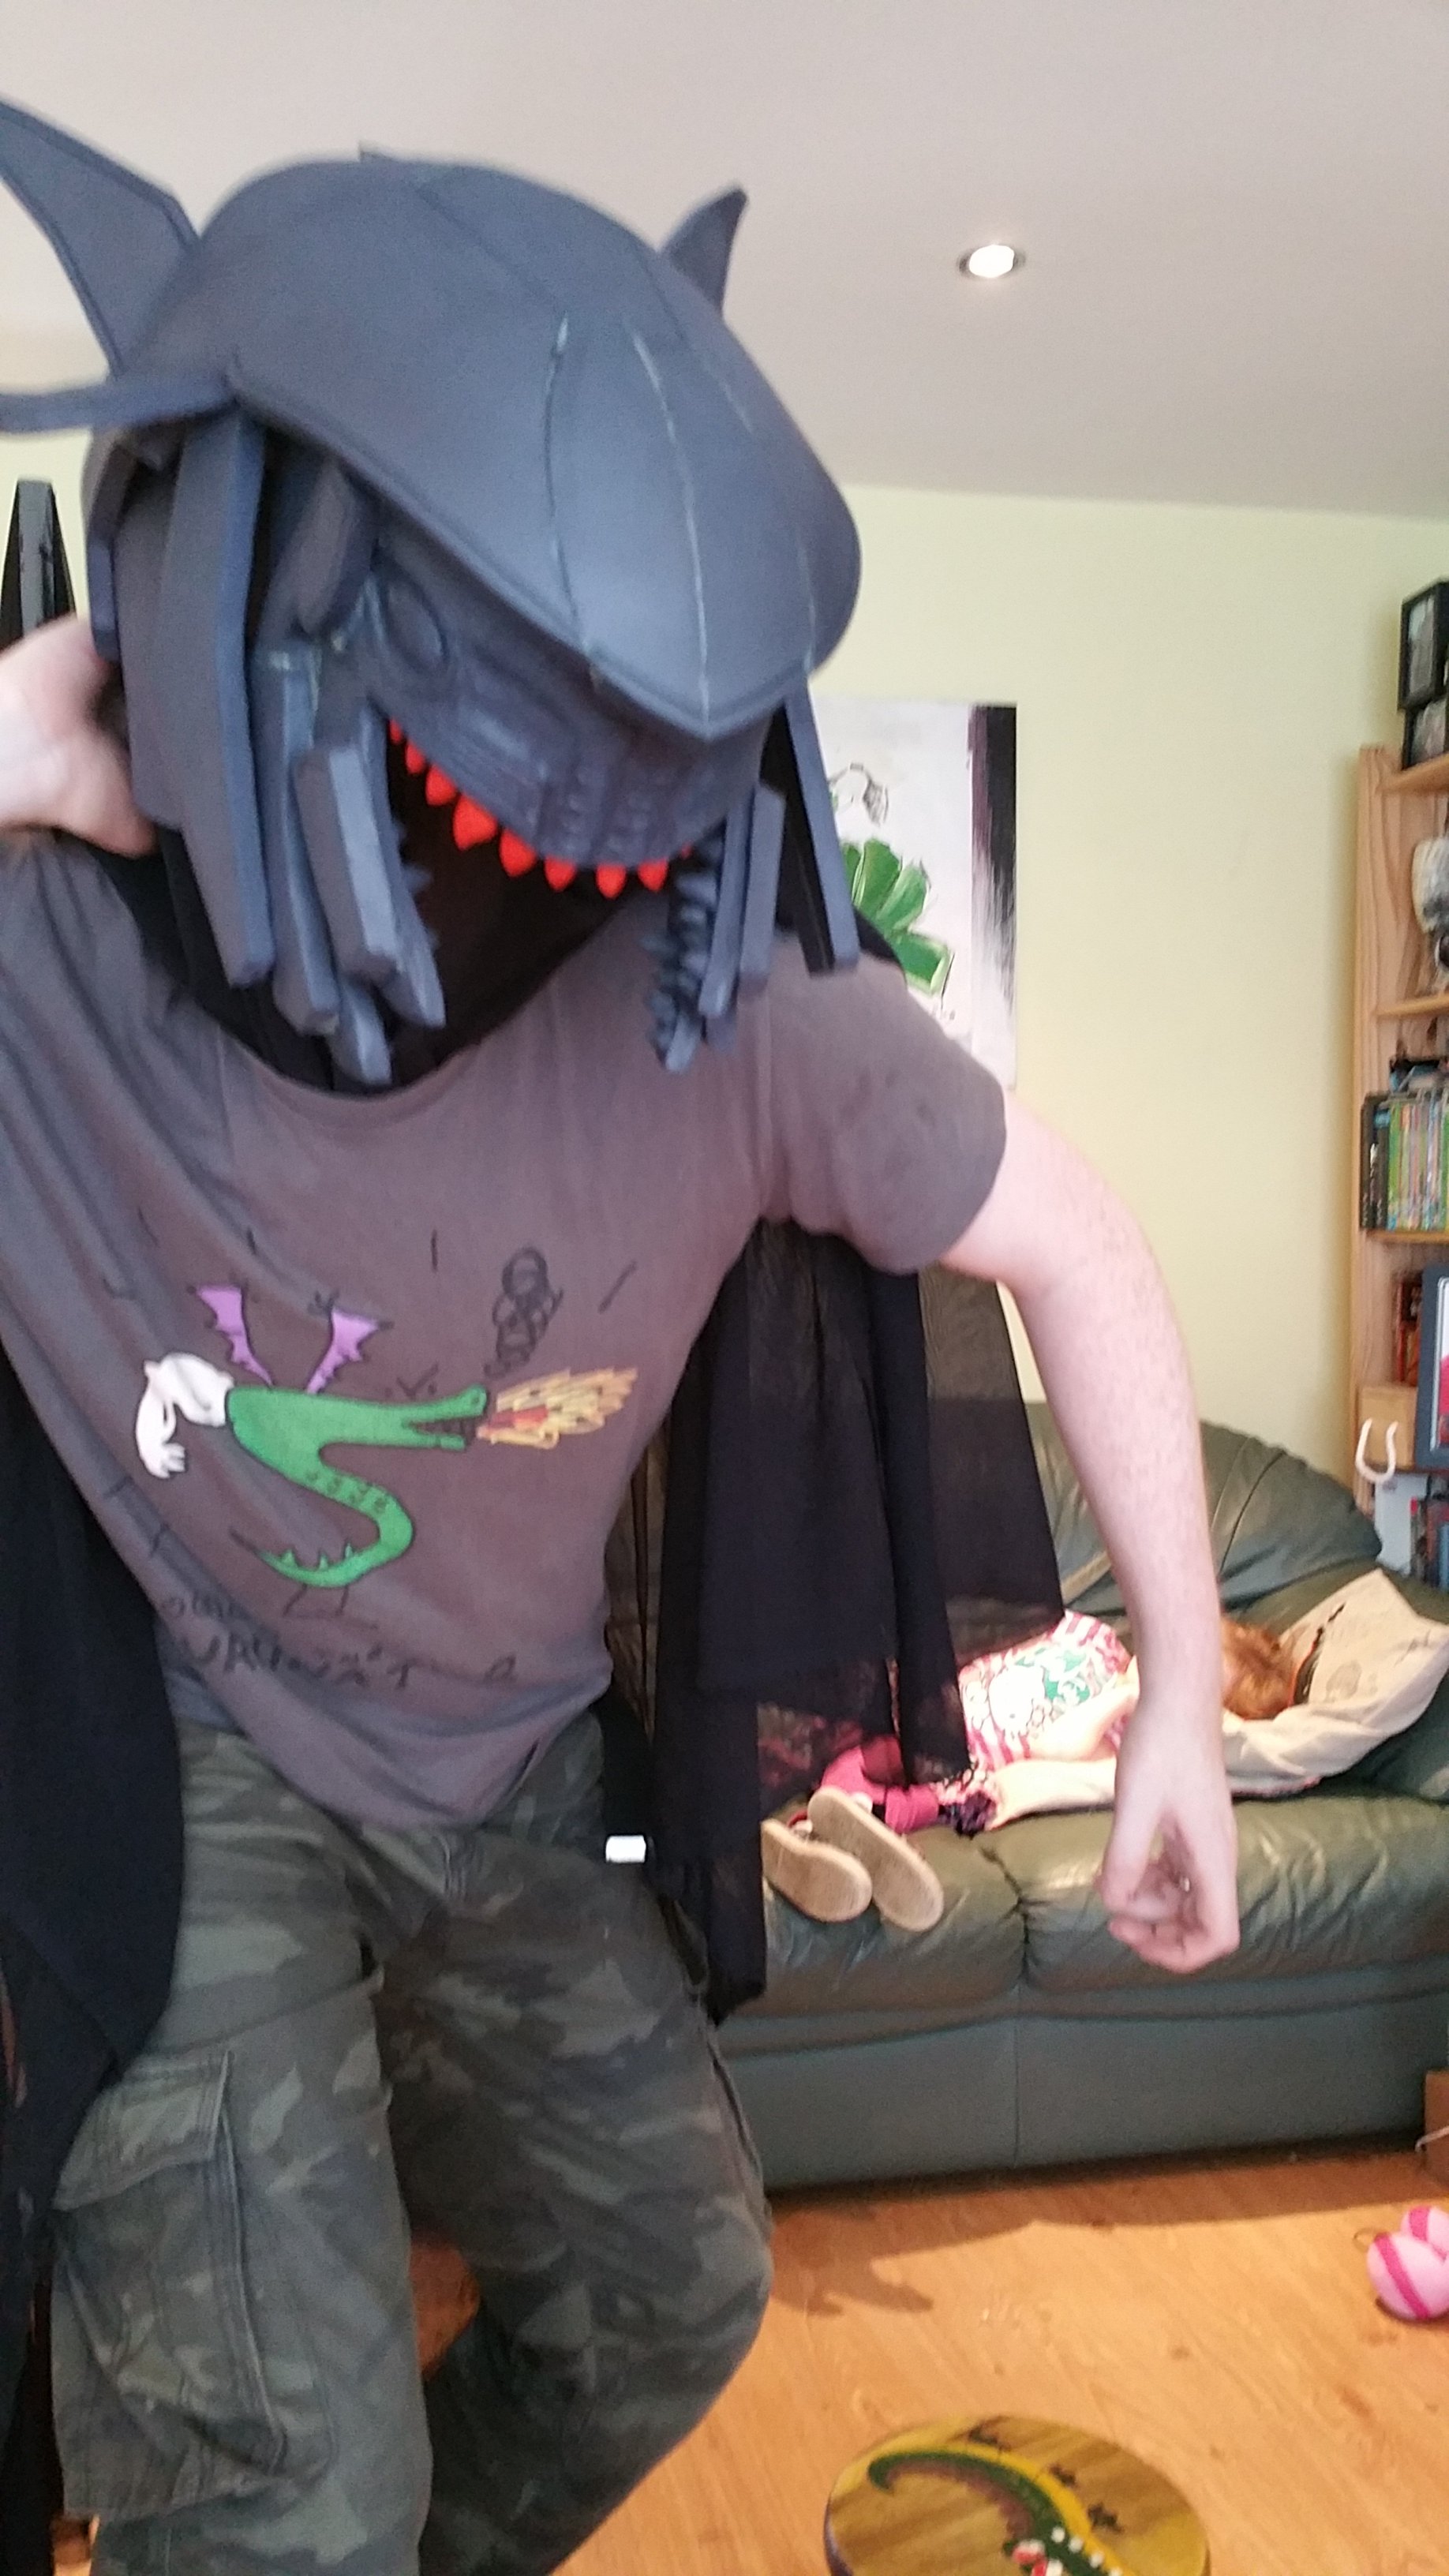
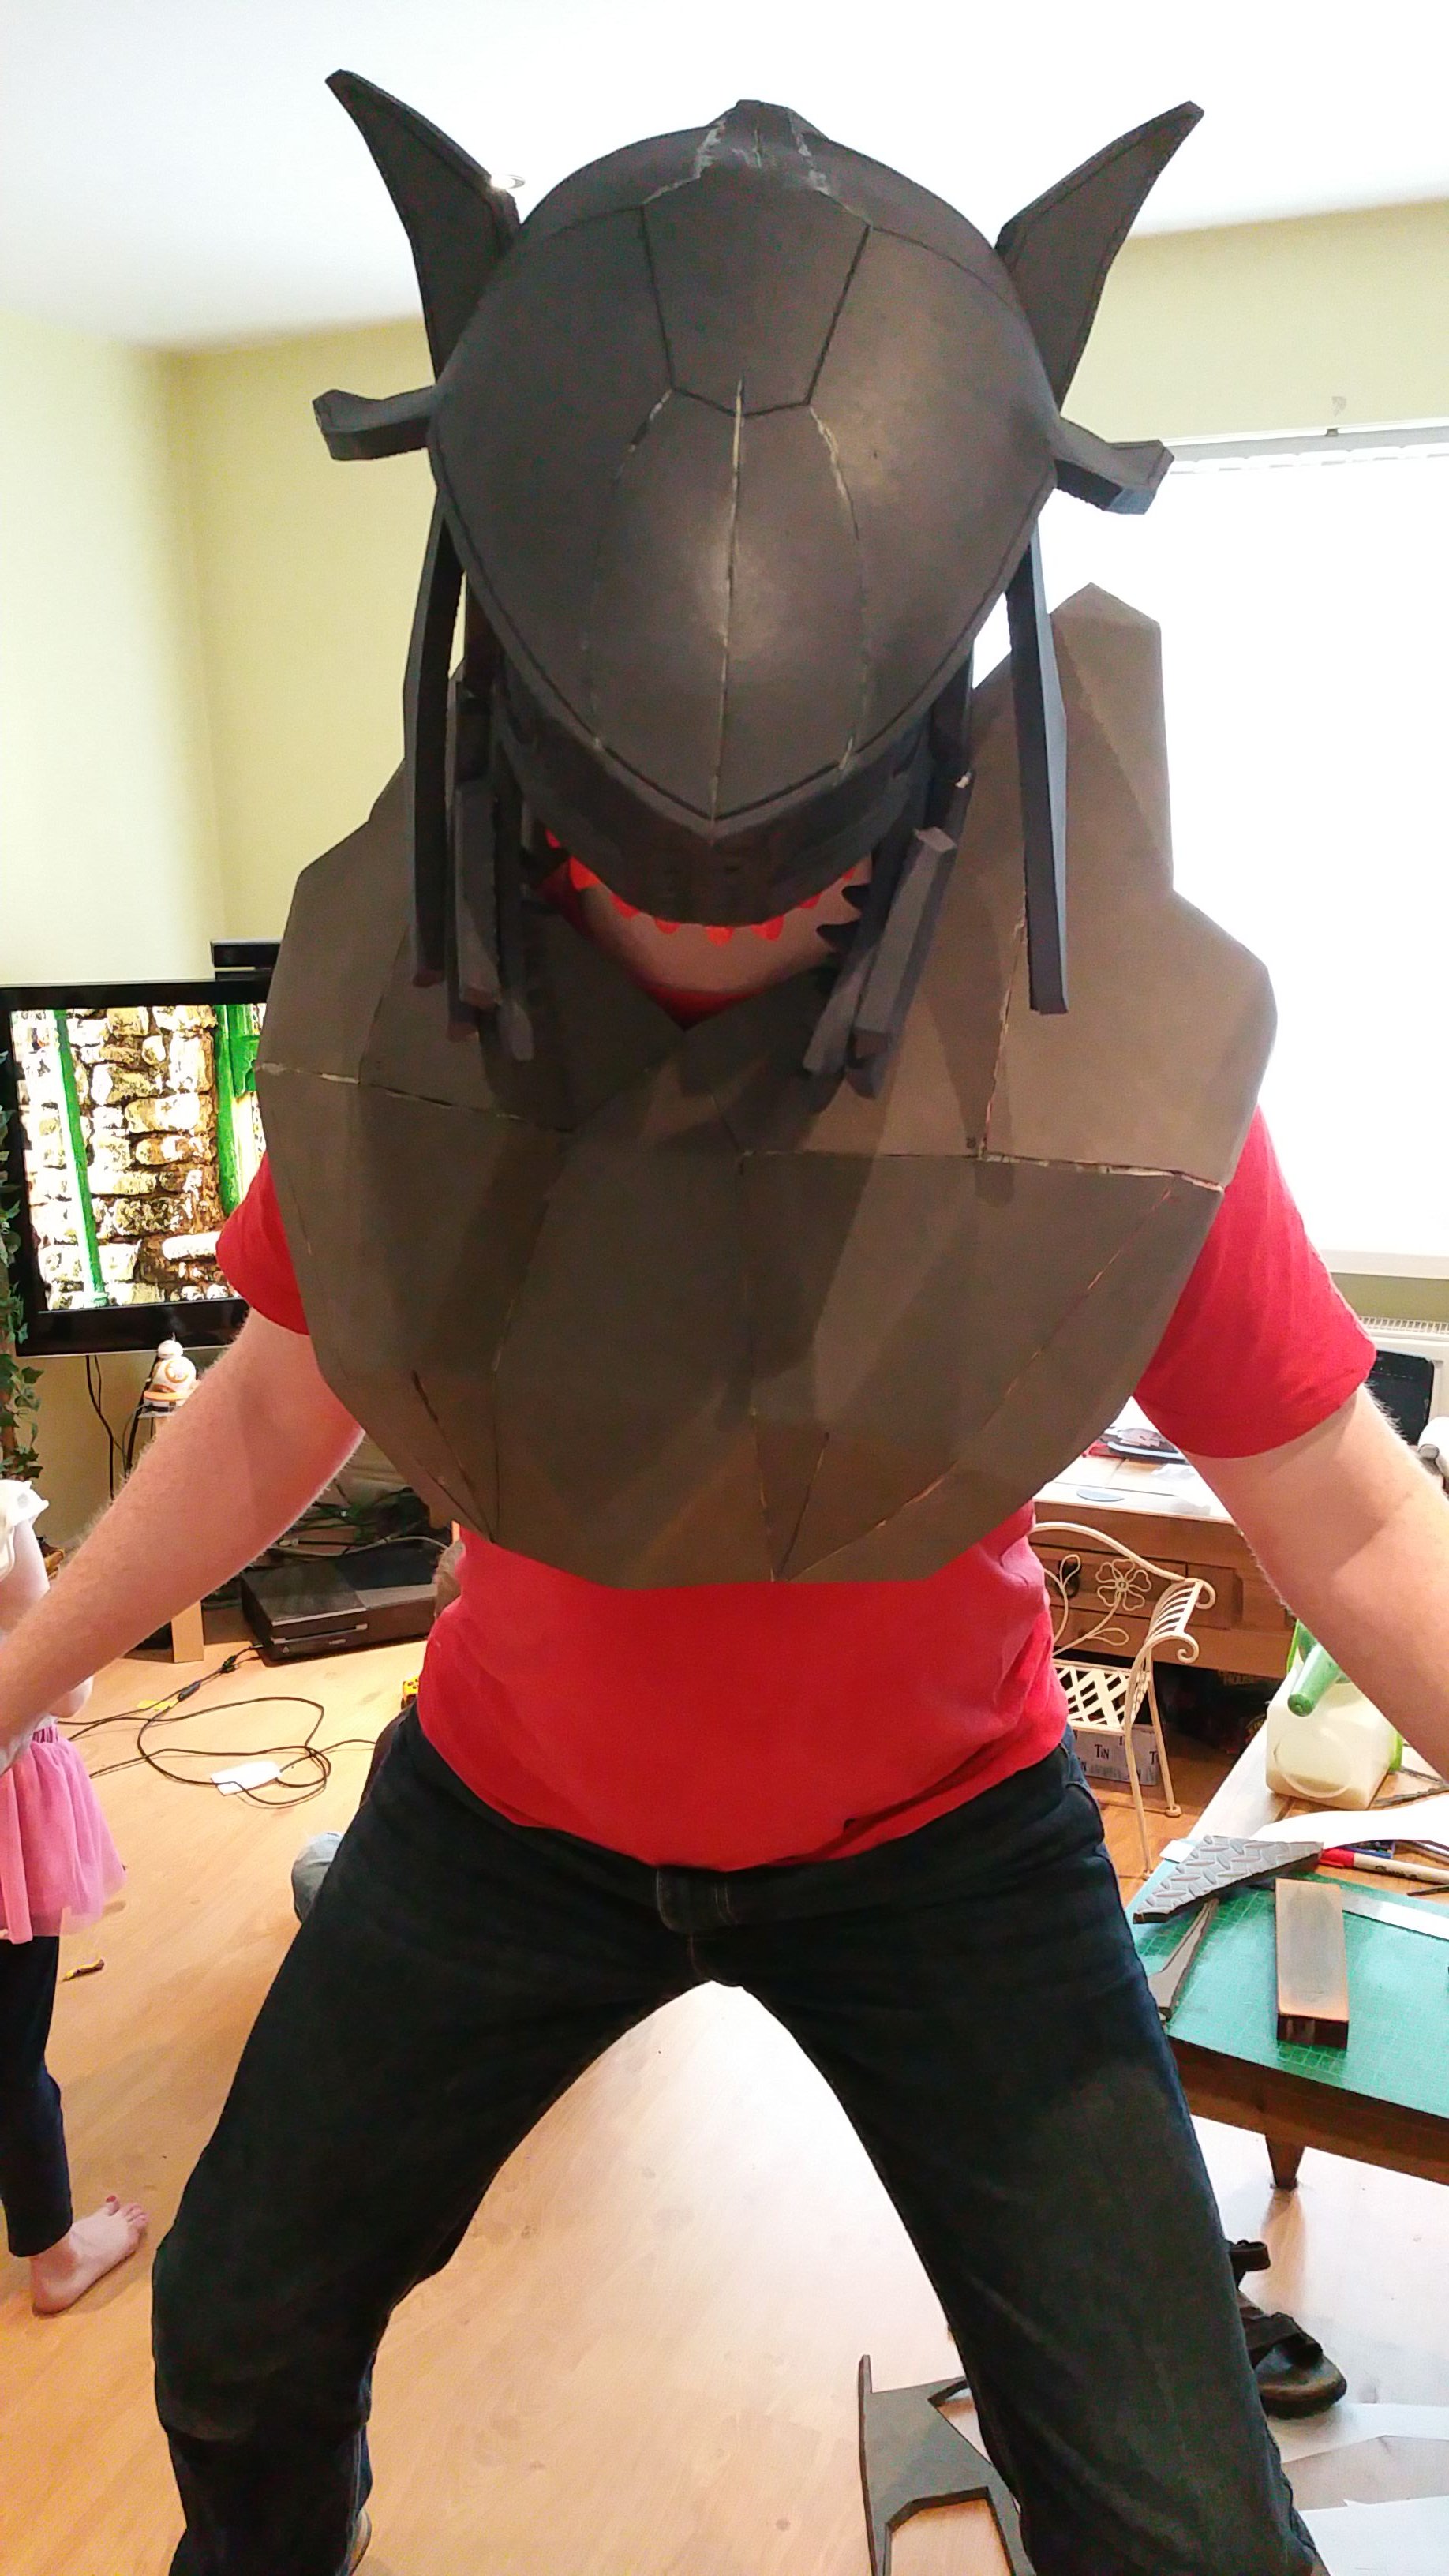
Then added a helmet to the back and played with some netting to hide my face.
That's it so far. Hopefully get some more on soon.
I'm new to this so bear with me. Just finished an odst build for comic con manchester and decided to up my game and go for an elite for next year.
Started off with some files from the archive and played around with them.
Then started the foam build
Got my kid to help out as a head model.
Then added a face from freehand pattern guessing.
Once this was done, I started to grind details into the foam with a dremil tool and the pink grindy tools. (Told you I was new to this)
Built up the detail and then added false nails cut with scissors for top teeth.
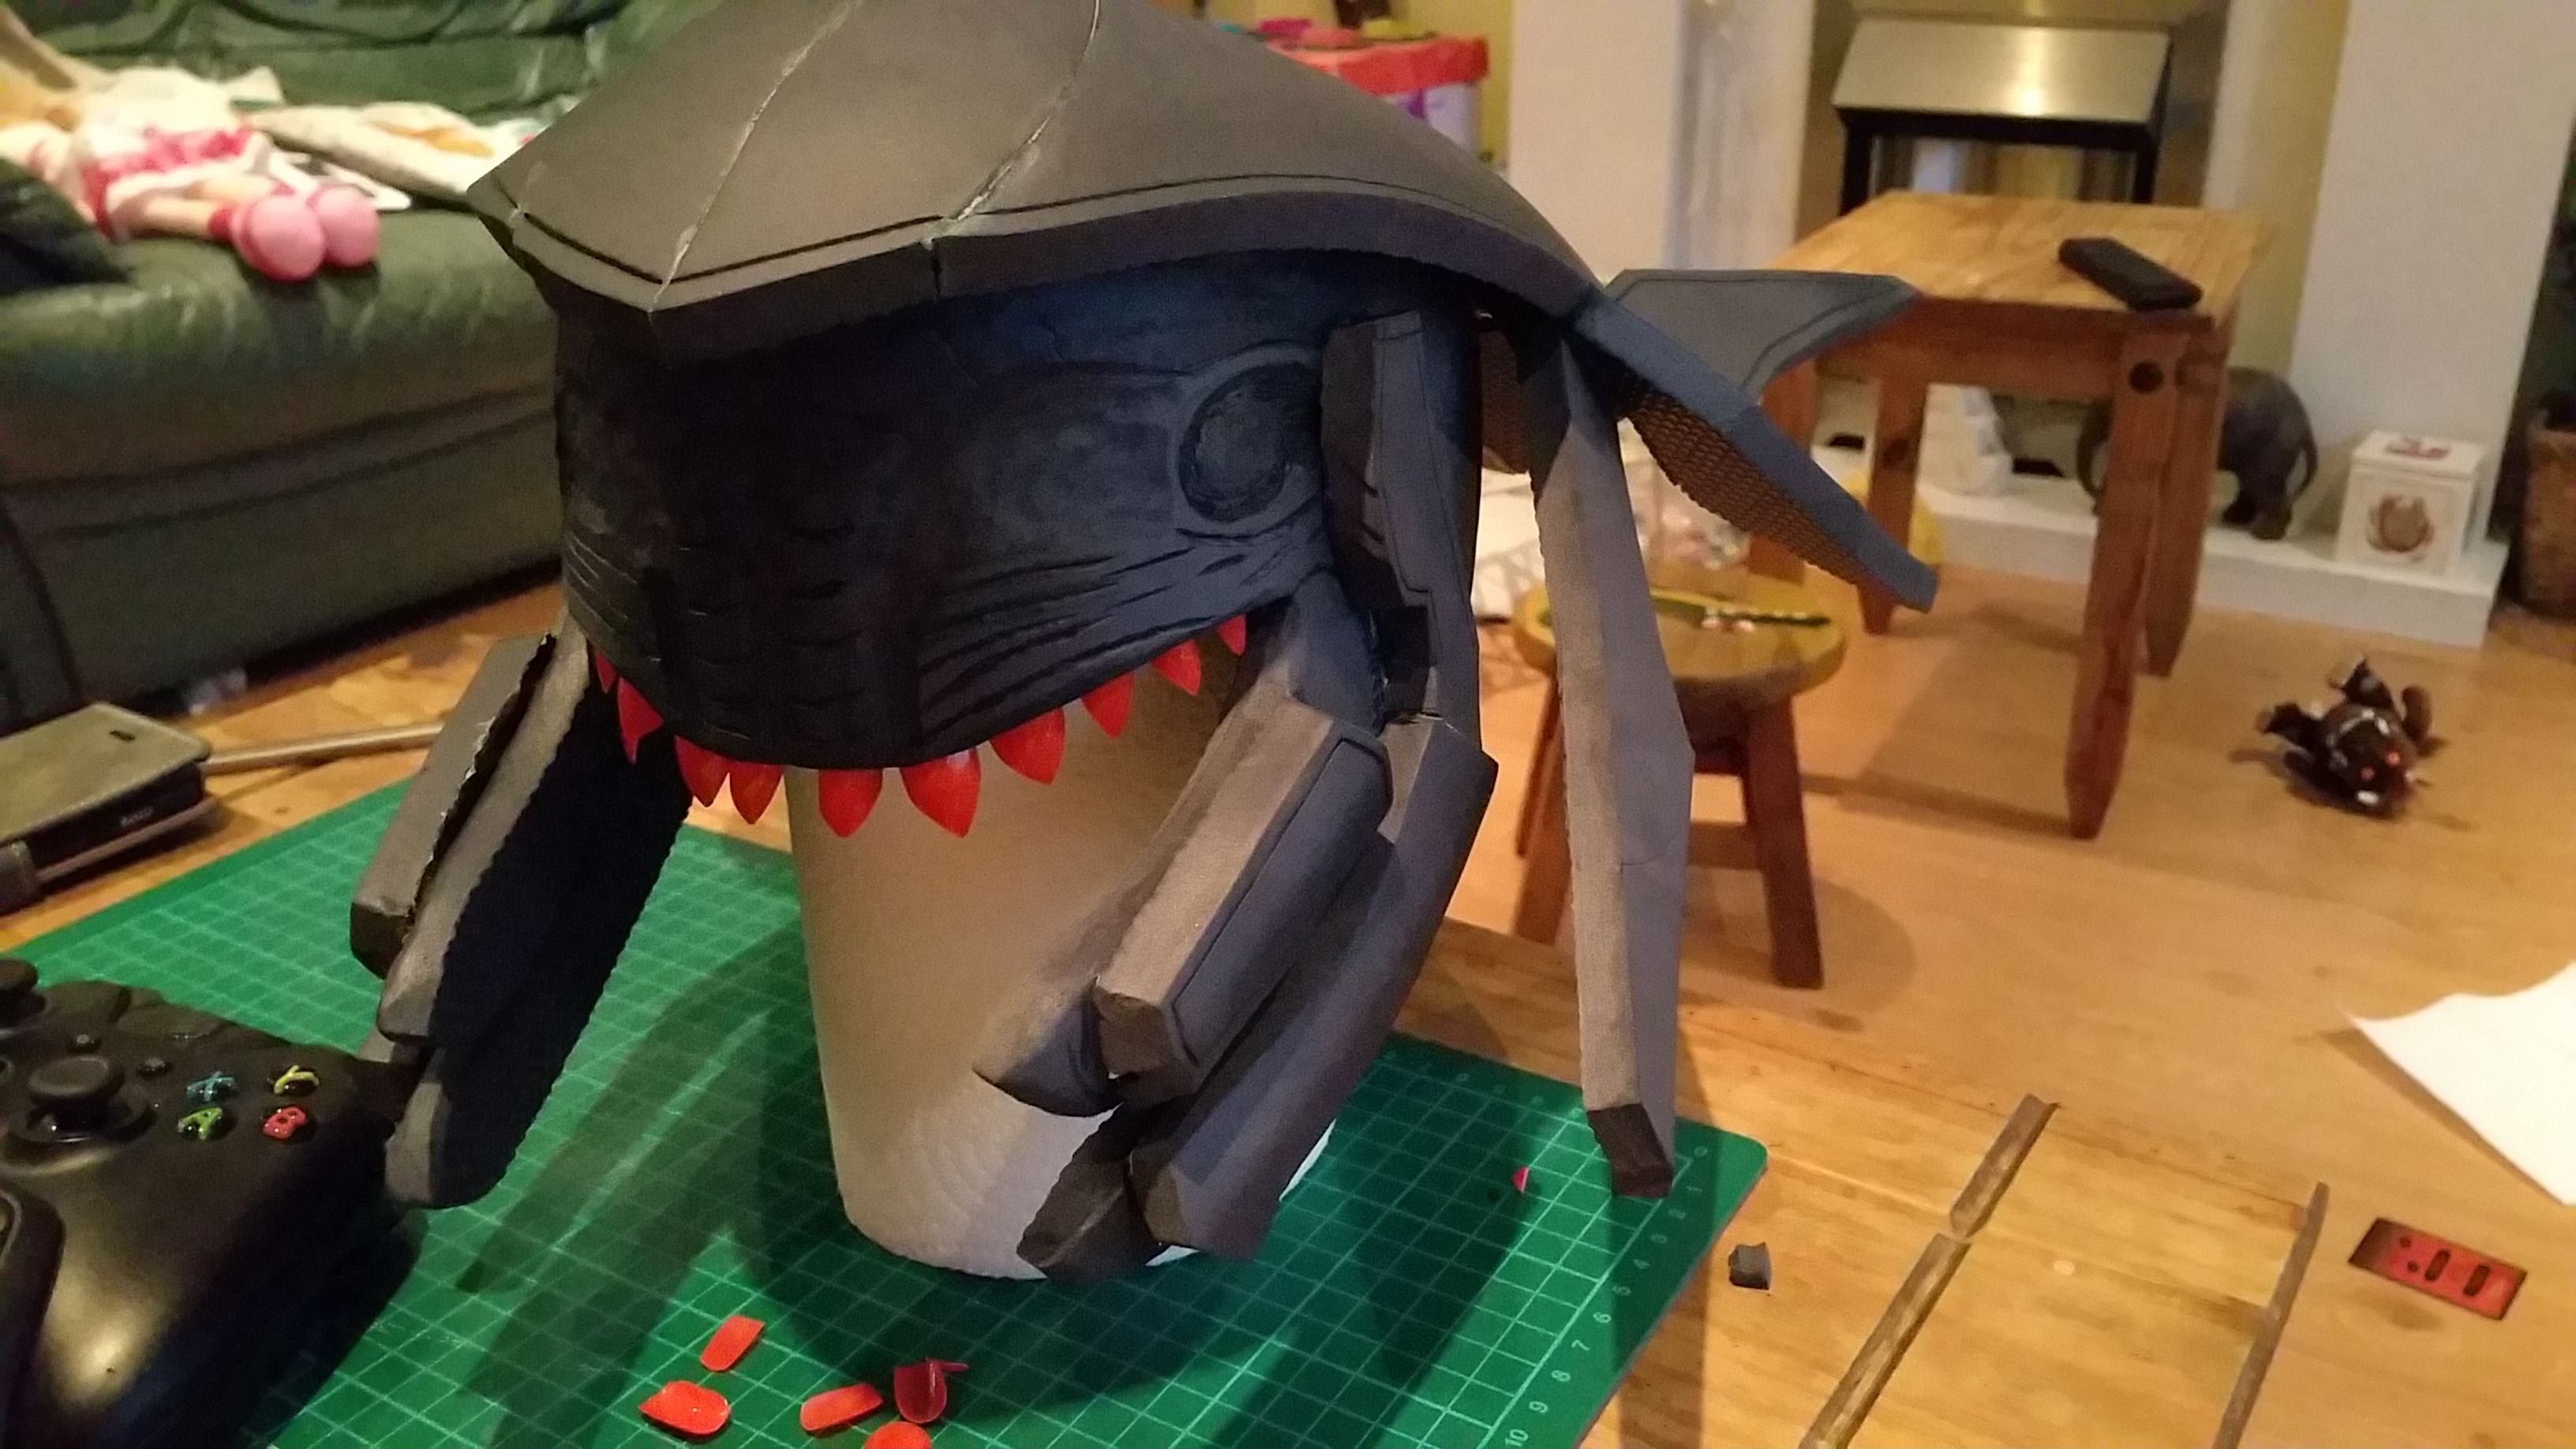
For the mandible teeth I needed more cone shaped teeth so asked a mate and he came up with heat formed eva which seems to have come out well.
Then added a helmet to the back and played with some netting to hide my face.
That's it so far. Hopefully get some more on soon.
")