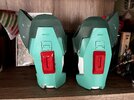
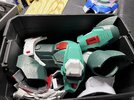
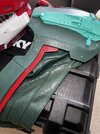
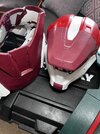
Finally getting around to sharing about the ab wrap. Before getting into the details of the build I'll say there's a lot about how the ab wrap worked that I like, but there's 2 key issues that kind of soured the ab wrap for me. Those issues actually lean me towards not even deploying this suit after seeing photos when I had the ab wrap on or considering taking new deployment photos just without the ab wrap.
Ab Wrap
Most of this was the same as others did on their ab wraps, and I asked questions of
Spidermonkey60 and
N8TEBB as I went through the process to figure out what I thought would for my style of building and timeframe remaining. I'll admit to the ab wrap being my biggest item procrastinated on in this entire build. I'd barely done anything with it until the week before the convention. My sleep and my hands did not thank me for that.
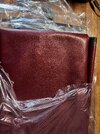
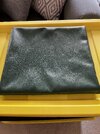
Cut all the foam pieces out and assemble the foam for segments that went together and shouldn't have noticeable seams when wrapped. After getting all of those segments I started hand sewing through faux leather and 6mm foam. Even with leather needles, my hands were not happy trying to force the needle through all of that even with pliers. I've since picked up a tool for leather for my next ab wrap that I'll test out or I might try some different methods of sewing the segments together.
In this area first thing I'd change, provide even more material to wrap around the back even going so far as to maybe doing a full pouch around each segment with no exposed foam on the back. I'd also make more of an effort to try to hide the stitching and pull it tighter especially on the first piece that I stitched together where there's a visible gap.
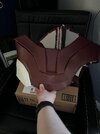
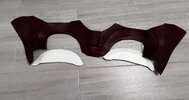
A lot of people appear to put a seam just to the side of the spine/back section and use velcro or make it one piece with maybe elastic behind segments to let them slip into it. I wanted to hide where I put that seam as much as possible, and what better way to do that in my mind than to put it behind the spine plate?
First thing I did was add a zipper to the ends of the ab wrap where I'd split it on my back. Unfortunately I didn't take a lot of photos of this step because I don't entirely remember the order I took and was kind of making it up as I went. I think what I'd done is create a flap of fabric, sewed one side of the zipper to that flap, and then stitch that flap + zipper to one side of the ab wrap and the other side of the zipper to the other side of the ab wrap. I also sewed velcro on to the flap and E6000'd it to the other side where the flap connects. Again if I were to redo this, I'd spend more time focused on hiding stitching. I'd originally opted for a thin thread to try to hide it more, but switched to a thicker stuff, I believe meant for leather work after the first part for structure. If it were better hidden I don't think it'd bother me as much, but this is one of those 2 things that I absolutely ended up hating the result of.
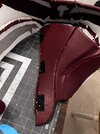
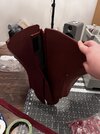
To hide the flap and seam I wanted to have the spine mounted onto the flap. I was using
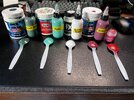
TurboCharizard's files for the handplates and belt already, so I wanted to see what was in the ab wrap section of his files. Unfortunately the spine was not its own piece, but dude came through and split out the spine segments for me so that I could print them individually and assemble onto my ab wrap. Got those printed, cleaned up, and painted then E6000'd them onto the flap.
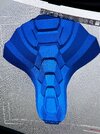
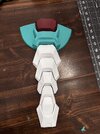
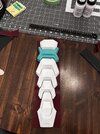
By the end it looked something like this
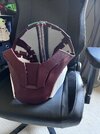
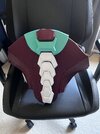
Now for the other main problem that I hate and what I did to deal with it for the weekend. It was now slightly too big around and yet too short. I did a non-uniform scale to fit around my body, and at this point I'd lost a little bit of weight (intentional) so even accounting for the zipper in my templates and initial foam pieces it was loose and wanted to fall down. At this point I was 2 days before the con, so I added a quick suspender system to hold it up and hold it higher up towards where my chest plate falls and straps with snaps that connect to my belt so that my belt sits closer to the ab wrap. It certainly wasn't ideal, but the day before you've gotta leave for the con you make do.

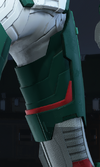
Next version for my main suit I want to add an attachment point to the underside of my chest and back plates to connect the parts. I'd probably still keep the suspenders for putting it on in the first place. I'd also make it taller by a fair amount so that it sits more underneath the chest and back. I want to extend the hip pods so that they go under the belt more and possibly even do what
Negativecacti did and attach the hips to the belt directly. My main suit version I'll take a step back and rethink what's most important to me in the ab wrap section and take my time experimenting. There's no deadline on the black ab wrap like there was with this one, and I've now done one before and can take those lessons on to the next one.


