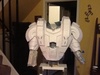
So I have been building Ironman for a buddy of mine and it is progressing nicely however I am getting kind of jealous on that fact that it is for someone else. I decided to build War machine for myself so that my buddy will not take all the glory for my hard work.
I always like war machine better. On with the build.
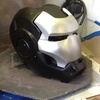
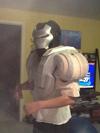
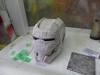
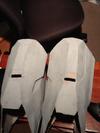
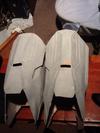
I started with the helmet. It took me 2 tries to get the scaling right. War machine is bulkier that ironman and I messed up. I used my head size and added a inch for padding. It was too big and I got the dreaded "Booble" head effect
I got it to where I was happy. My ears are touching both sides so I don't want to go smaller.

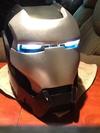
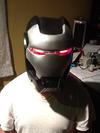
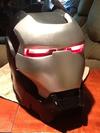
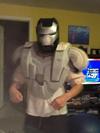
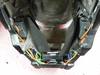
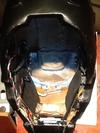
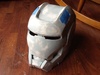
On with the resin

And the bondo

I always like war machine better. On with the build.
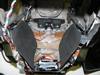
I started with the helmet. It took me 2 tries to get the scaling right. War machine is bulkier that ironman and I messed up. I used my head size and added a inch for padding. It was too big and I got the dreaded "Booble" head effect
I got it to where I was happy. My ears are touching both sides so I don't want to go smaller.

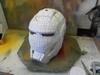
On with the resin

And the bondo


")