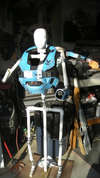
well now that photo bucket is back up and running. what a pain.. i did not get alot done on my days off. worked 5 12 hour days so i was whooped on my days off. i did not do much with the armor but a little touch up here and there. i have to get to finishing the legs off and get it done so i can move on the the next ones.. dragon con is getting closer by the day.
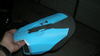
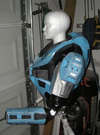
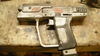
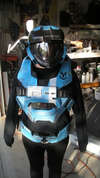
here is what i spent a portion of my day off doing:


and when the wife got home from work she put on the helmet chest and cod (only pieces pretty much done)


this weekend i plan on getting the shins and boots done and then all i have left is paint and detail.
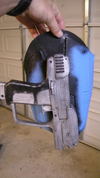
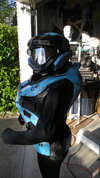
here is what i spent a portion of my day off doing:
and when the wife got home from work she put on the helmet chest and cod (only pieces pretty much done)
this weekend i plan on getting the shins and boots done and then all i have left is paint and detail.
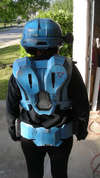
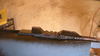
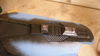
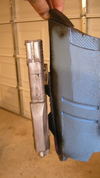
 I have a feeling this will be fail #3.