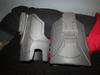
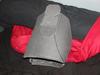
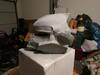
I tried to make a Duct tape dummy before it didn't turn out to well. Between an impatient girlfriend helping me. lol Not enough layers the whole thing fell apart quickly.
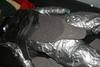
I only have one layer but it's a very dense one layer. I also decided to wrap myself in cling wrap before the duct tape so I saved my clothes haha.
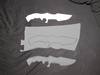
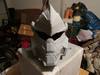
The weather is very iffy here so the helmet is still on hold. I decided to go ahead and try my hand at a sliced BR85HB SR while the weather is undecided, I'll post pictures when I have the layers glued together. I'm making it out of cardboard because I had huge, unused moving boxes so I decided to use them and test out this sliced method. Depending on how it turns out I may go back and make another with dense foam sheets. I really need to invest in a 3D Printer.