lurk no more
New Member
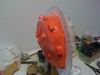
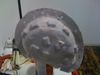
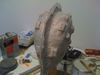
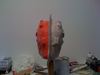
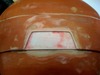
Yes there are tons of these out there, but mine is better ") Here it is : from pepakura to fiberglass kit.
Here it is : from pepakura to fiberglass kit.


Here it is : from pepakura to fiberglass kit.