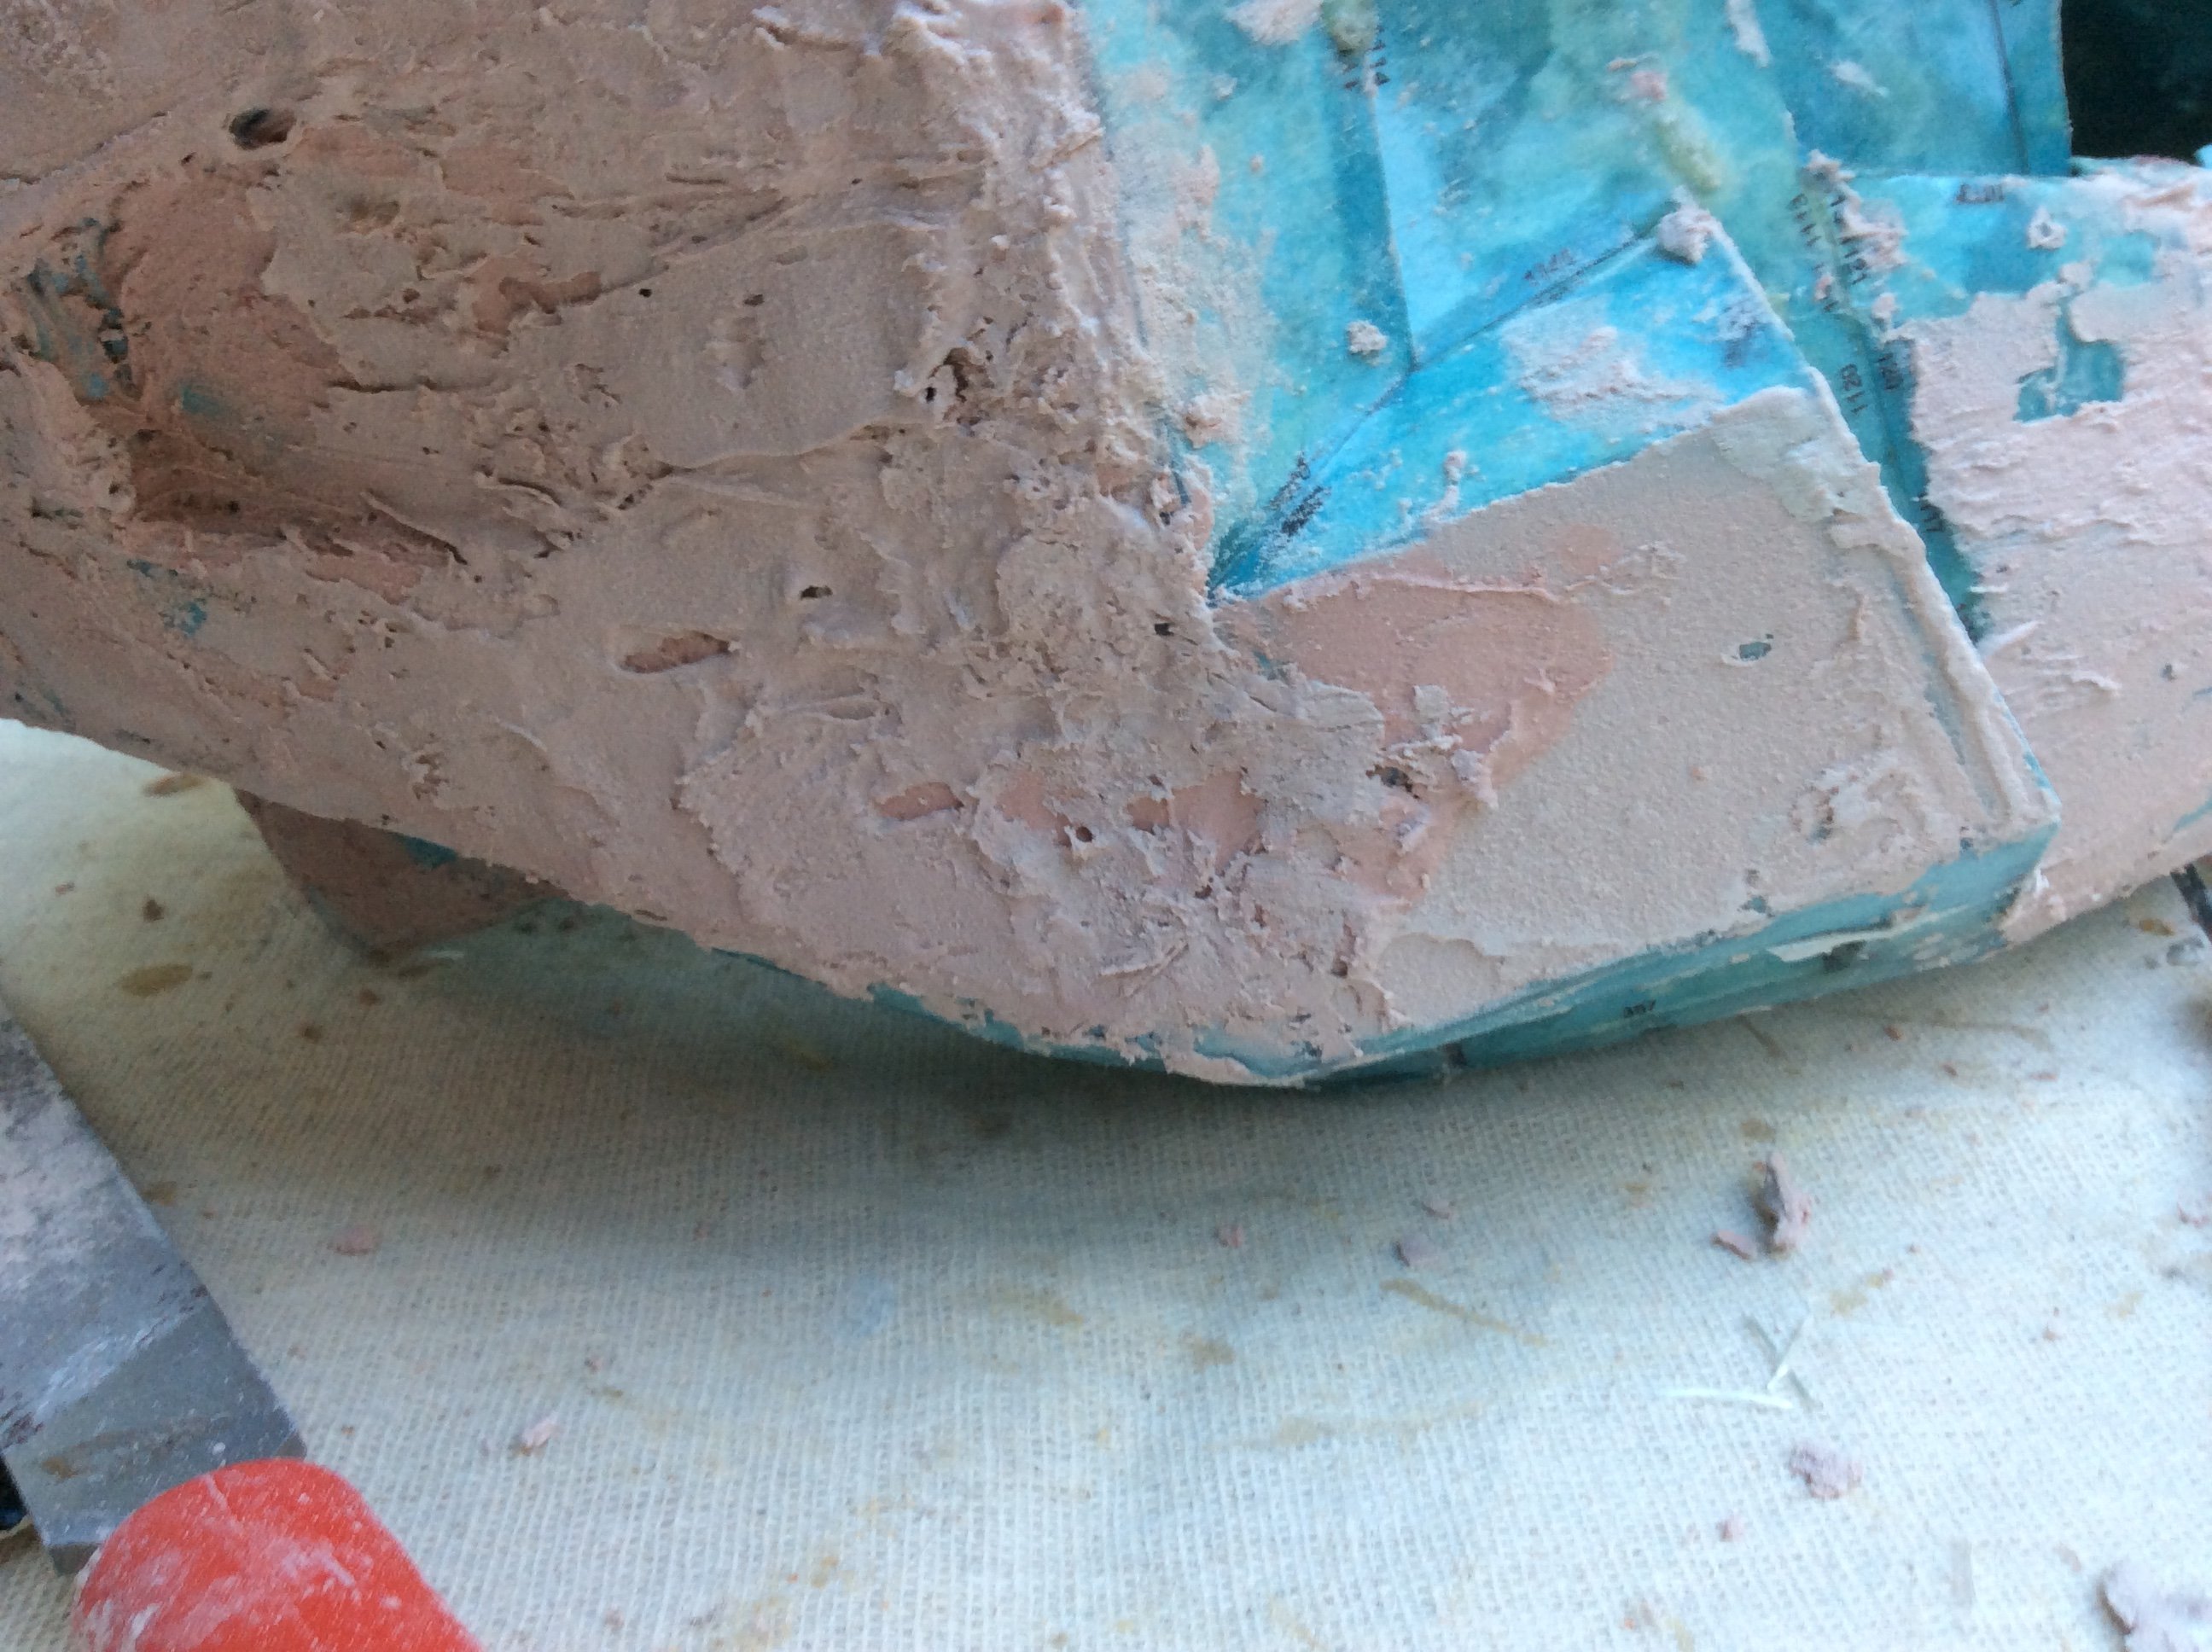
Alas, it's been my third day working with Bondo. The learning curve is steep, and I'm as frustrated much as I am learning things. I did find it quite interesting to see how the pro's do it, with their methods and strategies. As much as I'm learning myself, I now know better and better what bondo is good for. The curing time is a tricky thing to gauge, but if I stay and check on the tackiness, I can do some trimming and lump-removing
Anyway, here are some pics:
Used a fresh bondo spatula. Why have I never done that before?

I'm trying to fill in the depression caused by some resin-warp. I'll start it out rough, so that I can fill in more in small and smooth increments. I accidentally filled too much in the depression right behind the light fixture, Oops! I figure it'd be impossible to sand out, so i'll fill it in the other side. Who would notice when it's all smooth and symmetrical? (the pic is upside down... aghhh!!!)

What I've learned today:
-Use a fresh (or very clean) spatula. Applying with one makes it as smooth as it should be.
-Use a popsicle stick to fill very small bits of bondo in even more holes. It's easier that way!
What I need to do:
-I need to find out what makes that rough chunky consistency with a fresh and new chunk of bondo. It's not exactly like cake icing!
-A mouse sander would be good. I'll see what I can do with one.
-Primer? Any ideas for primer???
Some Questions:
How many hours of work, in total, have you guys gone through in this stage? I've dedicated a few weeks to this stage.
What do you do when you put too much bondo?
What would you do when you fill in an unwanted hole/edge/detail (like what happened in my second picture)? The edge is supposed to look like this:

3 hours of applying and sanding straight got me exhausted. I wanted to keep going, but I was running out of sunlight and time. until next time!
I'll reply to this thread with updates!
Anyway, here are some pics:
Used a fresh bondo spatula. Why have I never done that before?
I'm trying to fill in the depression caused by some resin-warp. I'll start it out rough, so that I can fill in more in small and smooth increments. I accidentally filled too much in the depression right behind the light fixture, Oops! I figure it'd be impossible to sand out, so i'll fill it in the other side. Who would notice when it's all smooth and symmetrical? (the pic is upside down... aghhh!!!)
What I've learned today:
-Use a fresh (or very clean) spatula. Applying with one makes it as smooth as it should be.
-Use a popsicle stick to fill very small bits of bondo in even more holes. It's easier that way!
What I need to do:
-I need to find out what makes that rough chunky consistency with a fresh and new chunk of bondo. It's not exactly like cake icing!
-A mouse sander would be good. I'll see what I can do with one.
-Primer? Any ideas for primer???
Some Questions:
How many hours of work, in total, have you guys gone through in this stage? I've dedicated a few weeks to this stage.
What do you do when you put too much bondo?
What would you do when you fill in an unwanted hole/edge/detail (like what happened in my second picture)? The edge is supposed to look like this:

3 hours of applying and sanding straight got me exhausted. I wanted to keep going, but I was running out of sunlight and time. until next time!
I'll reply to this thread with updates!


