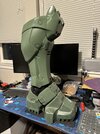
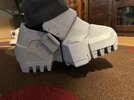
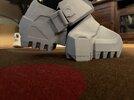
I haven't seen the files by InfiniteCreative3D. Do you have a link for where I can find them? The only other files I really looked at were the one by moesizzlac, but they didn't seem to have the same level of finer details as GalacticArmory's files.
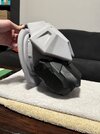
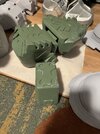
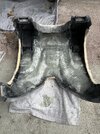
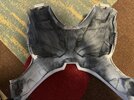
The only really funky fit with the GalacticArmory files was with the chest and back pieces. The alignment/connector tabs don't really line up, so I had to independently scale them to different sizes in Mesh Mixer until they fit together (for example: the chest z-axis would be 102%, while the back z-axis is 100% scale).
I've had that thought with the rubber under suit parts as well; whether it would be too hot wearing for a long time. I'm hoping that by only casting the joints in rubber, and installing some fans in the armor, I can mitigate that problem a bit. I won't know for sure until I get everything completed and put the entire suit on. If it is too hot, then I'm screwed and all that work will be for naught. Lol. It may not be great for conventions, but still be serviceable for any quick photo shoots.
If it turns out to be too hot, then I'll have to look at some kind of fabric/foam under suit. My goal is to shoot for as game-accurate as I can, so I'm going all in on the rubber under suit. I've also been looking for some kind of portable water-cooling suit to wear underneath the armor (one with a small enough water/power pack that I can nestle inside the chest or back).


")