Sp00kyN1njas
New Member
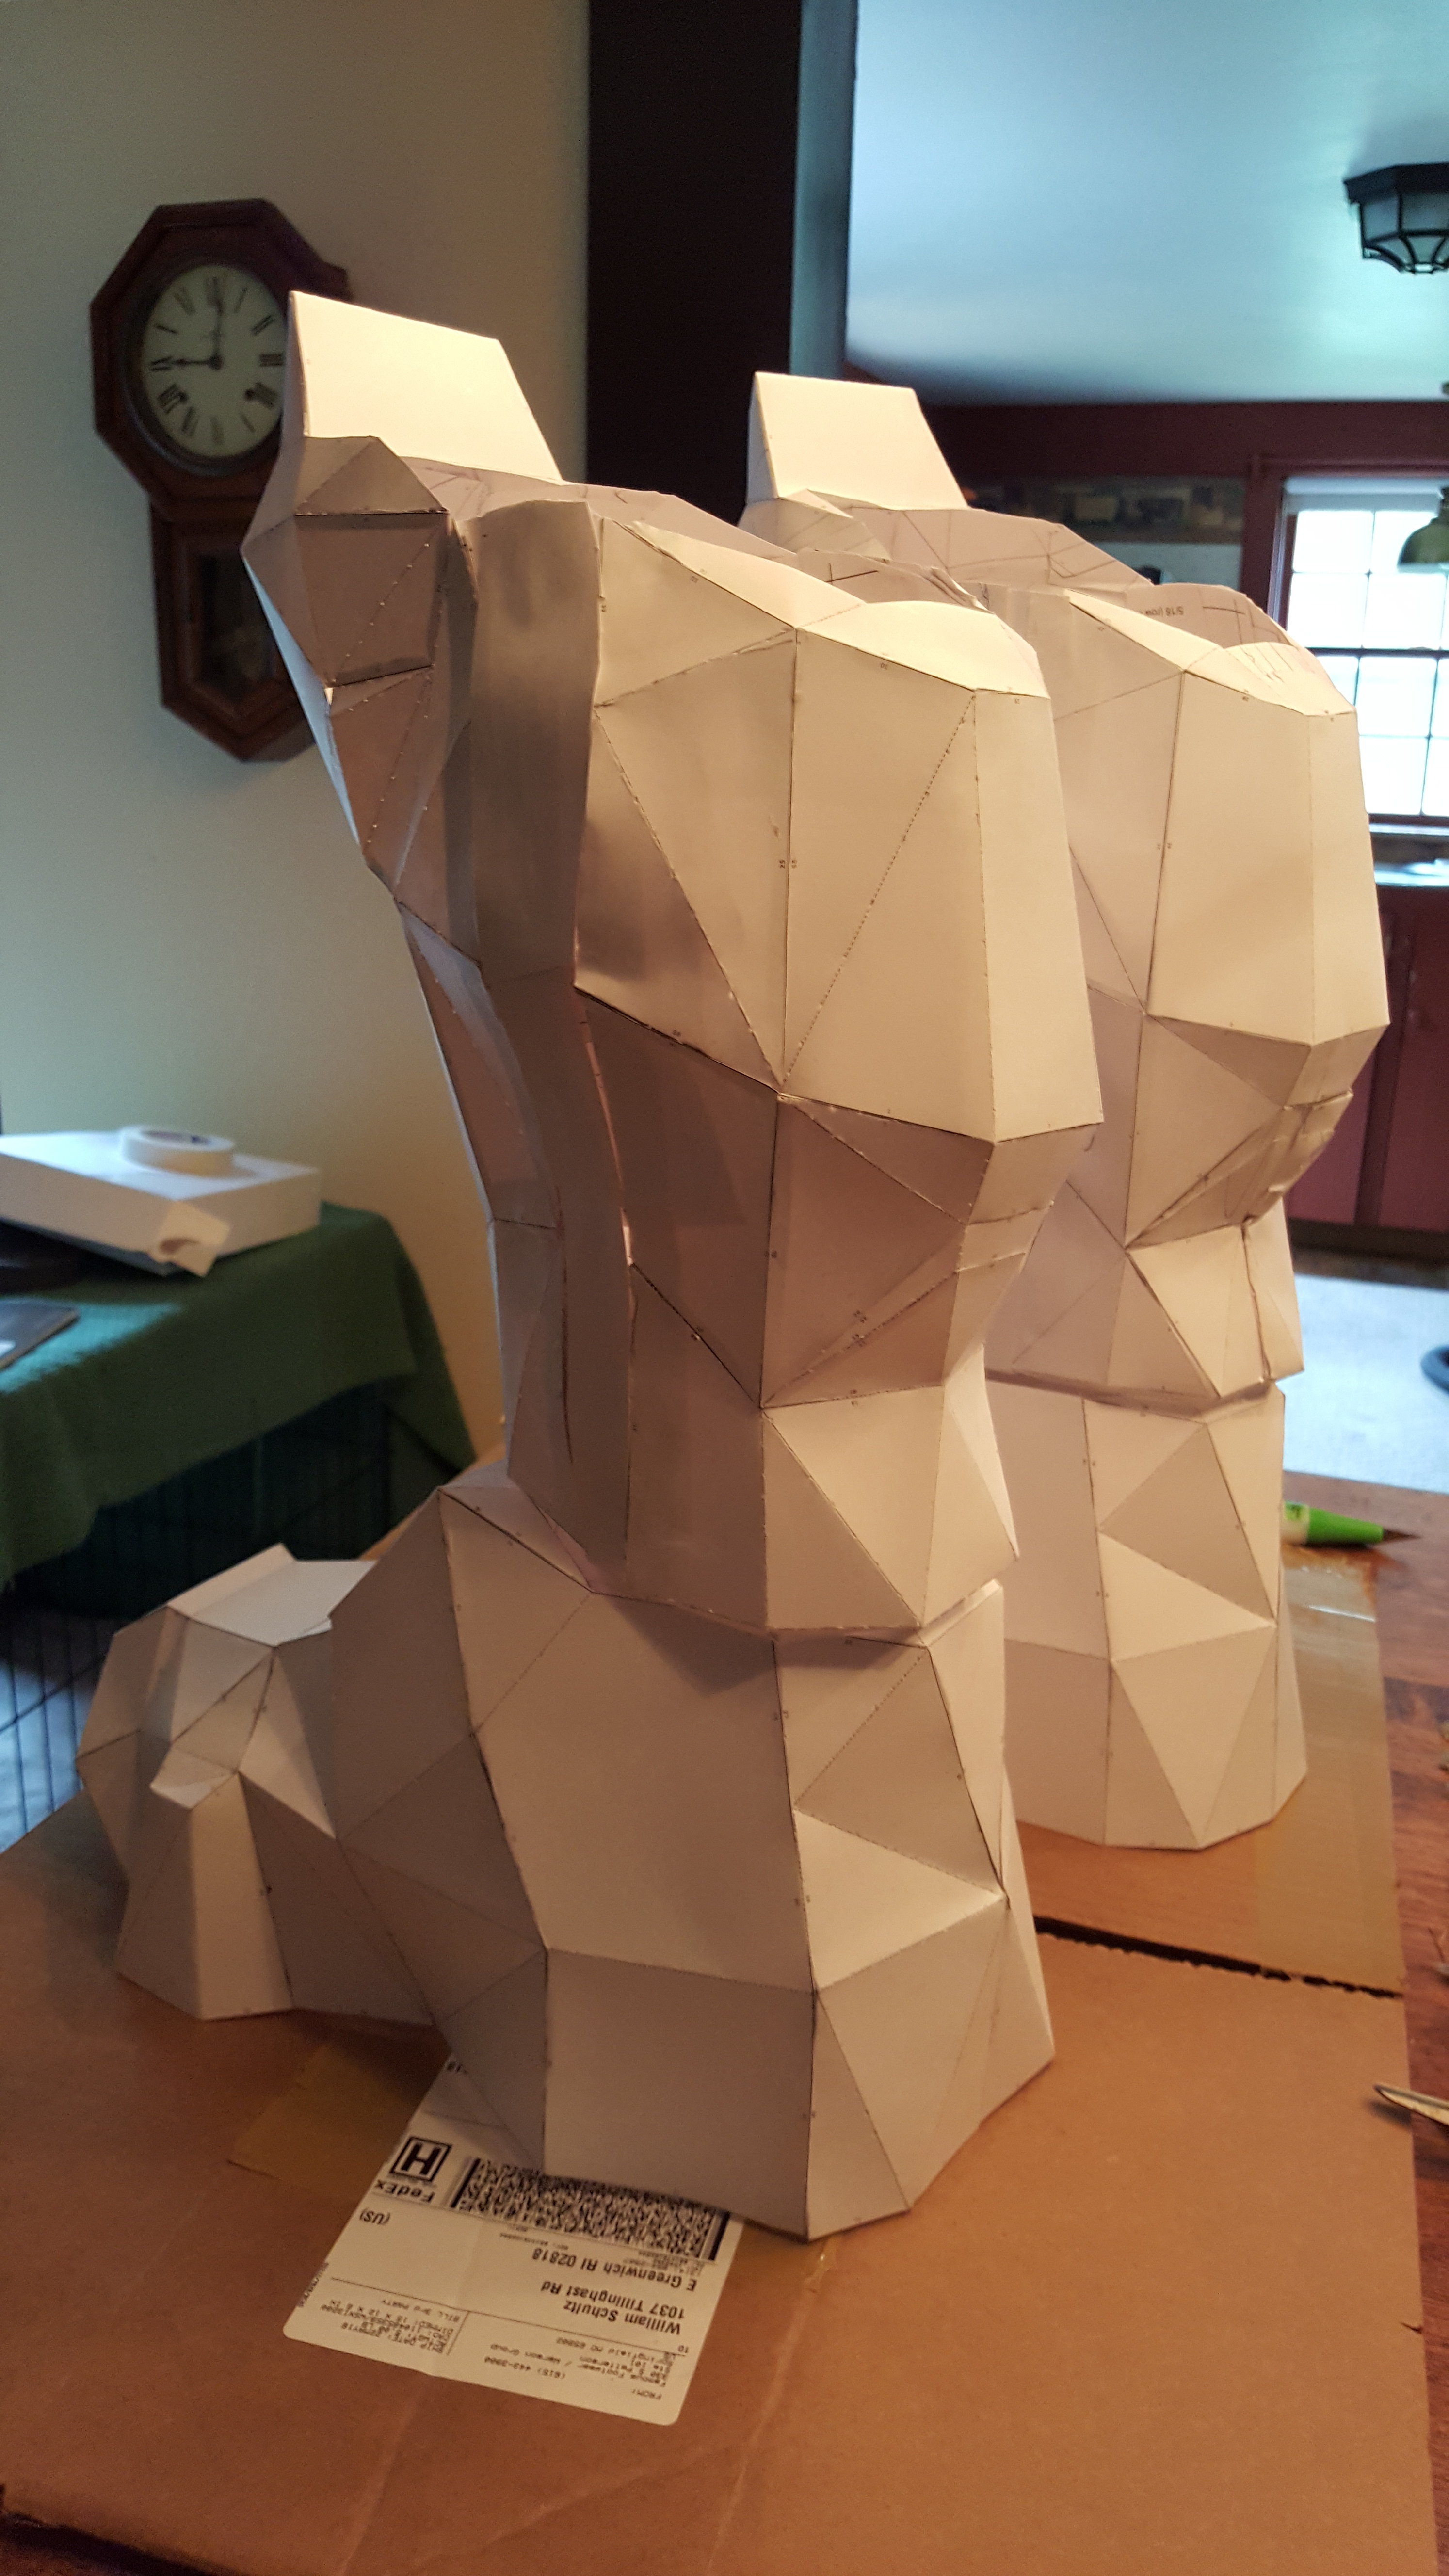
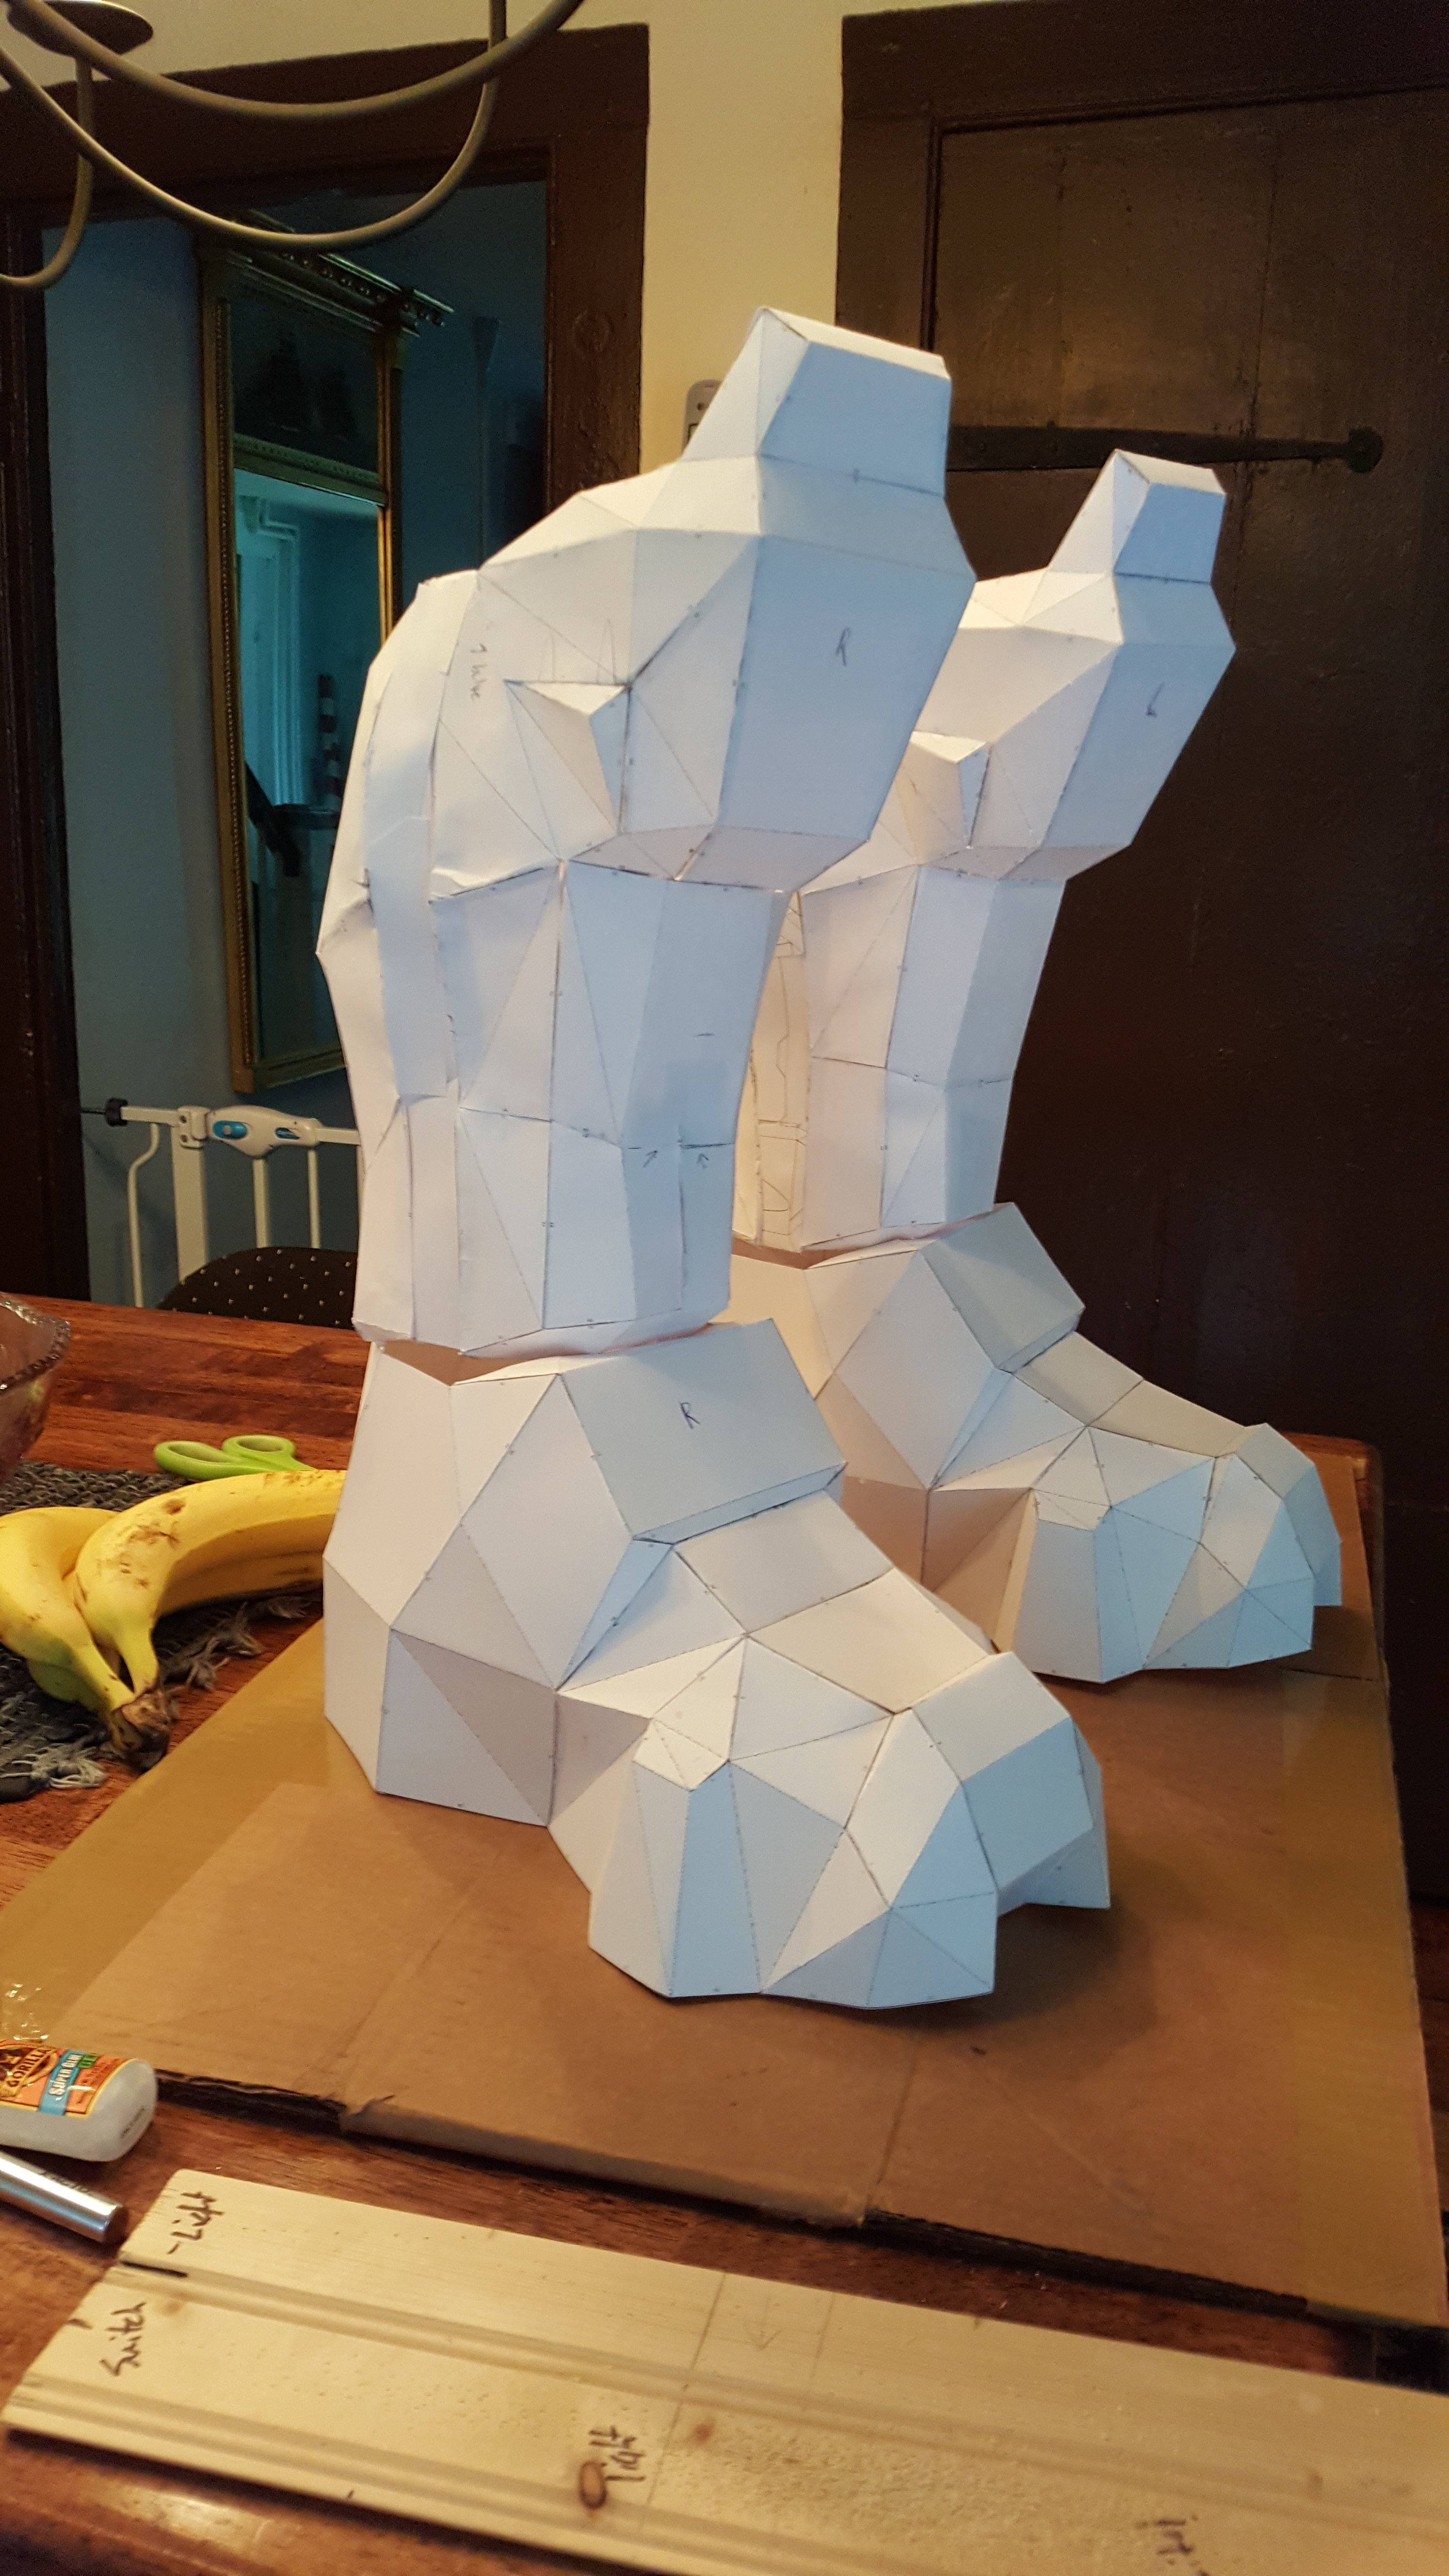
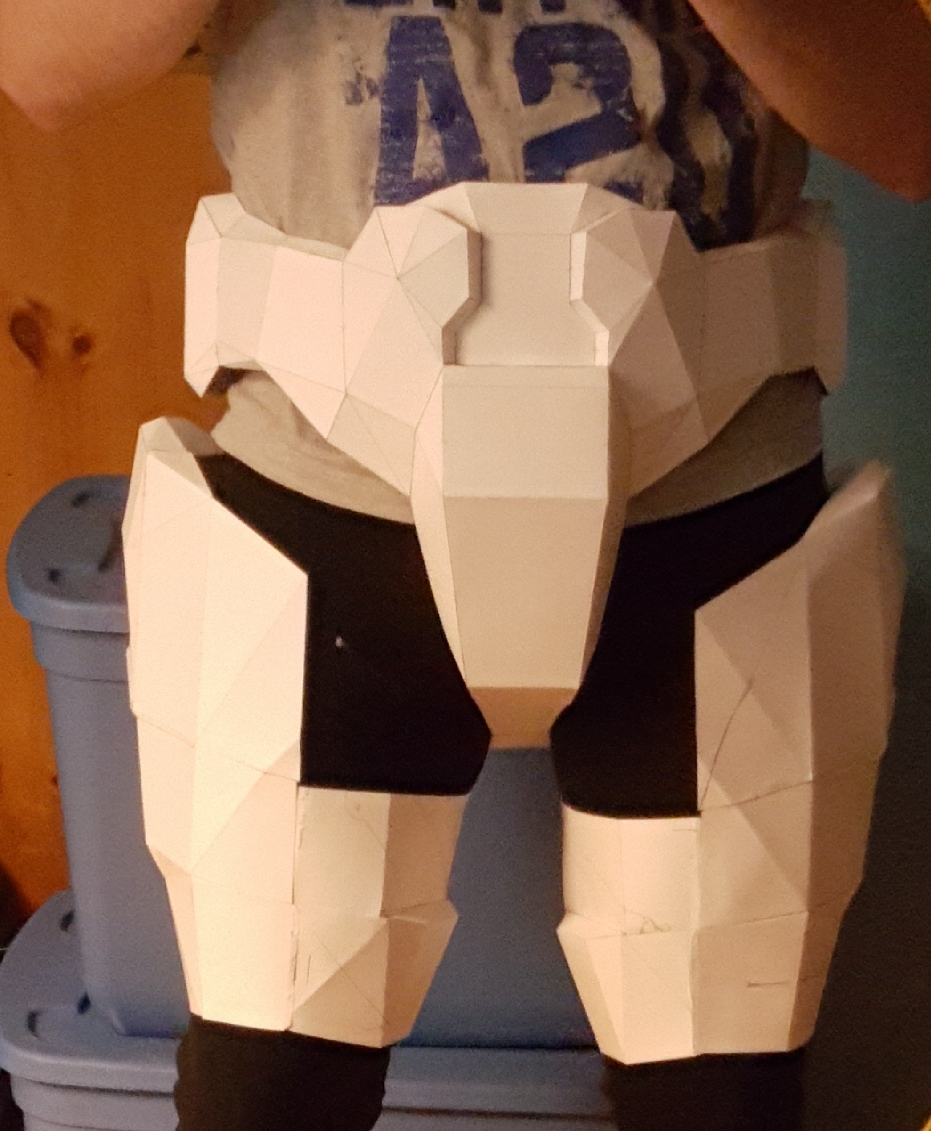
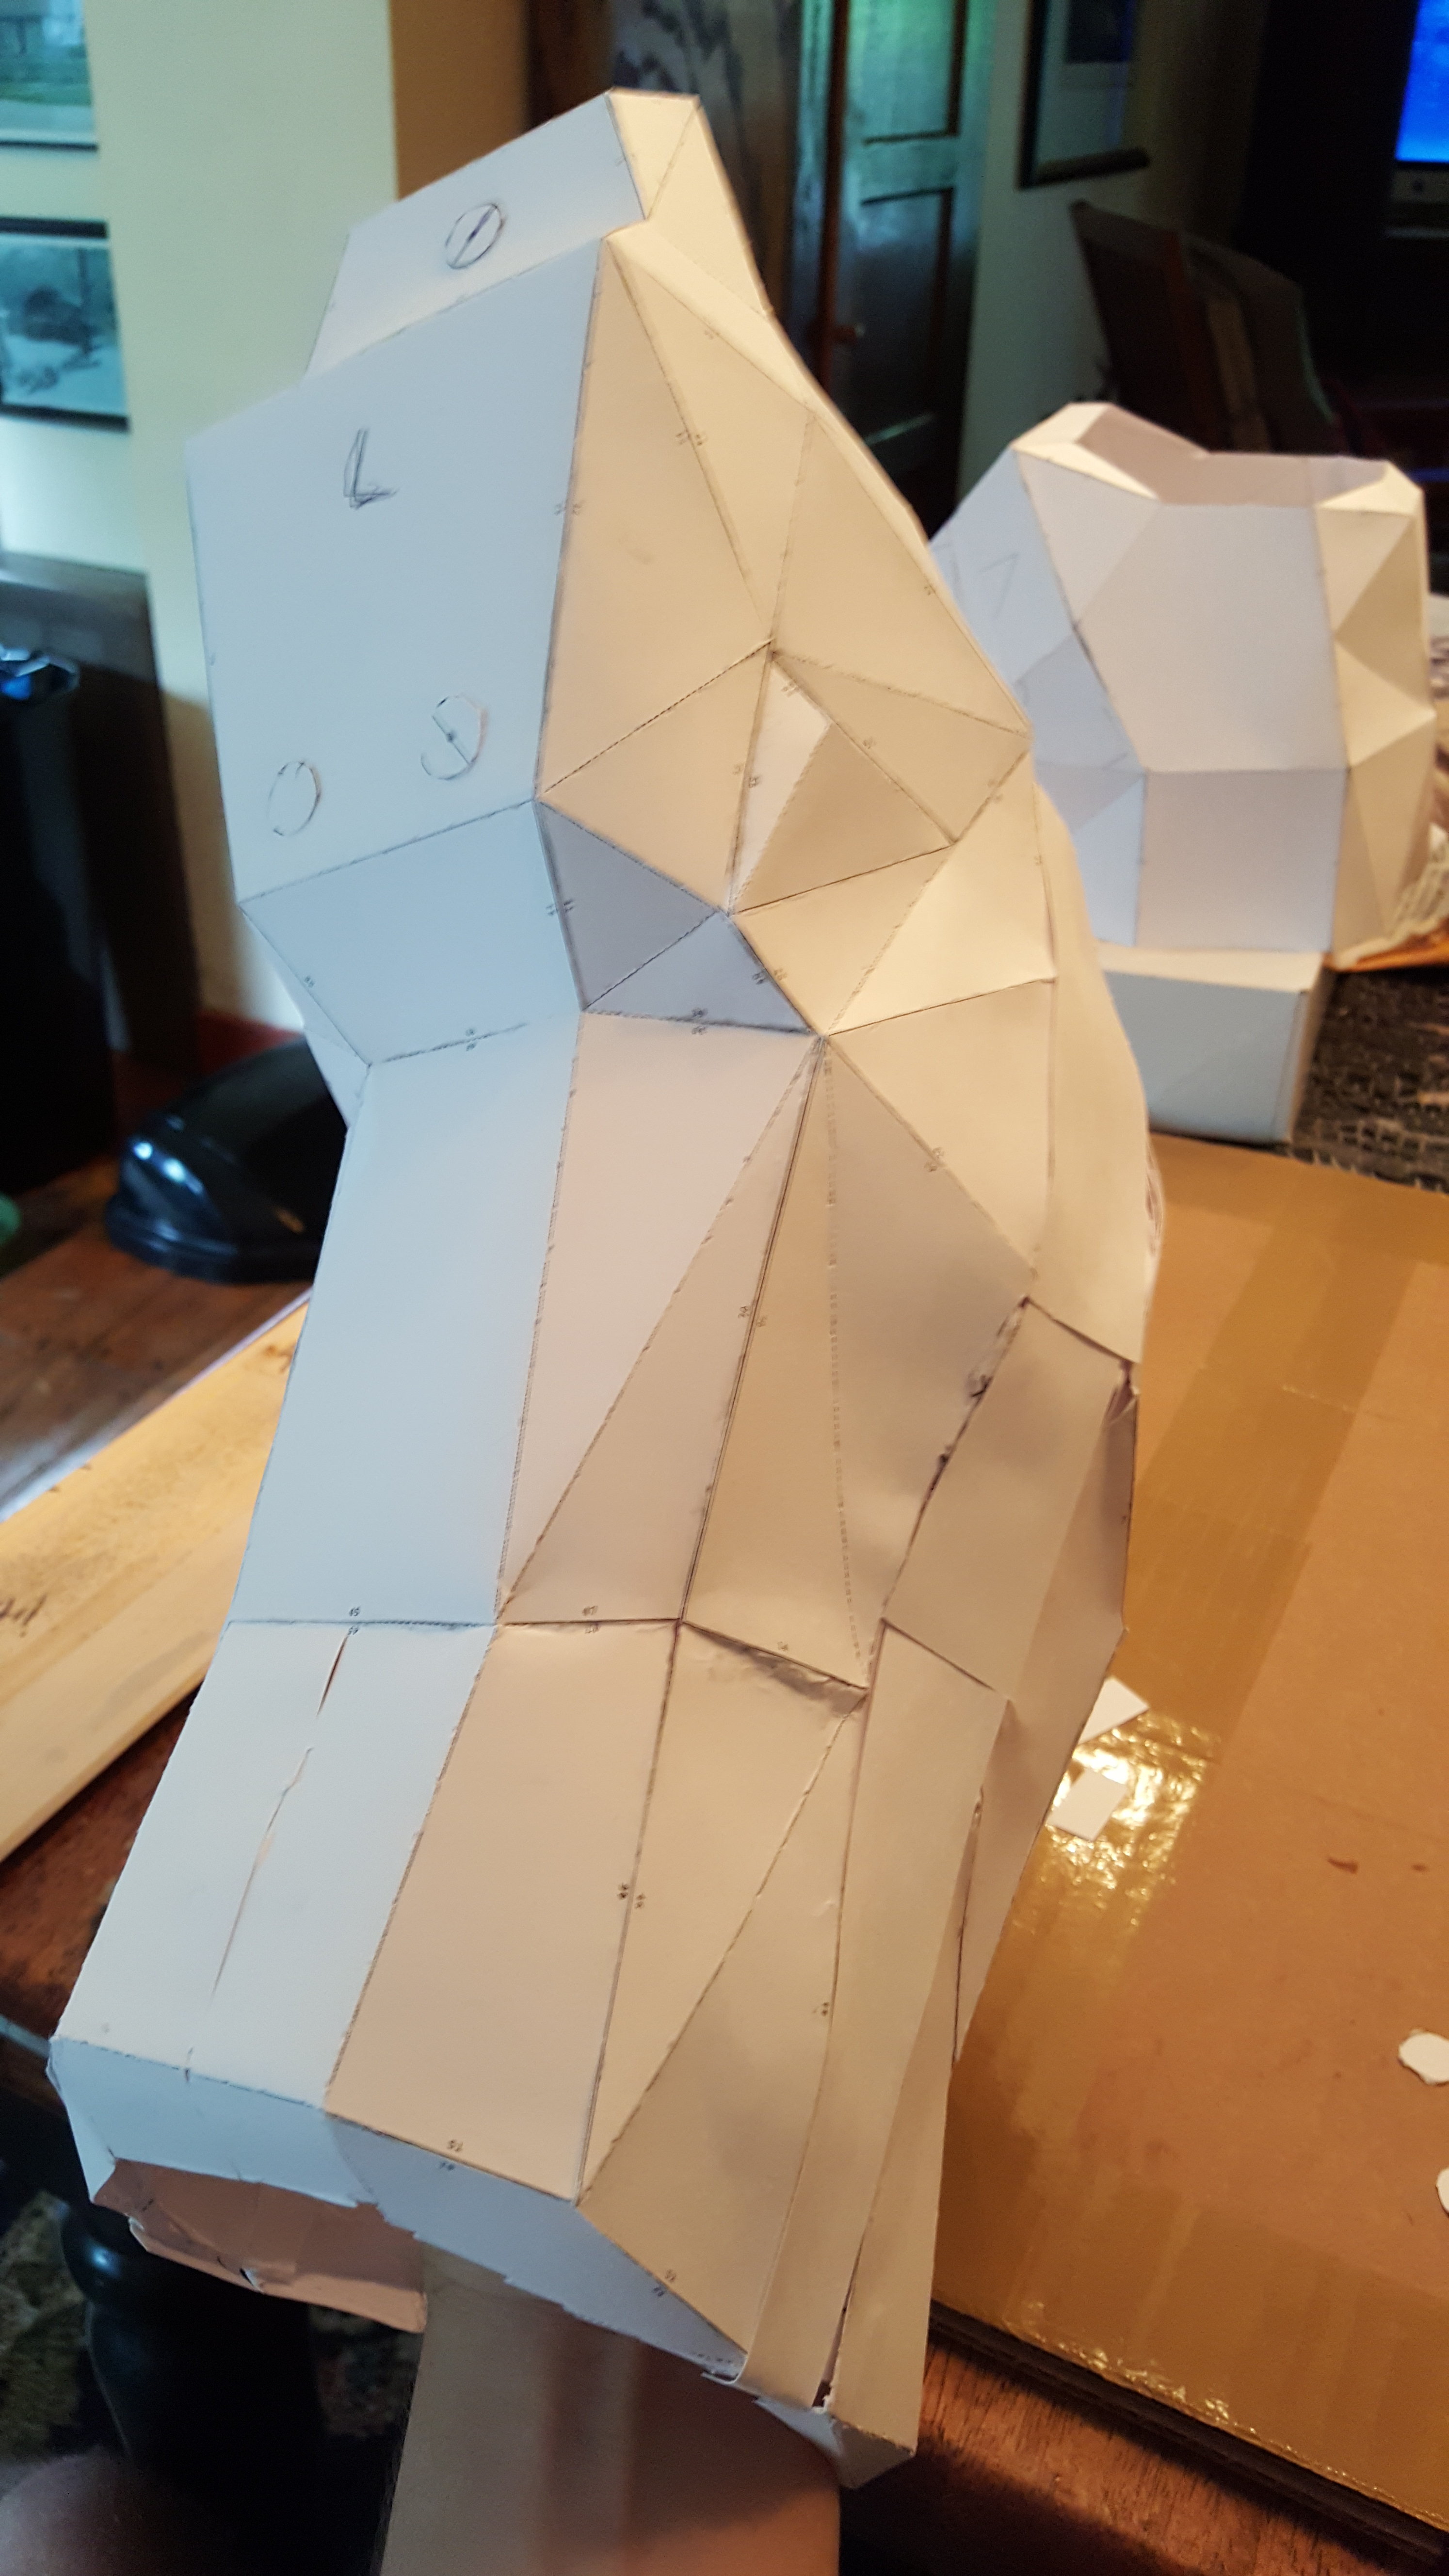
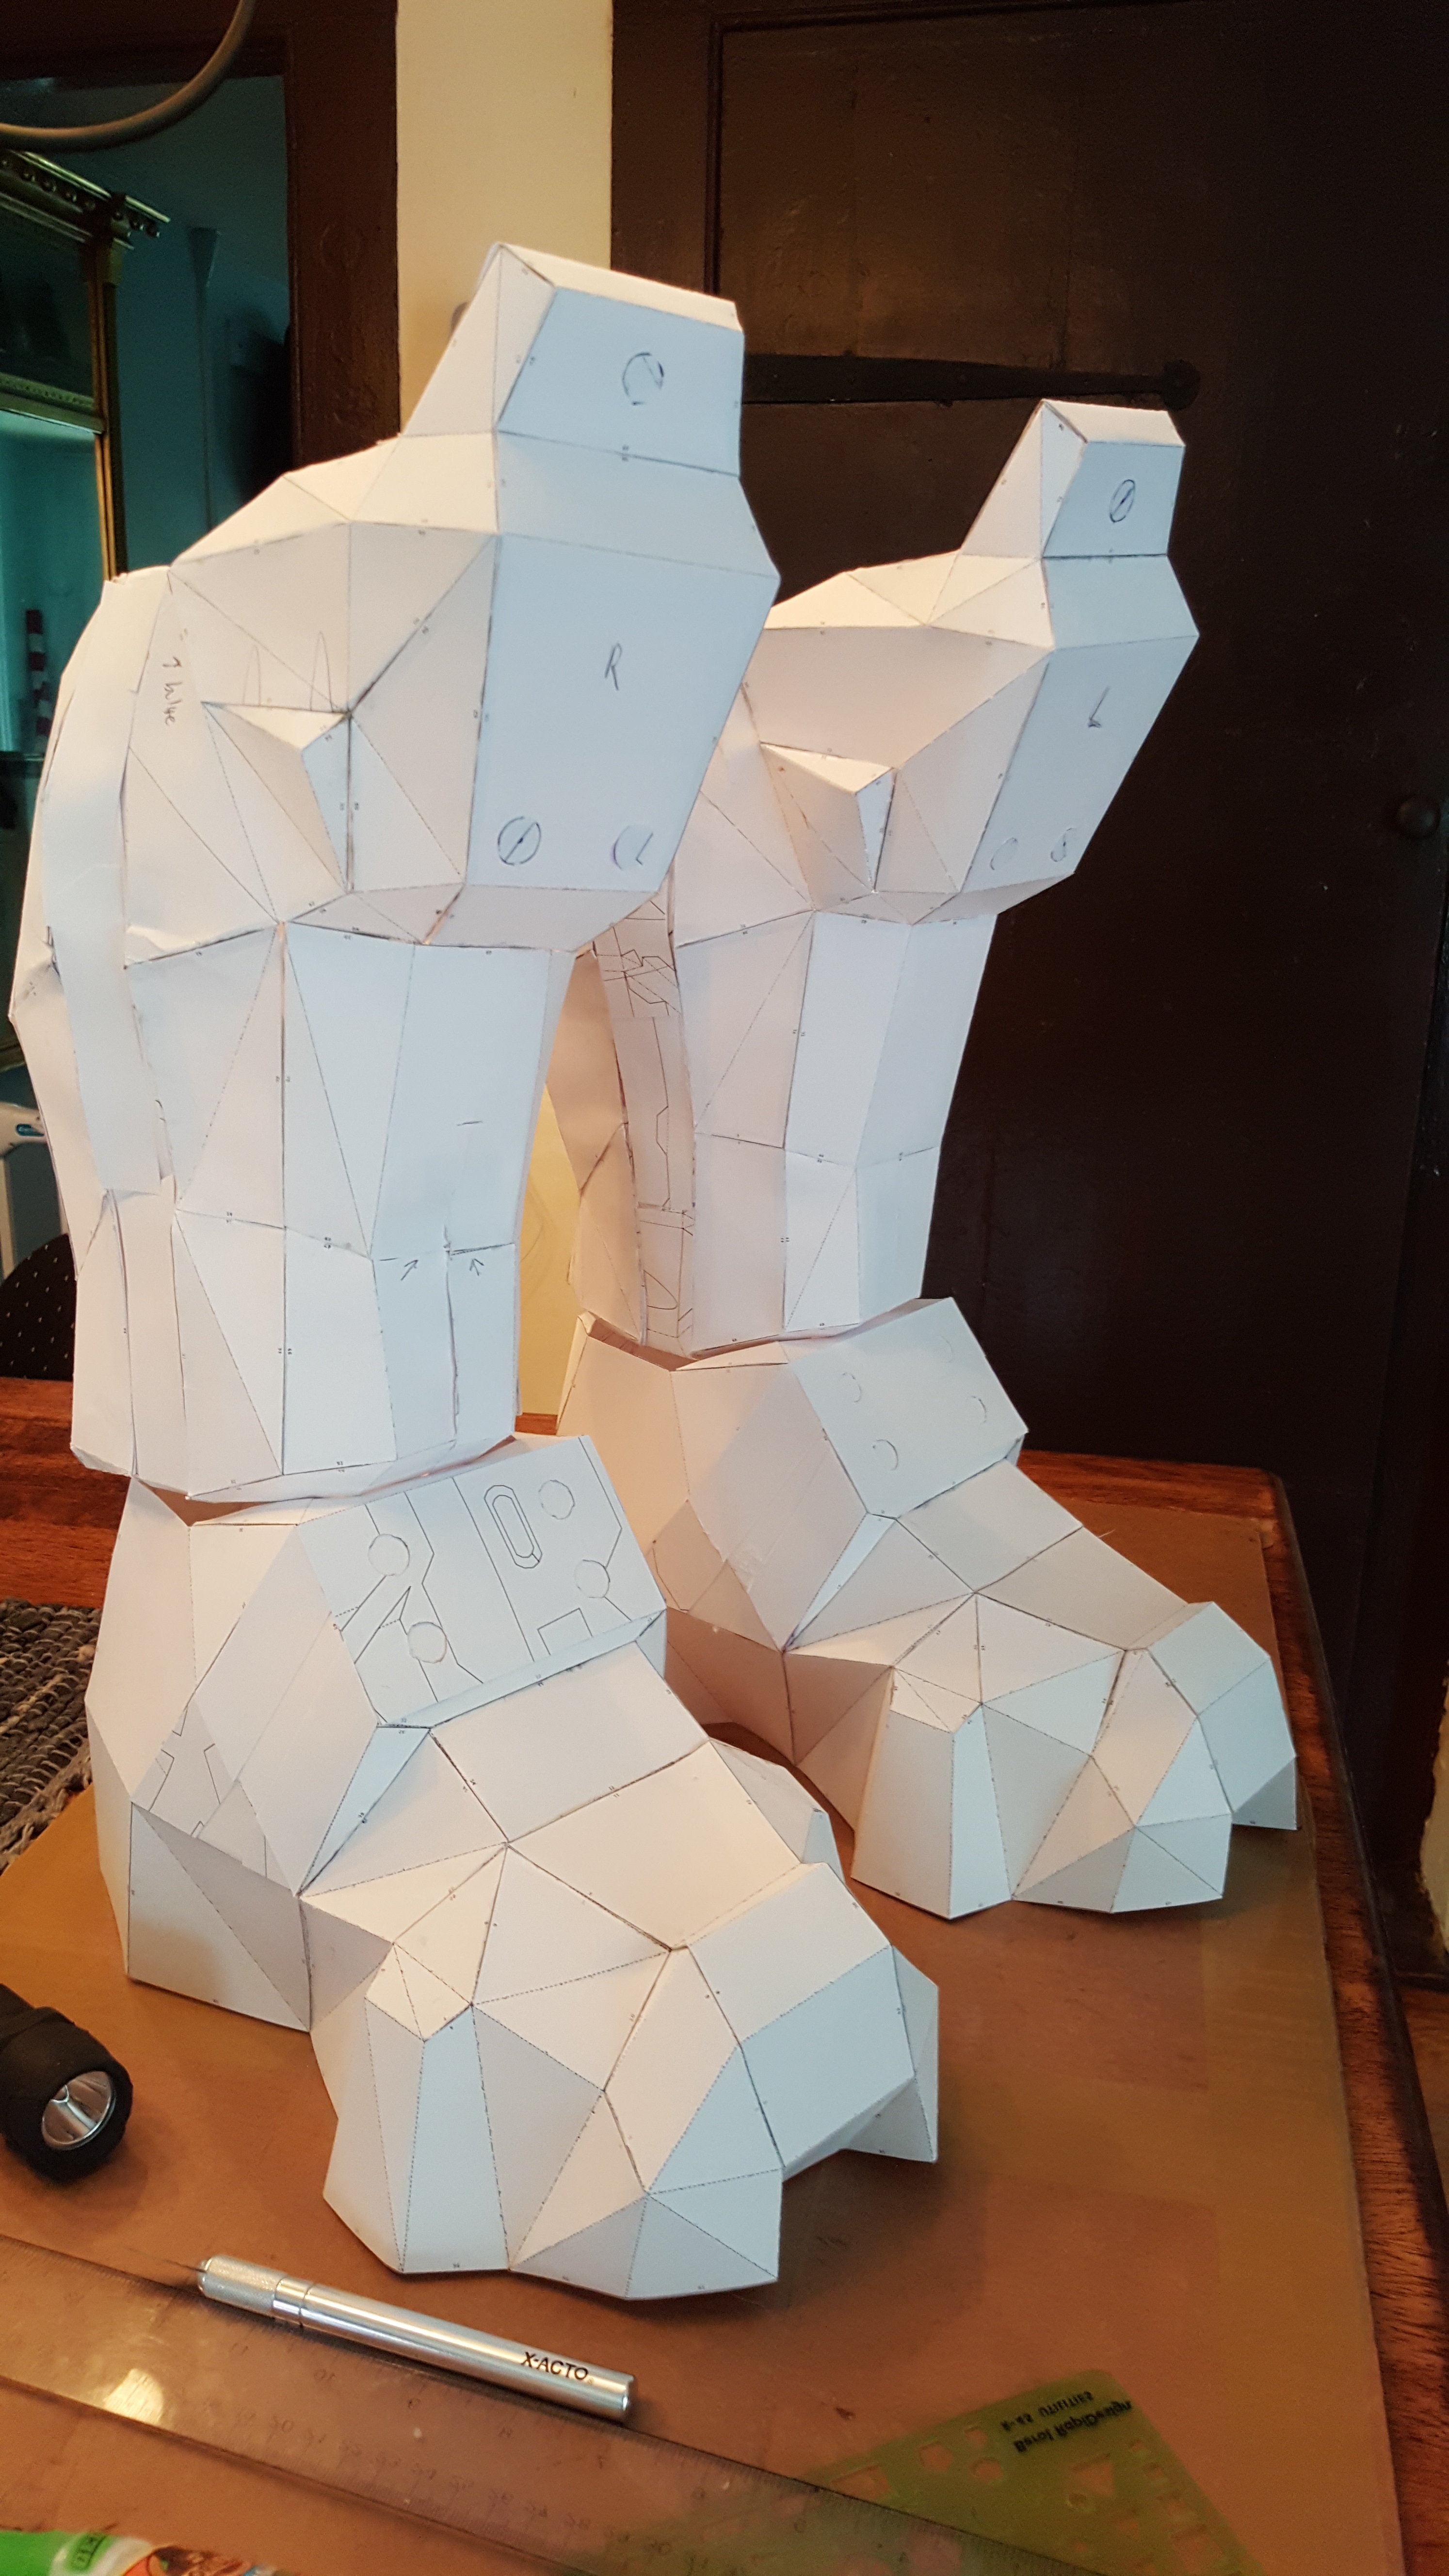
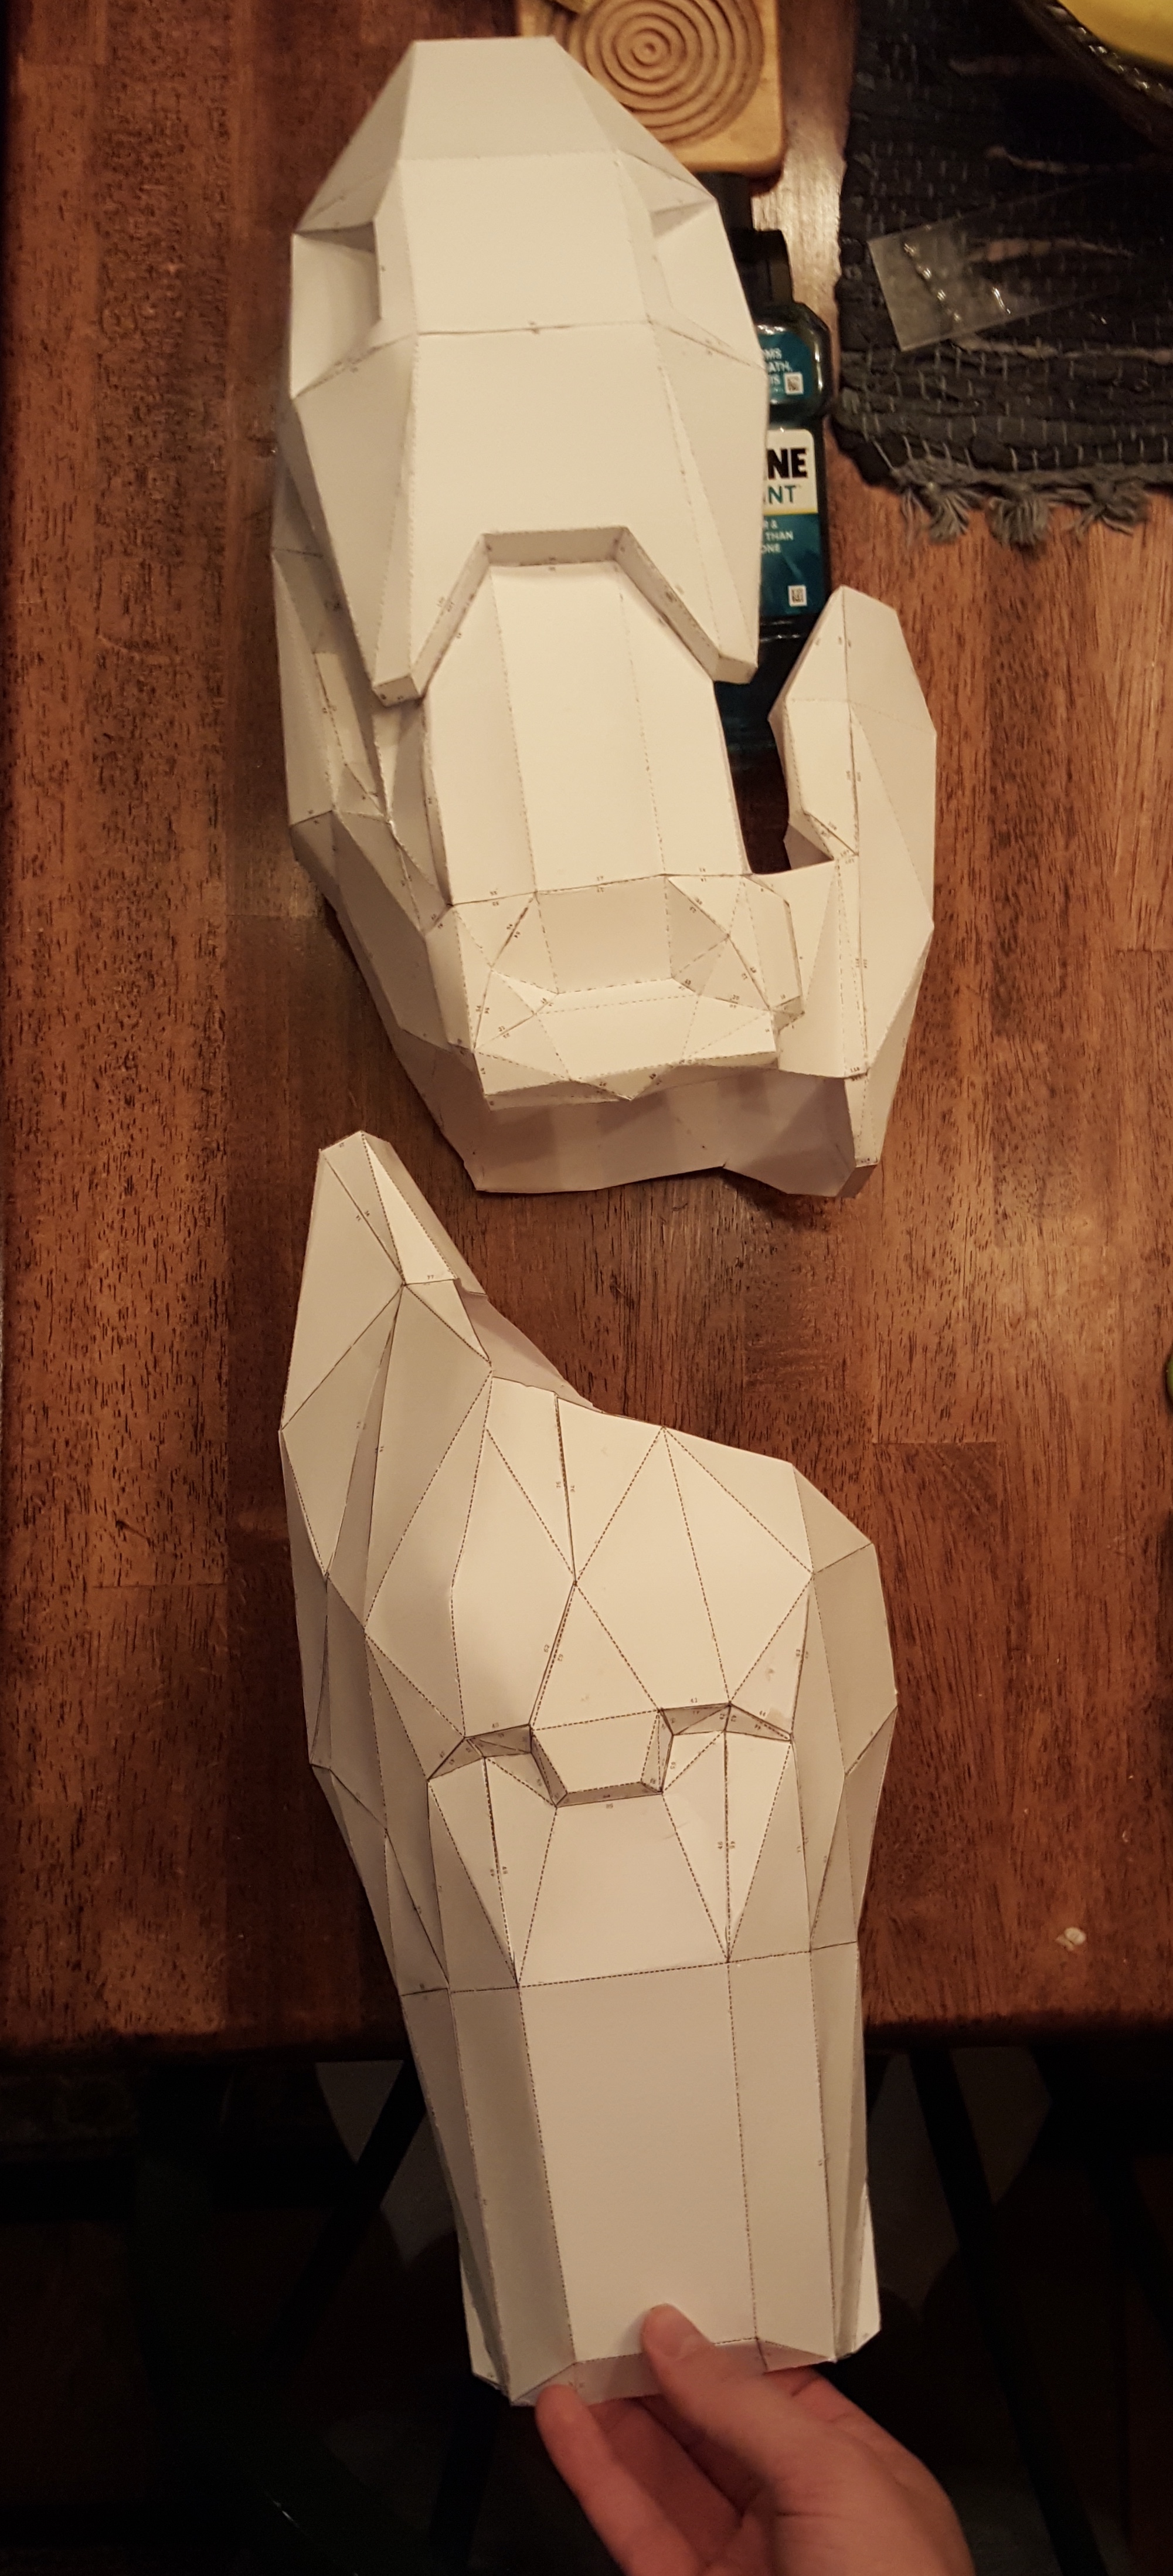
Pepped Pieces:
1 Chestpiece
2 Biceps
2 Gauntlets
1 Codpiece
2 Thighs
2 Shins
2 Boots
Remaining Pieces:
Helmet
Recon Chest Attachment
2 Handplates
Resined Pieces:
All except Helmet, chest and handplates
Hello!
It’s been a long time since I made any builds, aside from an old Artorias build back in high school and a freehand Halo costume that I made after graduation.
So, I figured that since summer break from college is coming up in a few weeks, I’d try my hand at a Halo armor build, this time using Pepakura.
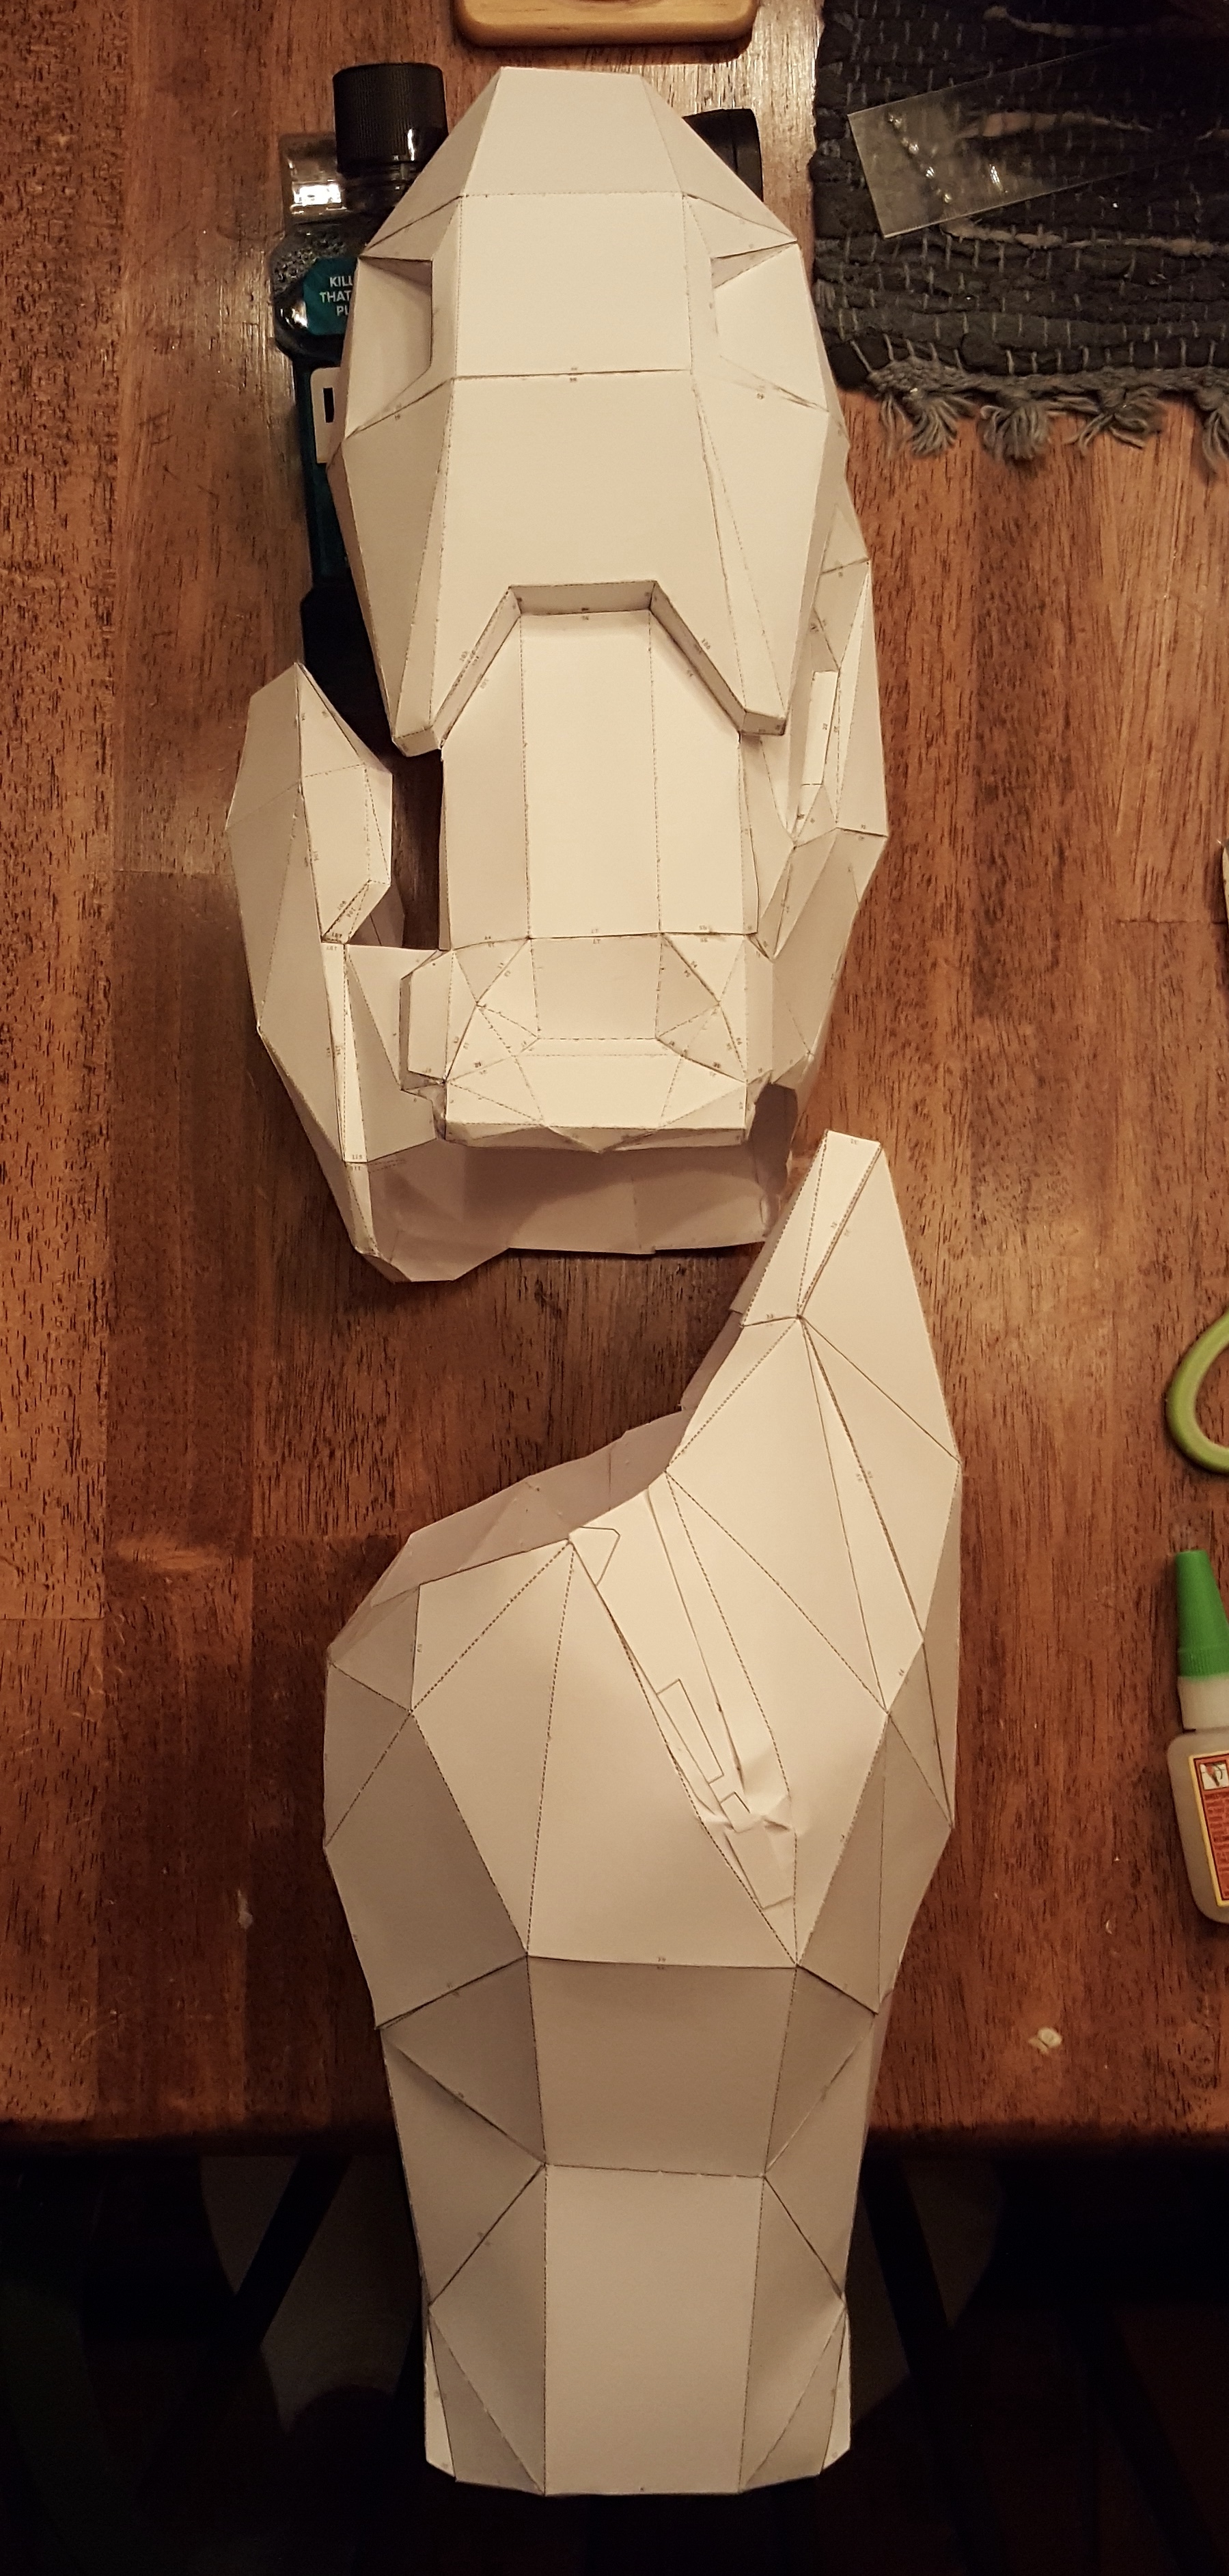
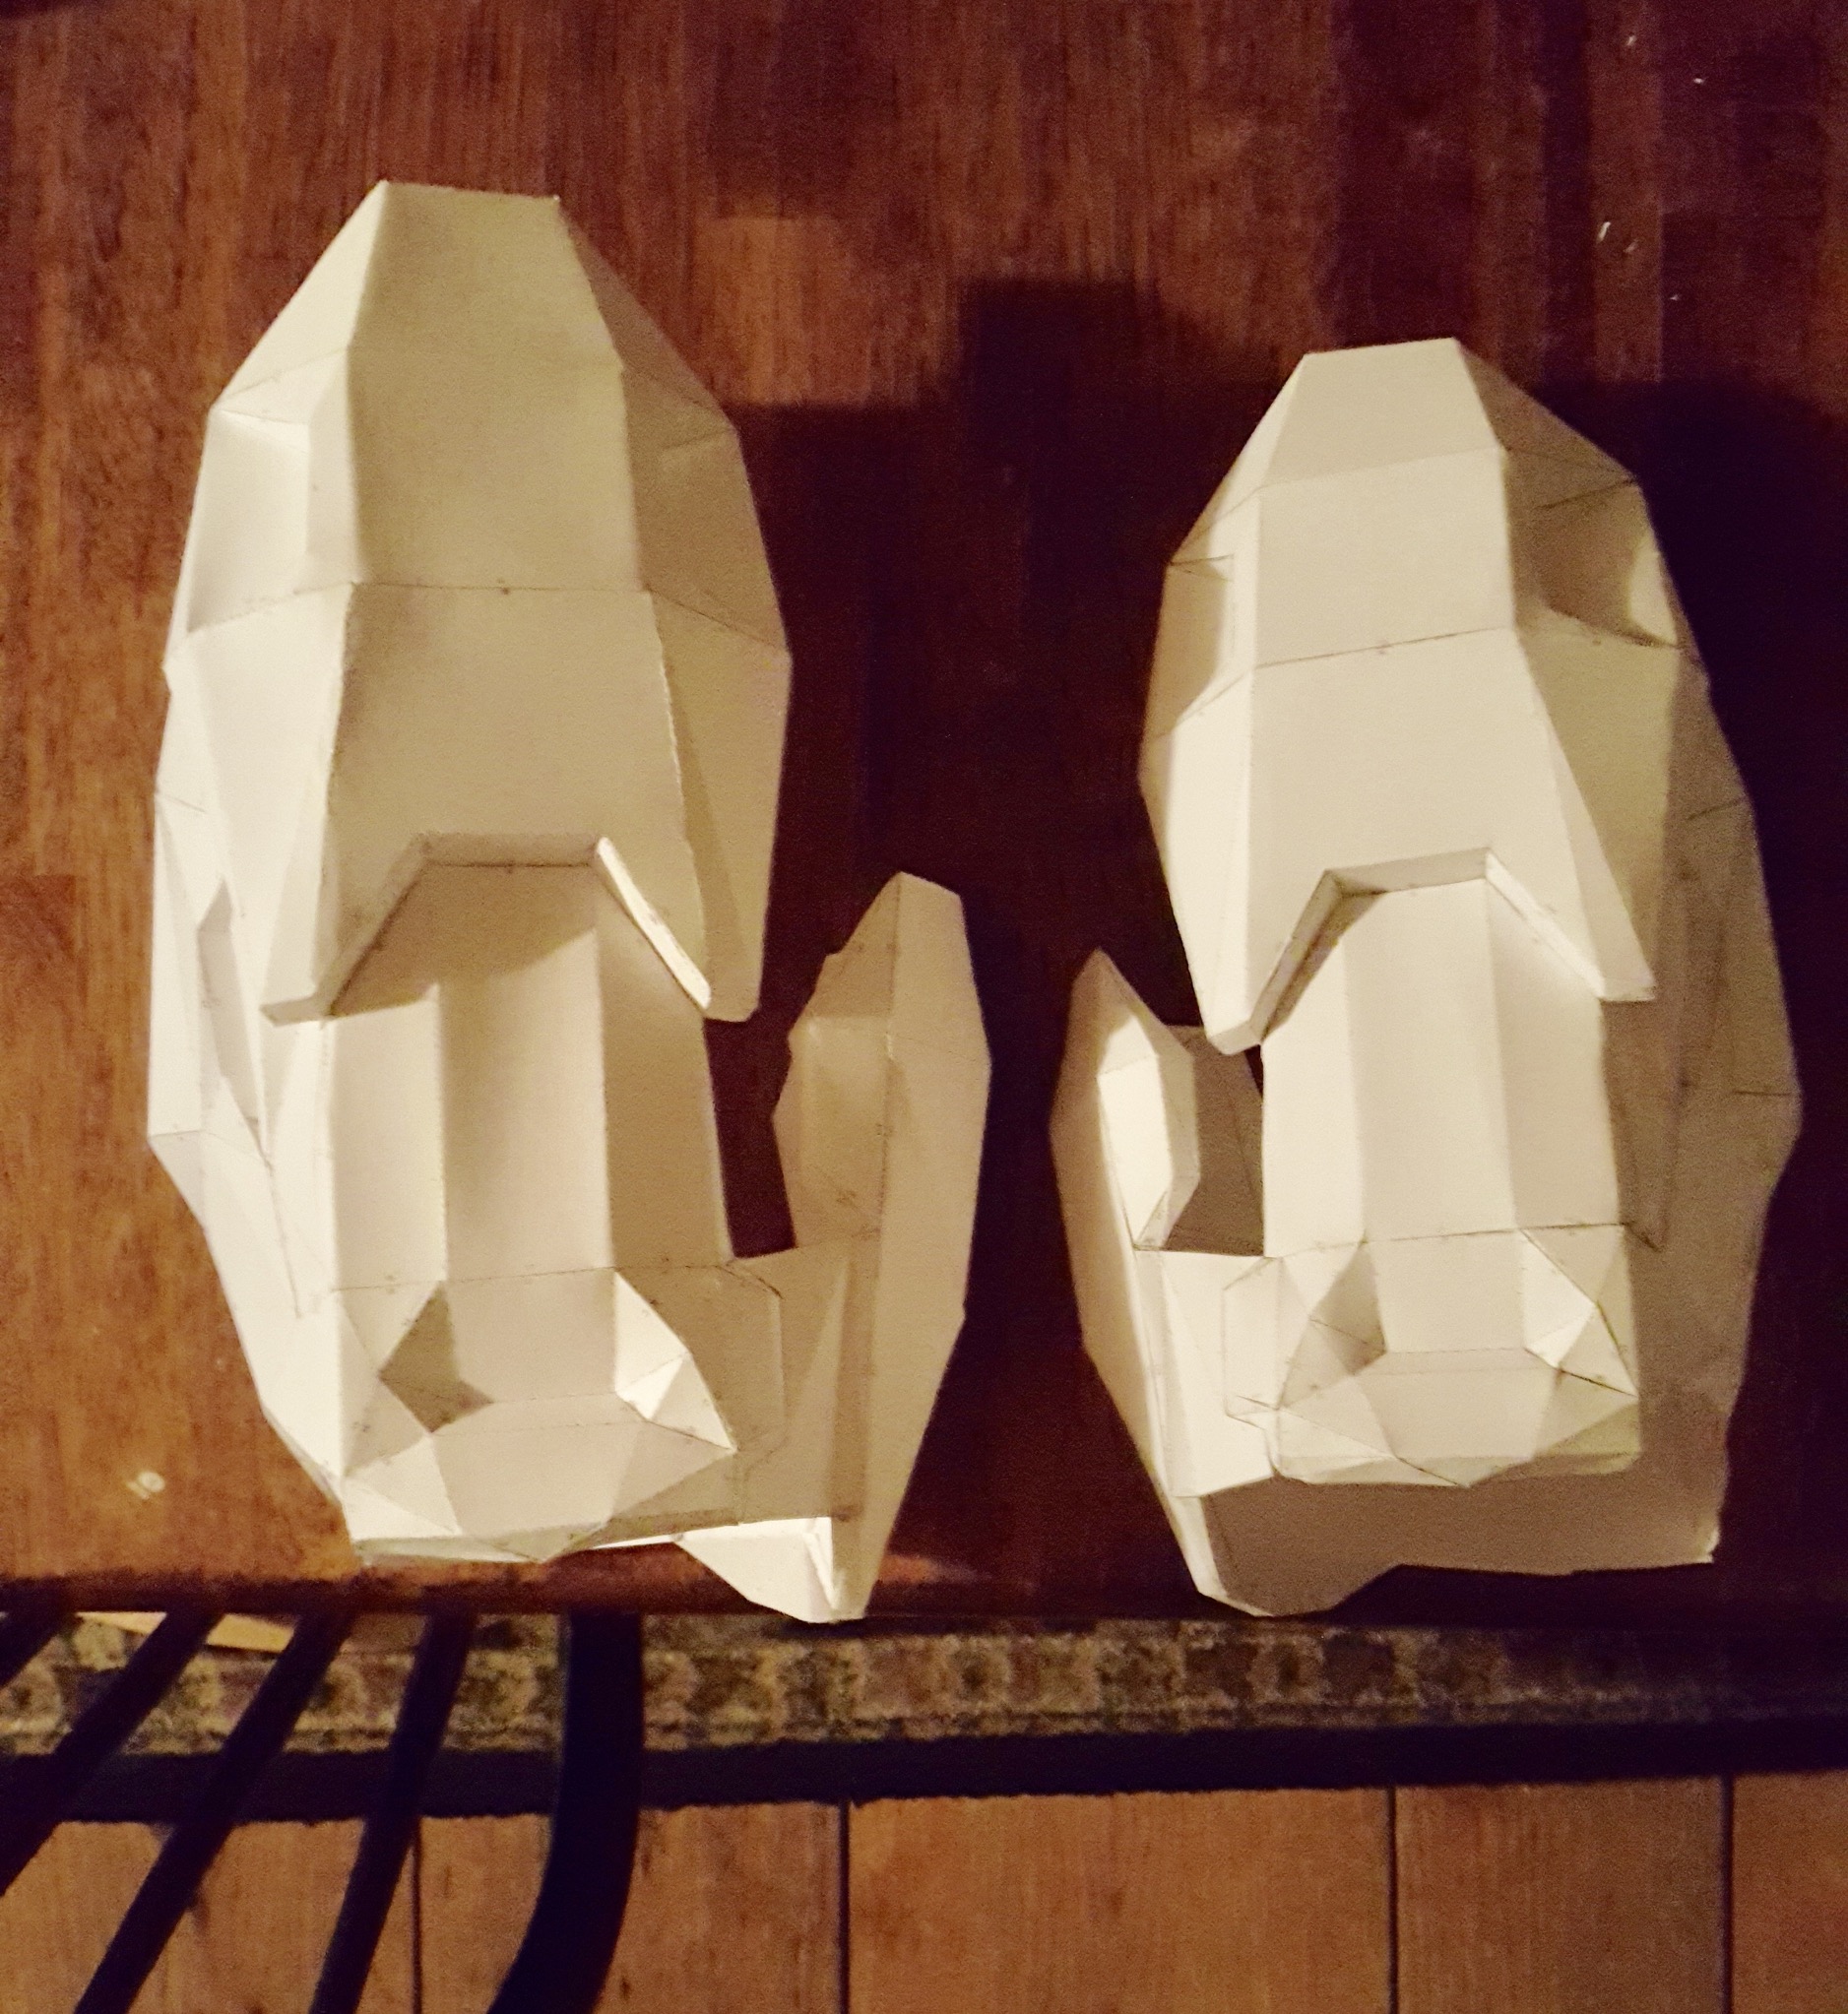
I’ve decided that I’ll be building a set of Halo 3 Armor, with custom parts based off my own multiplayer character. They’ll be:
.Mk. V Helmet
.Recon Chest
.E.V.A Shoulders
Next step is to get the files and scale everything, which shouldn’t be too difficult.
I intend to get started once I fly back home, which is late April. I hope to have progress images by that time or early May by the latest, but we’ll see.
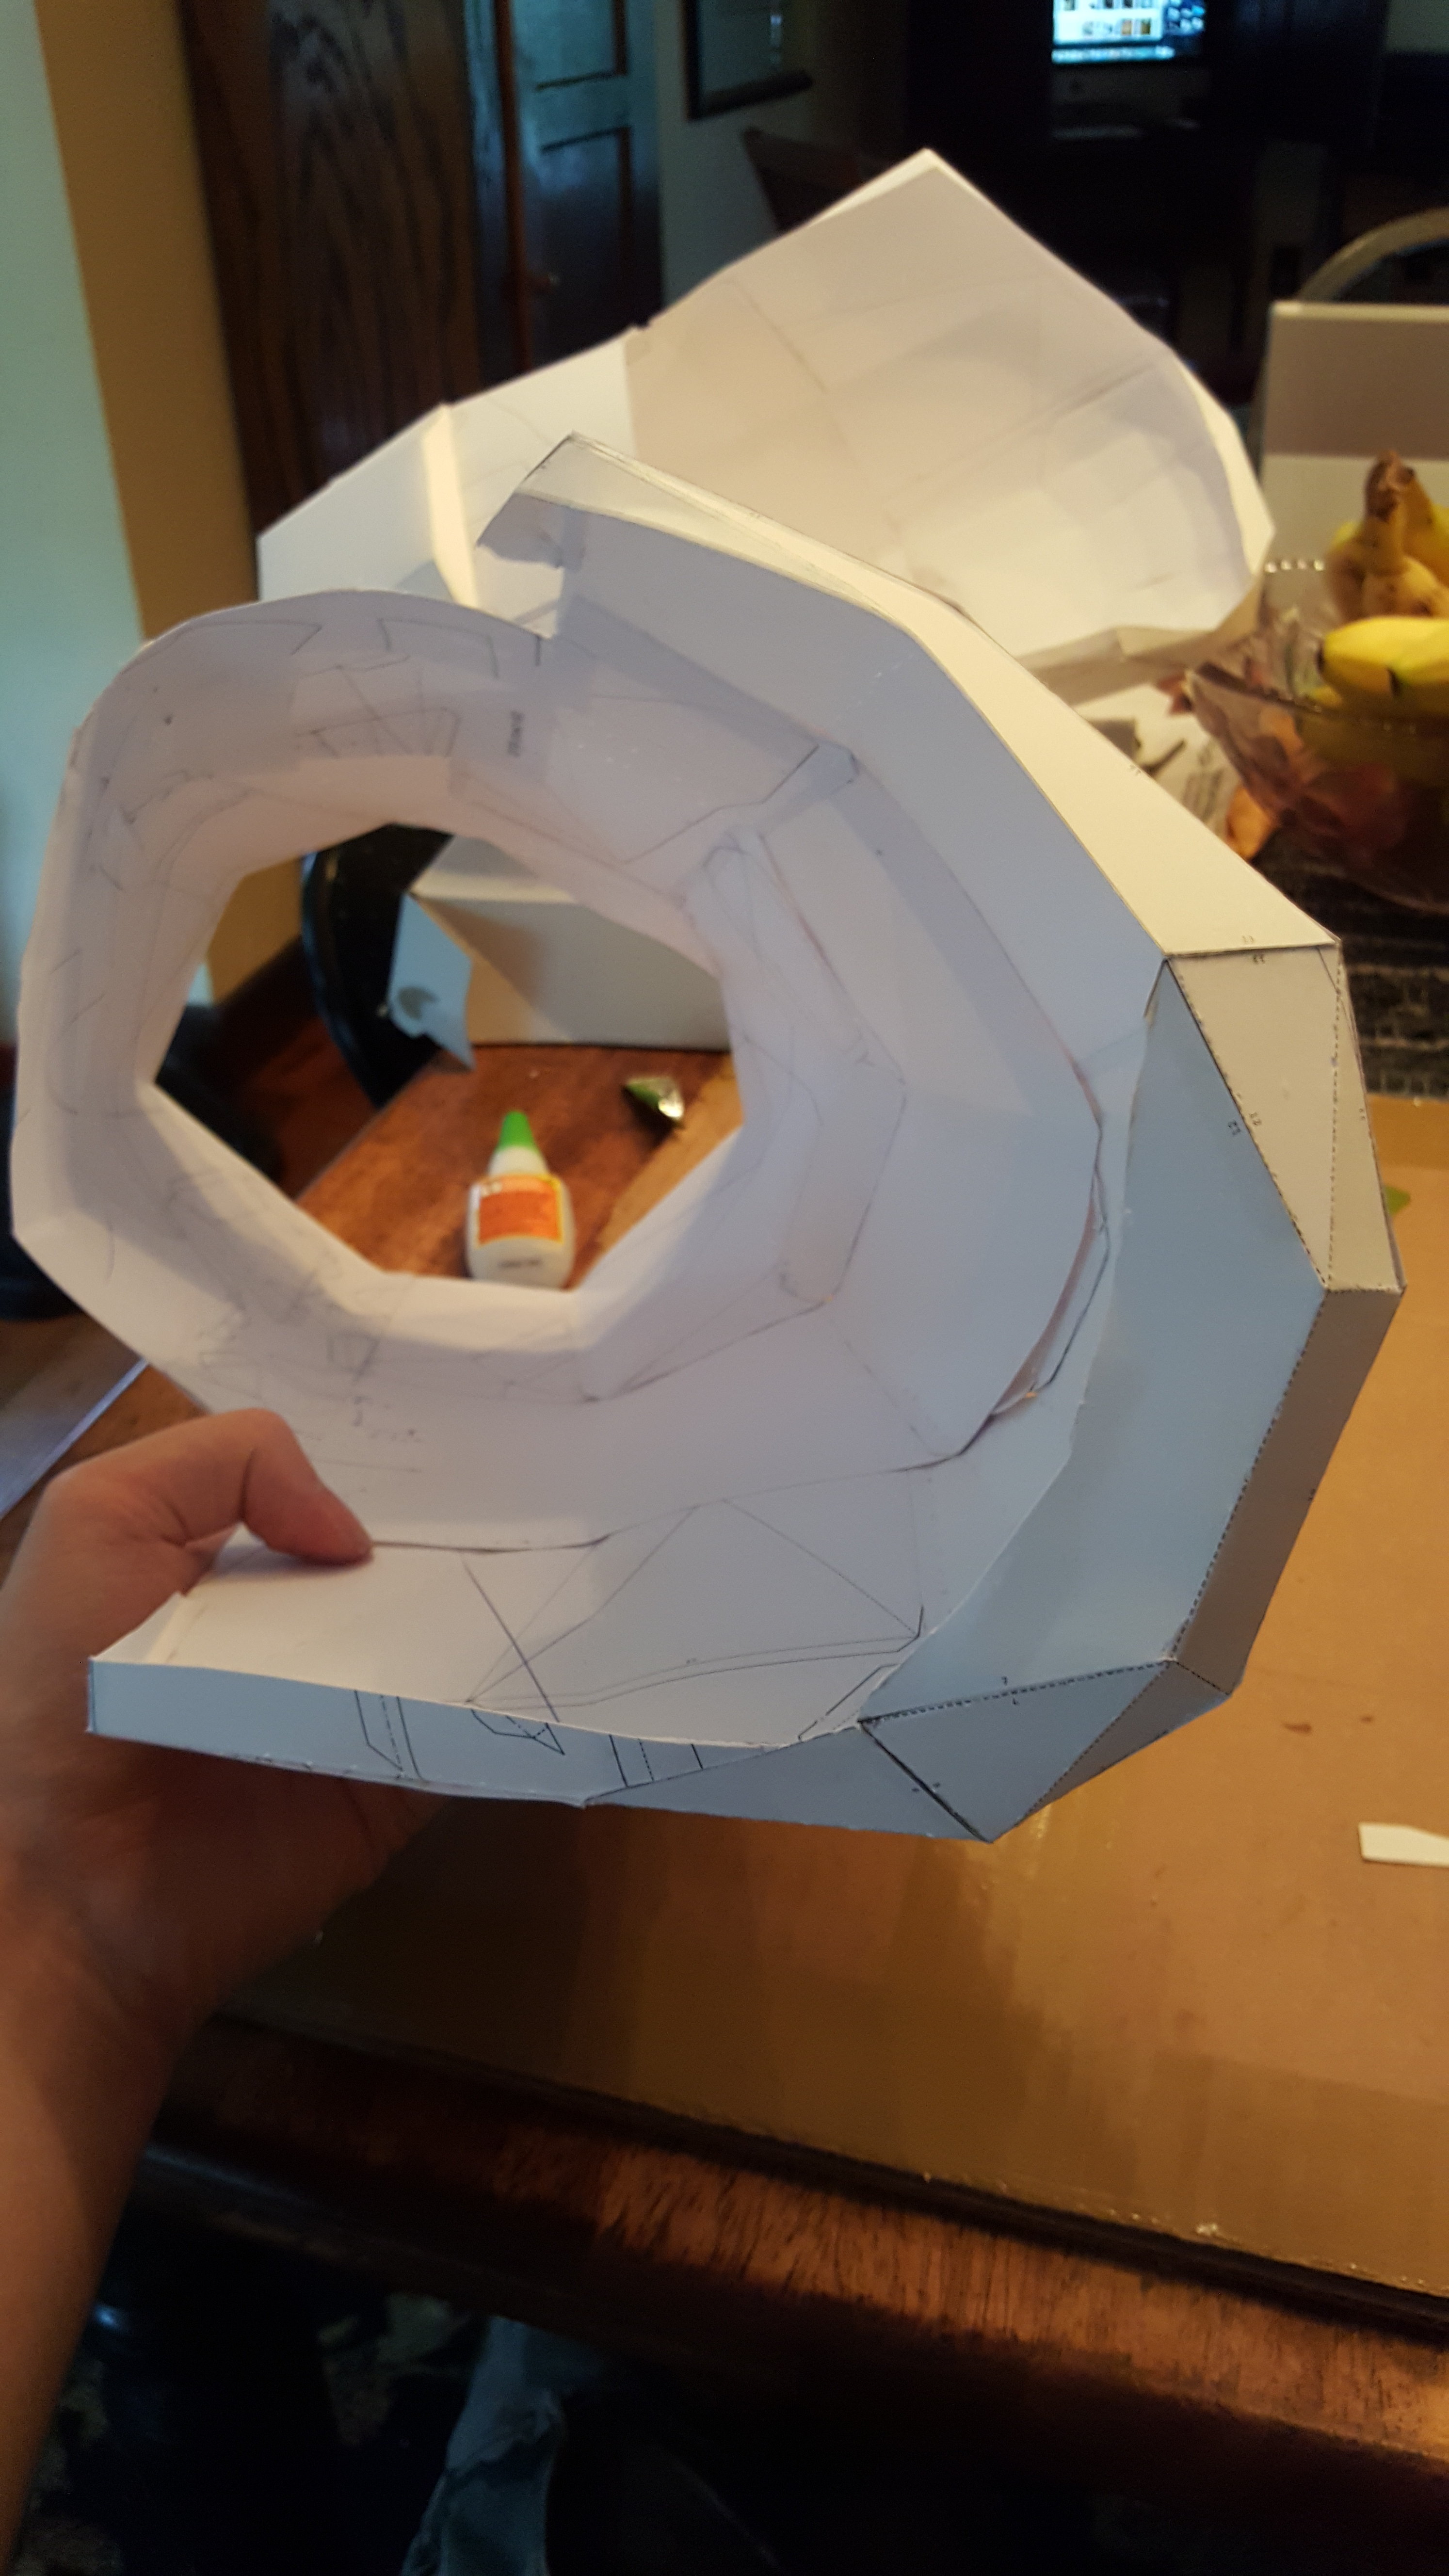
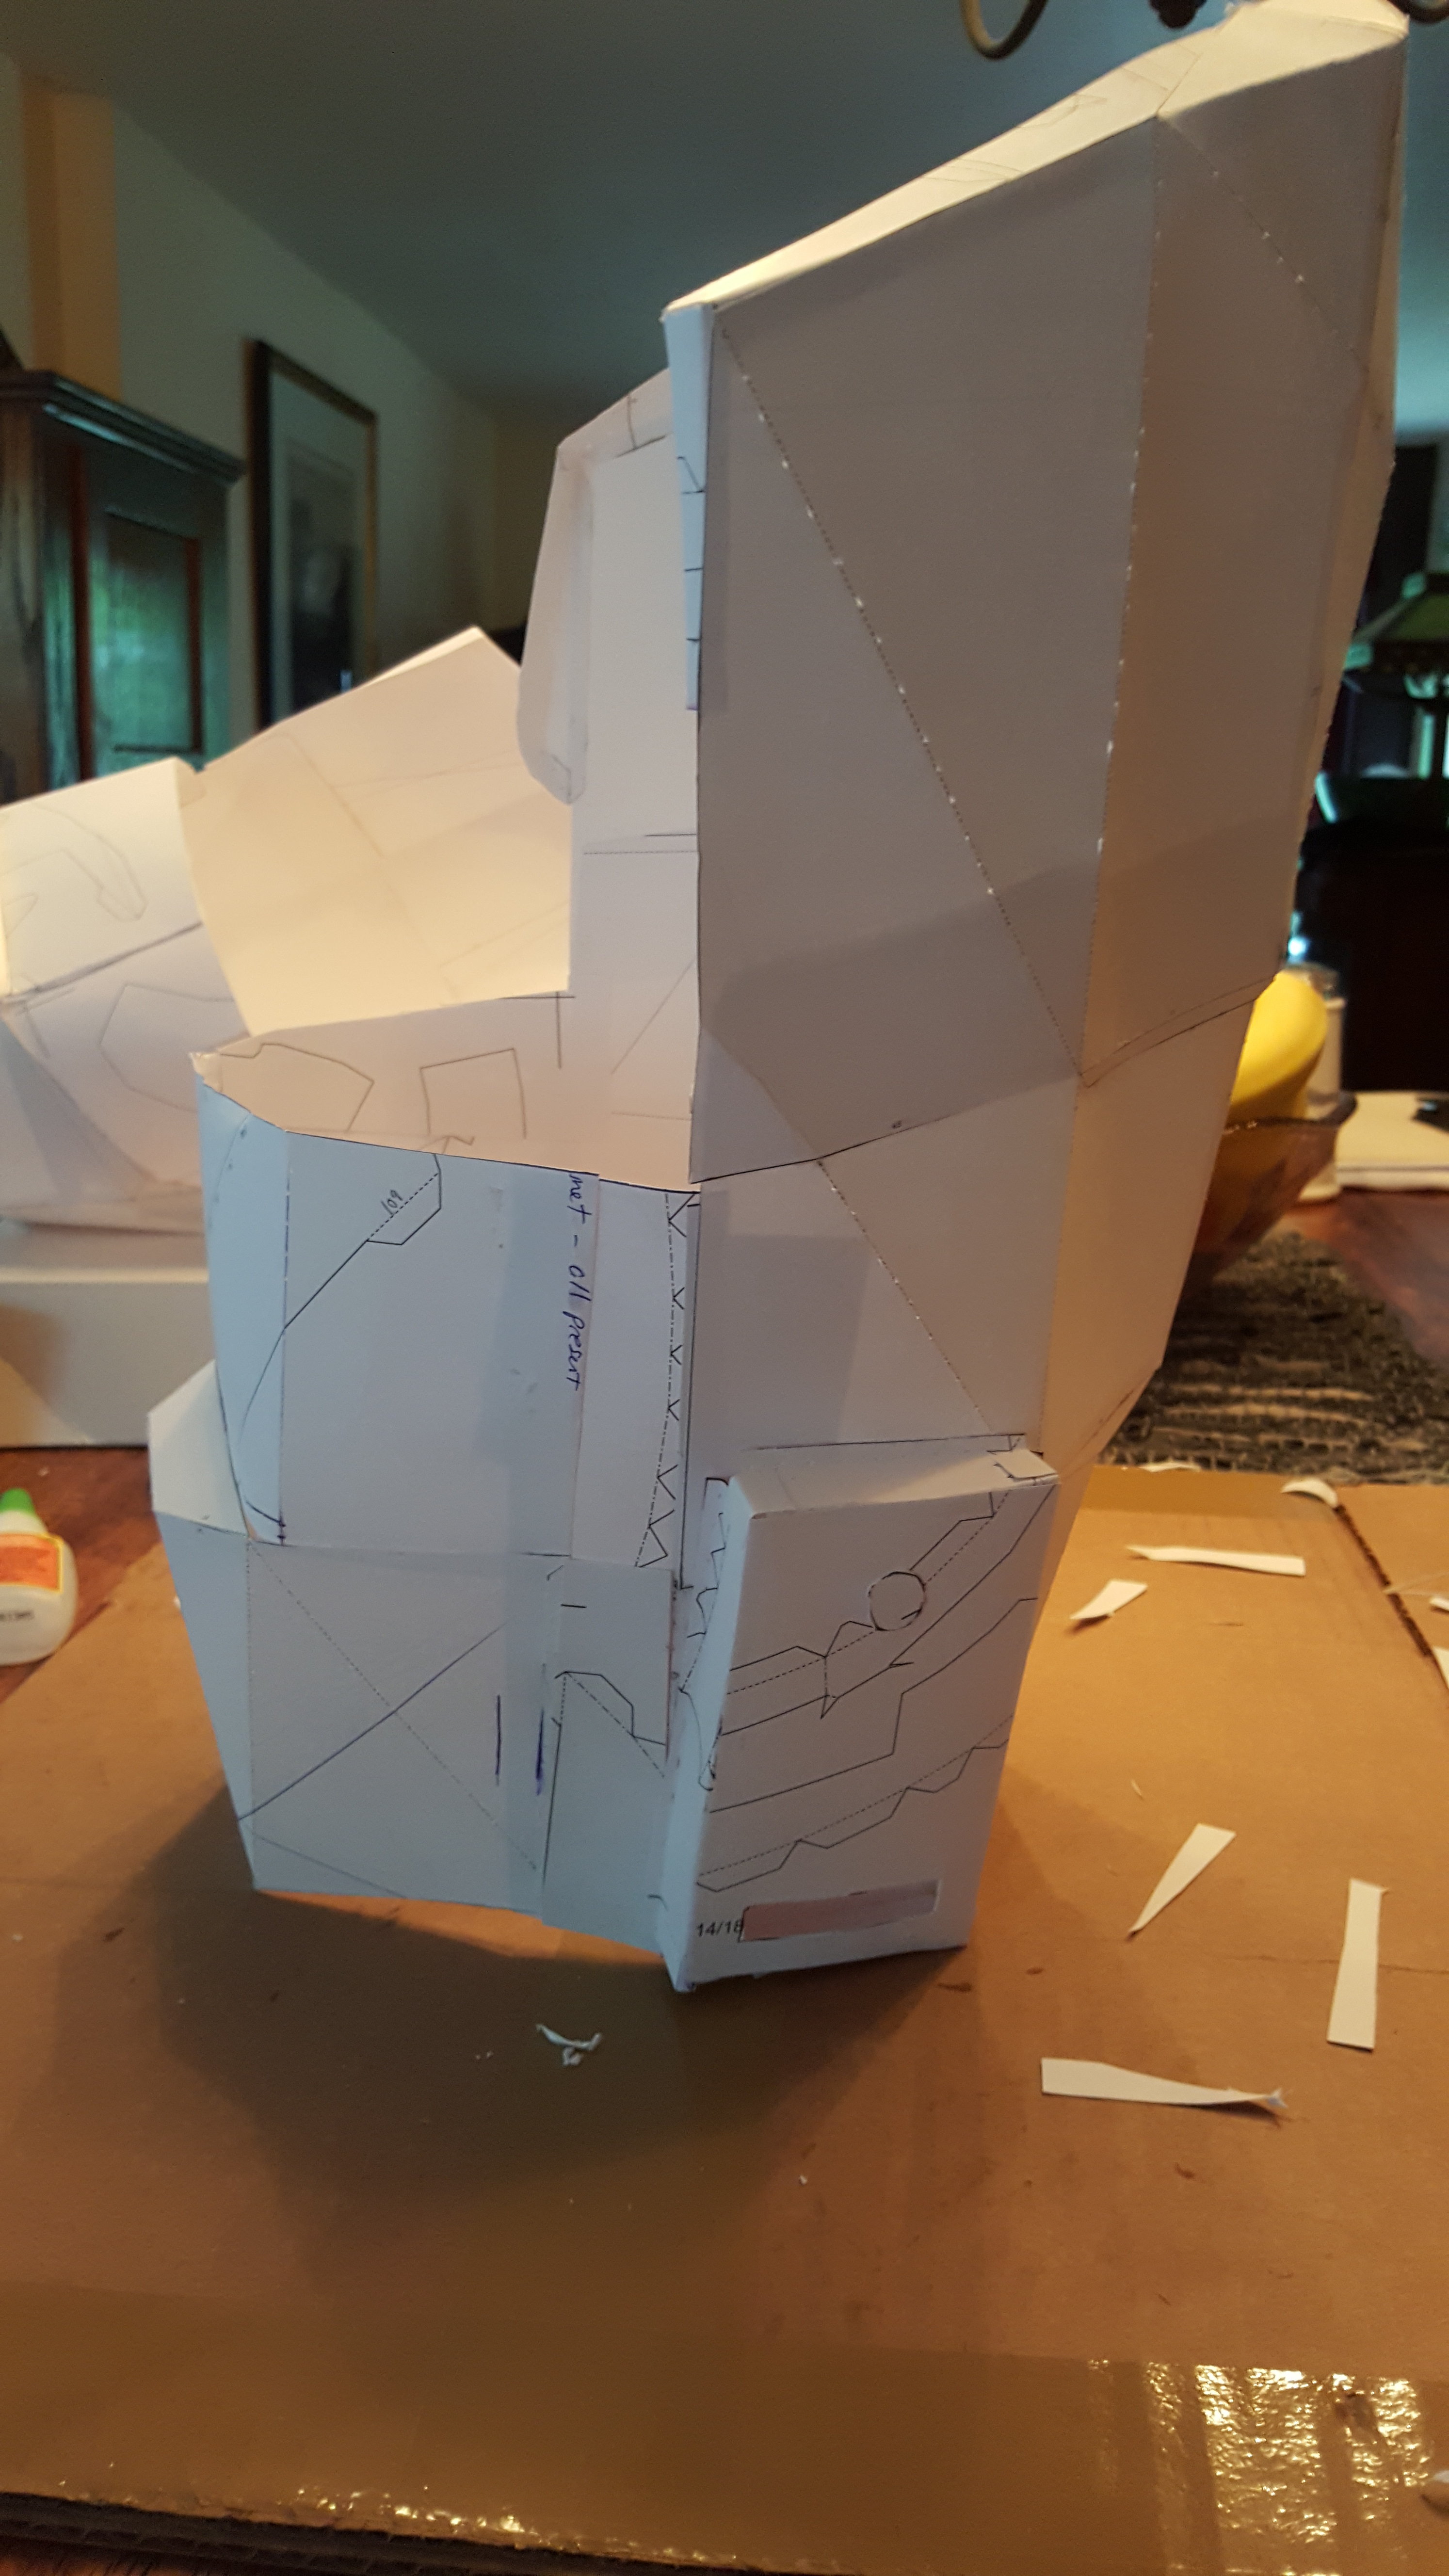
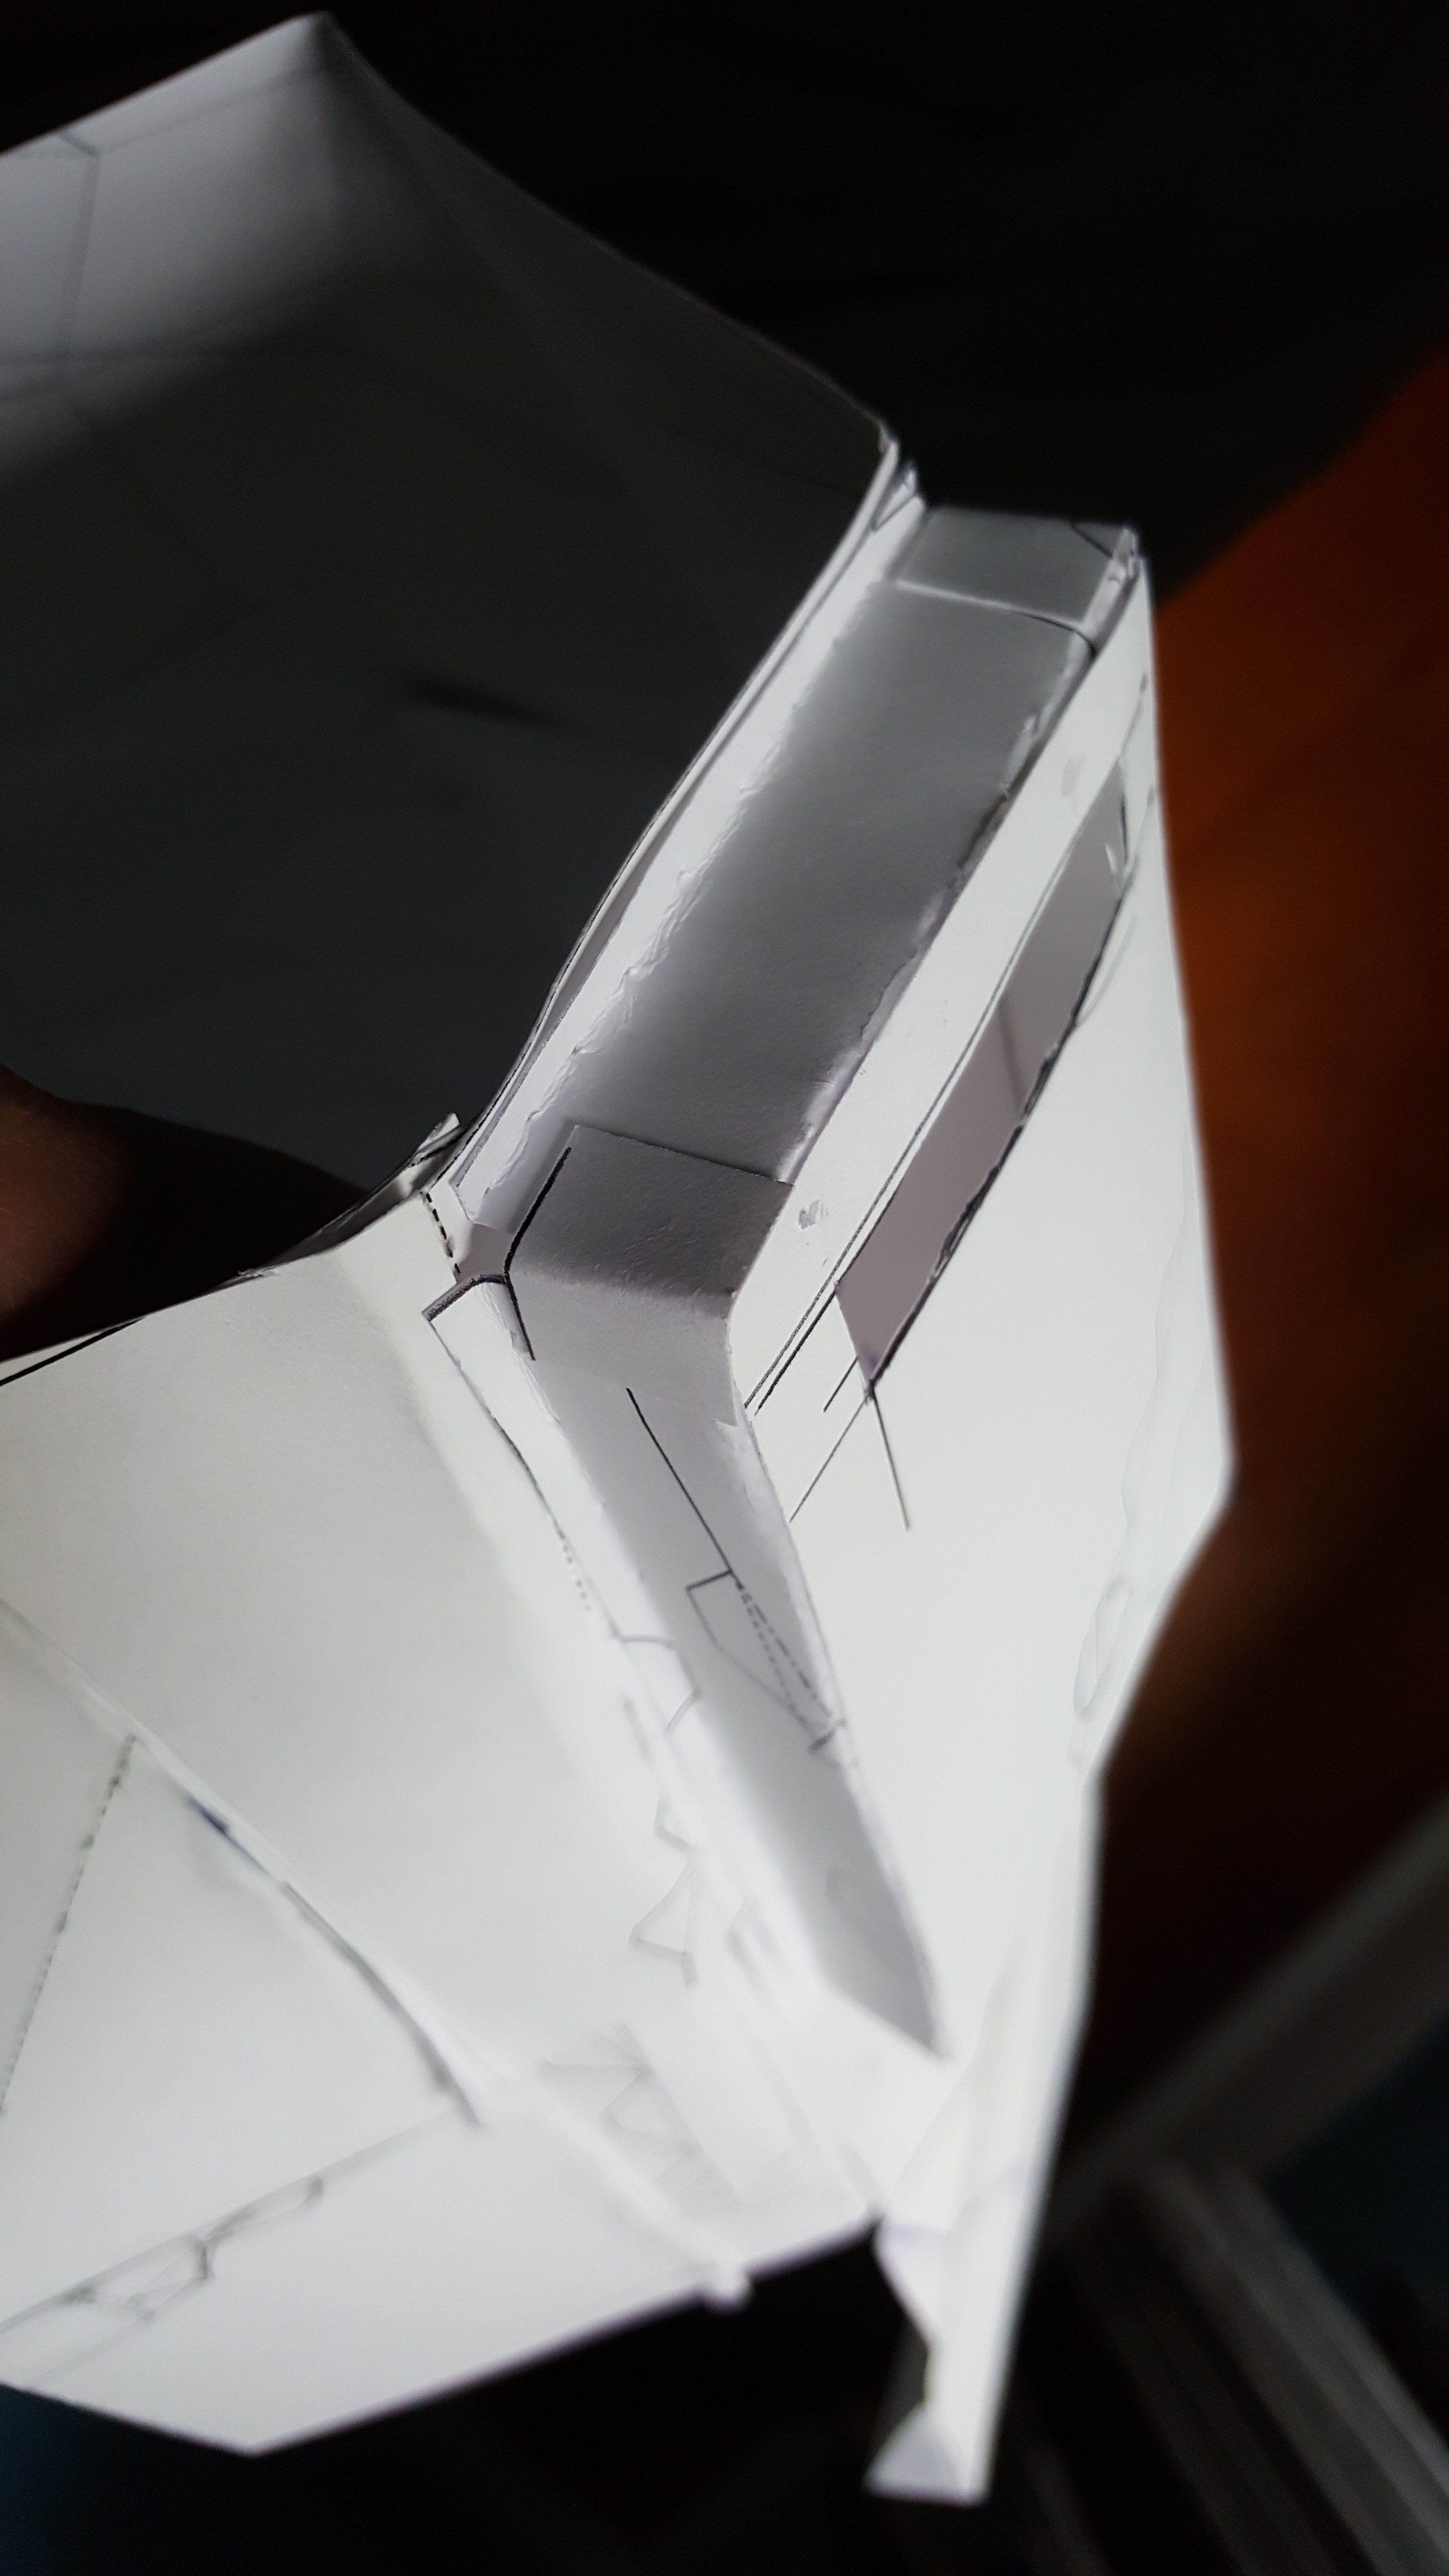
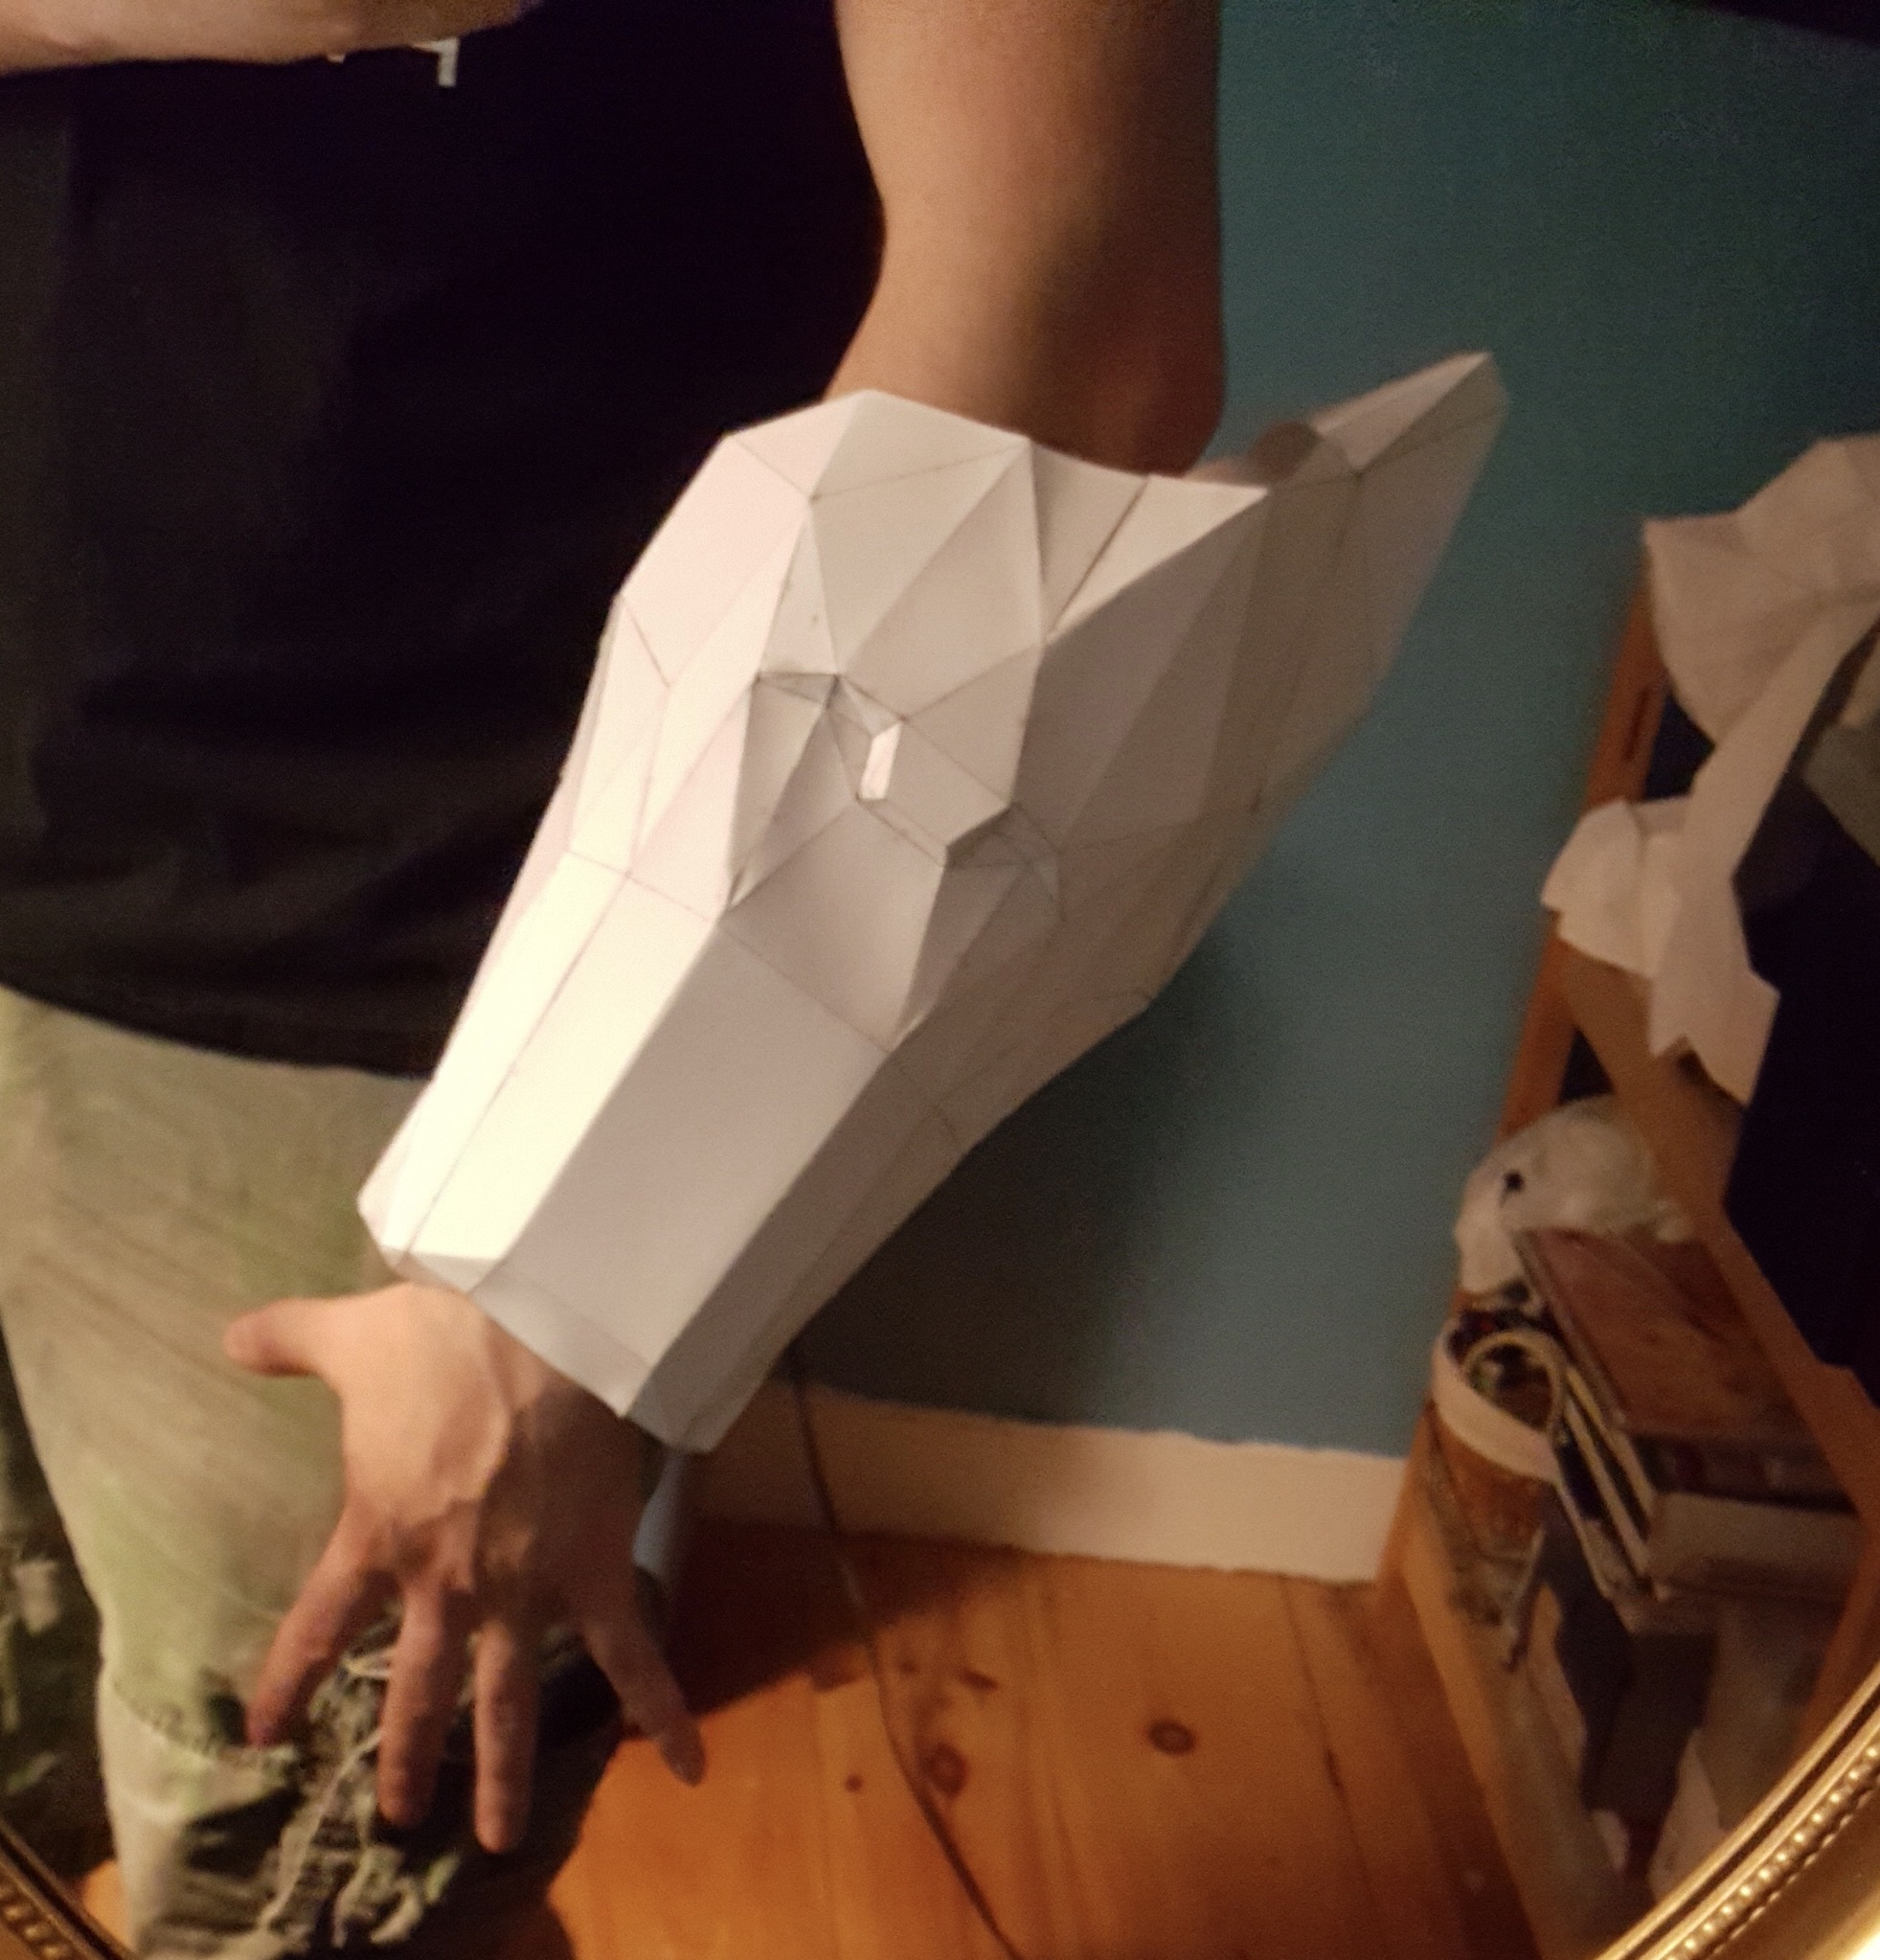
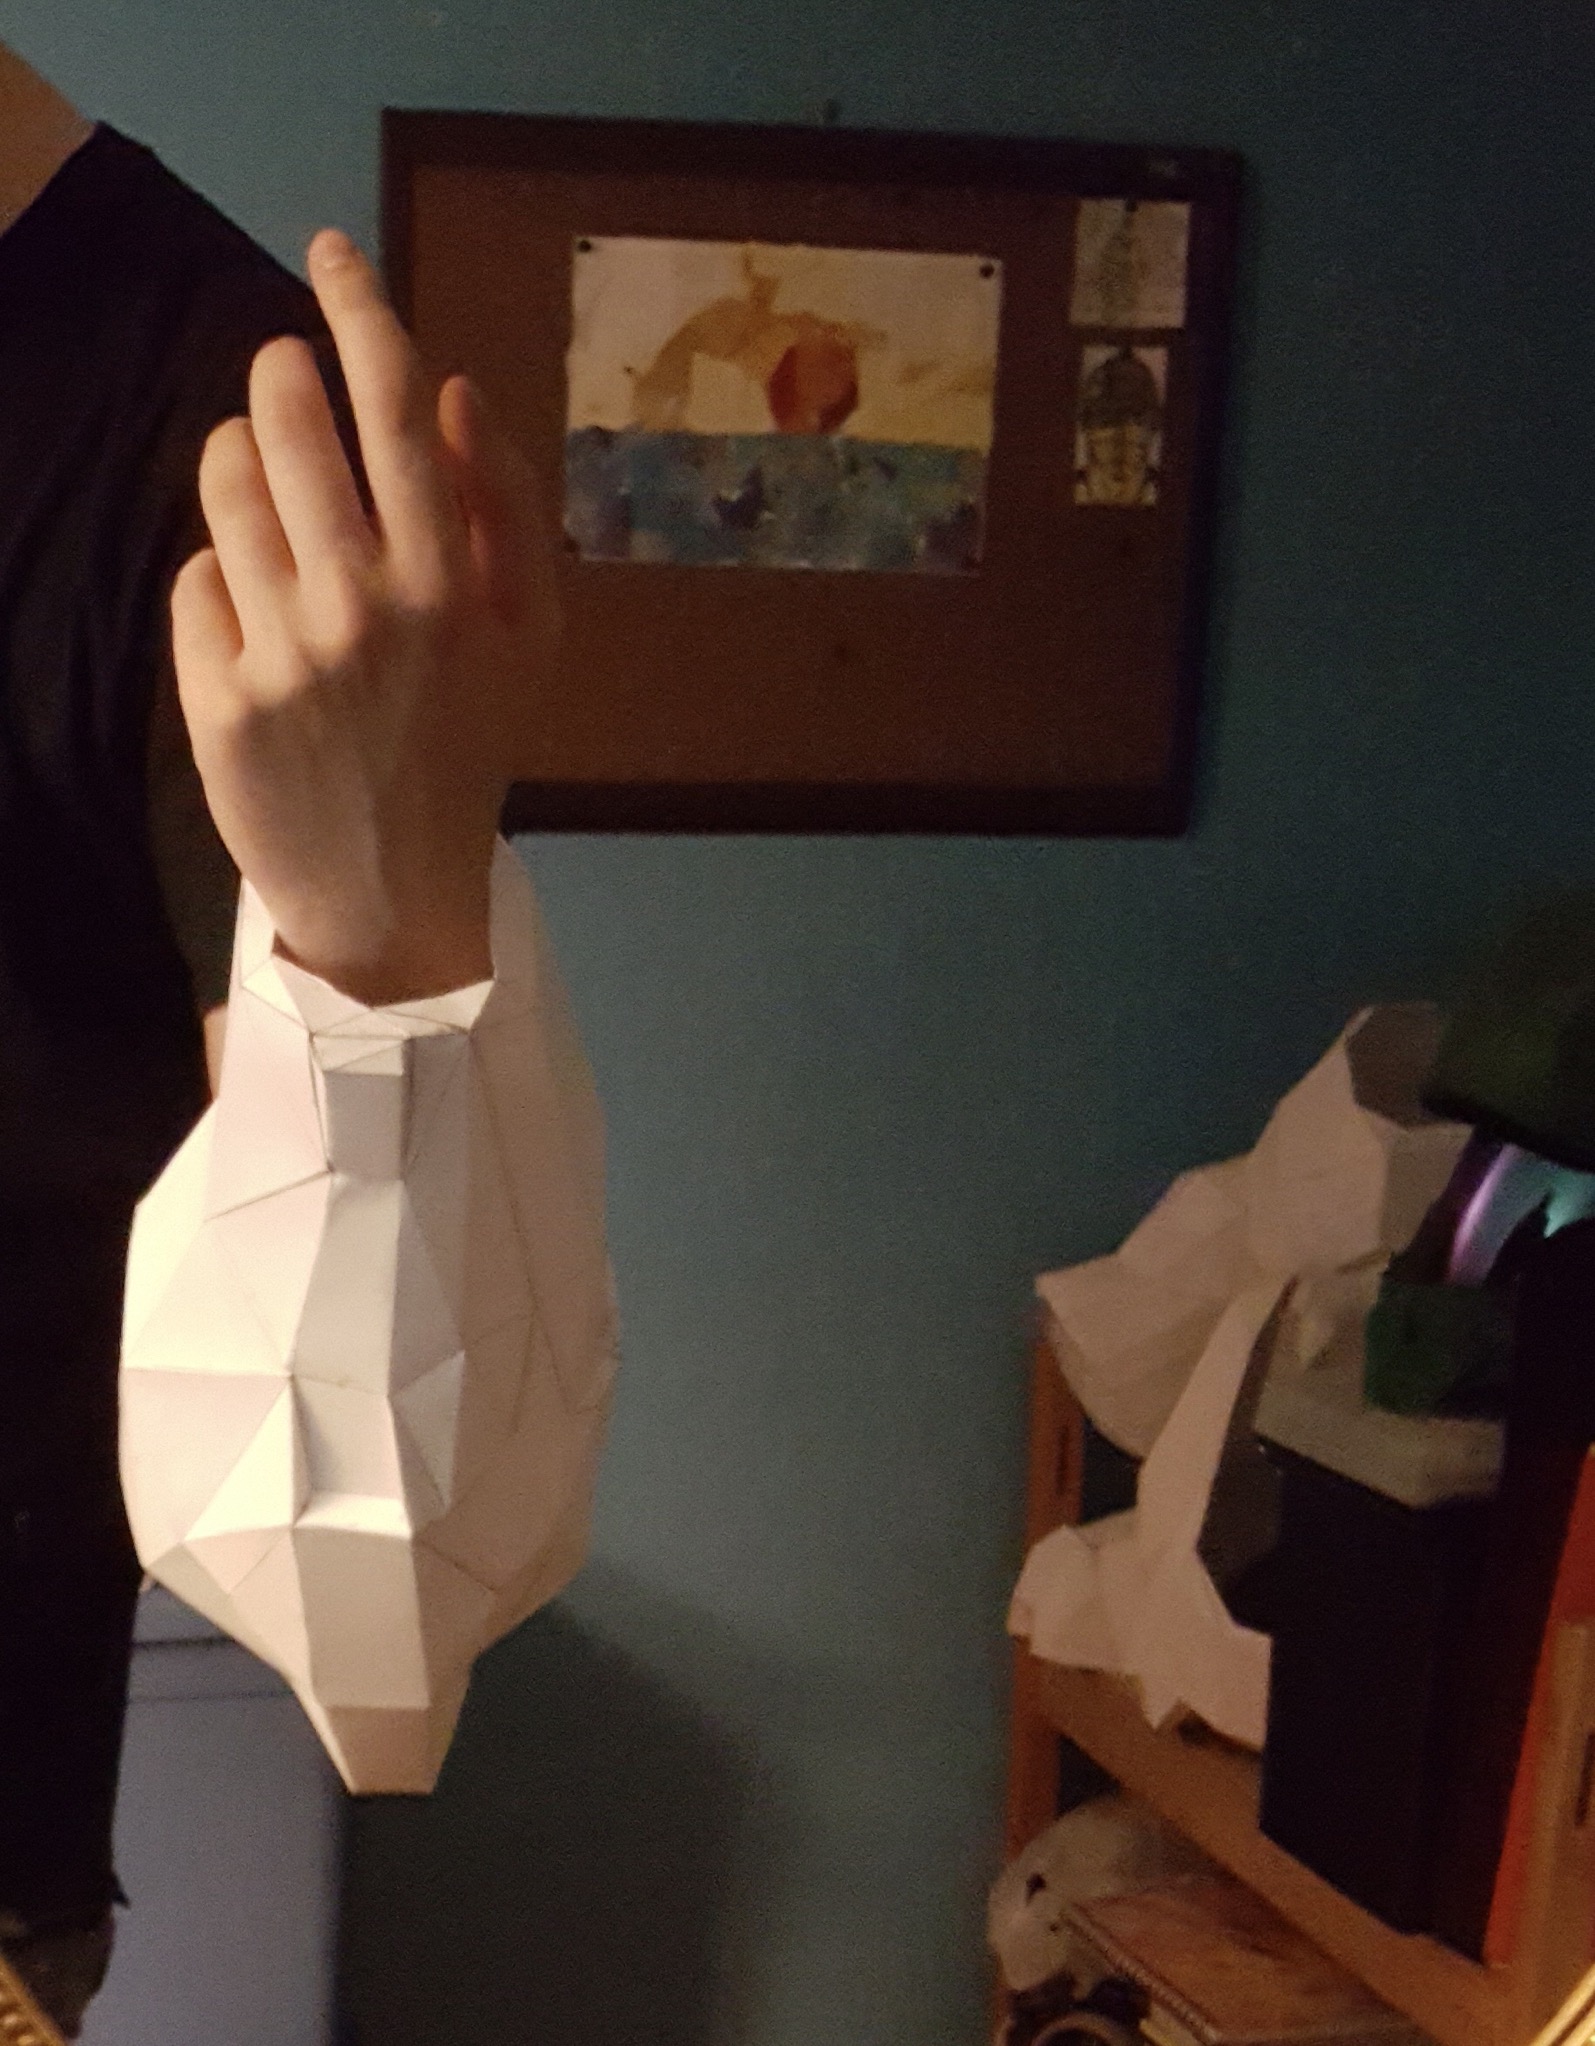
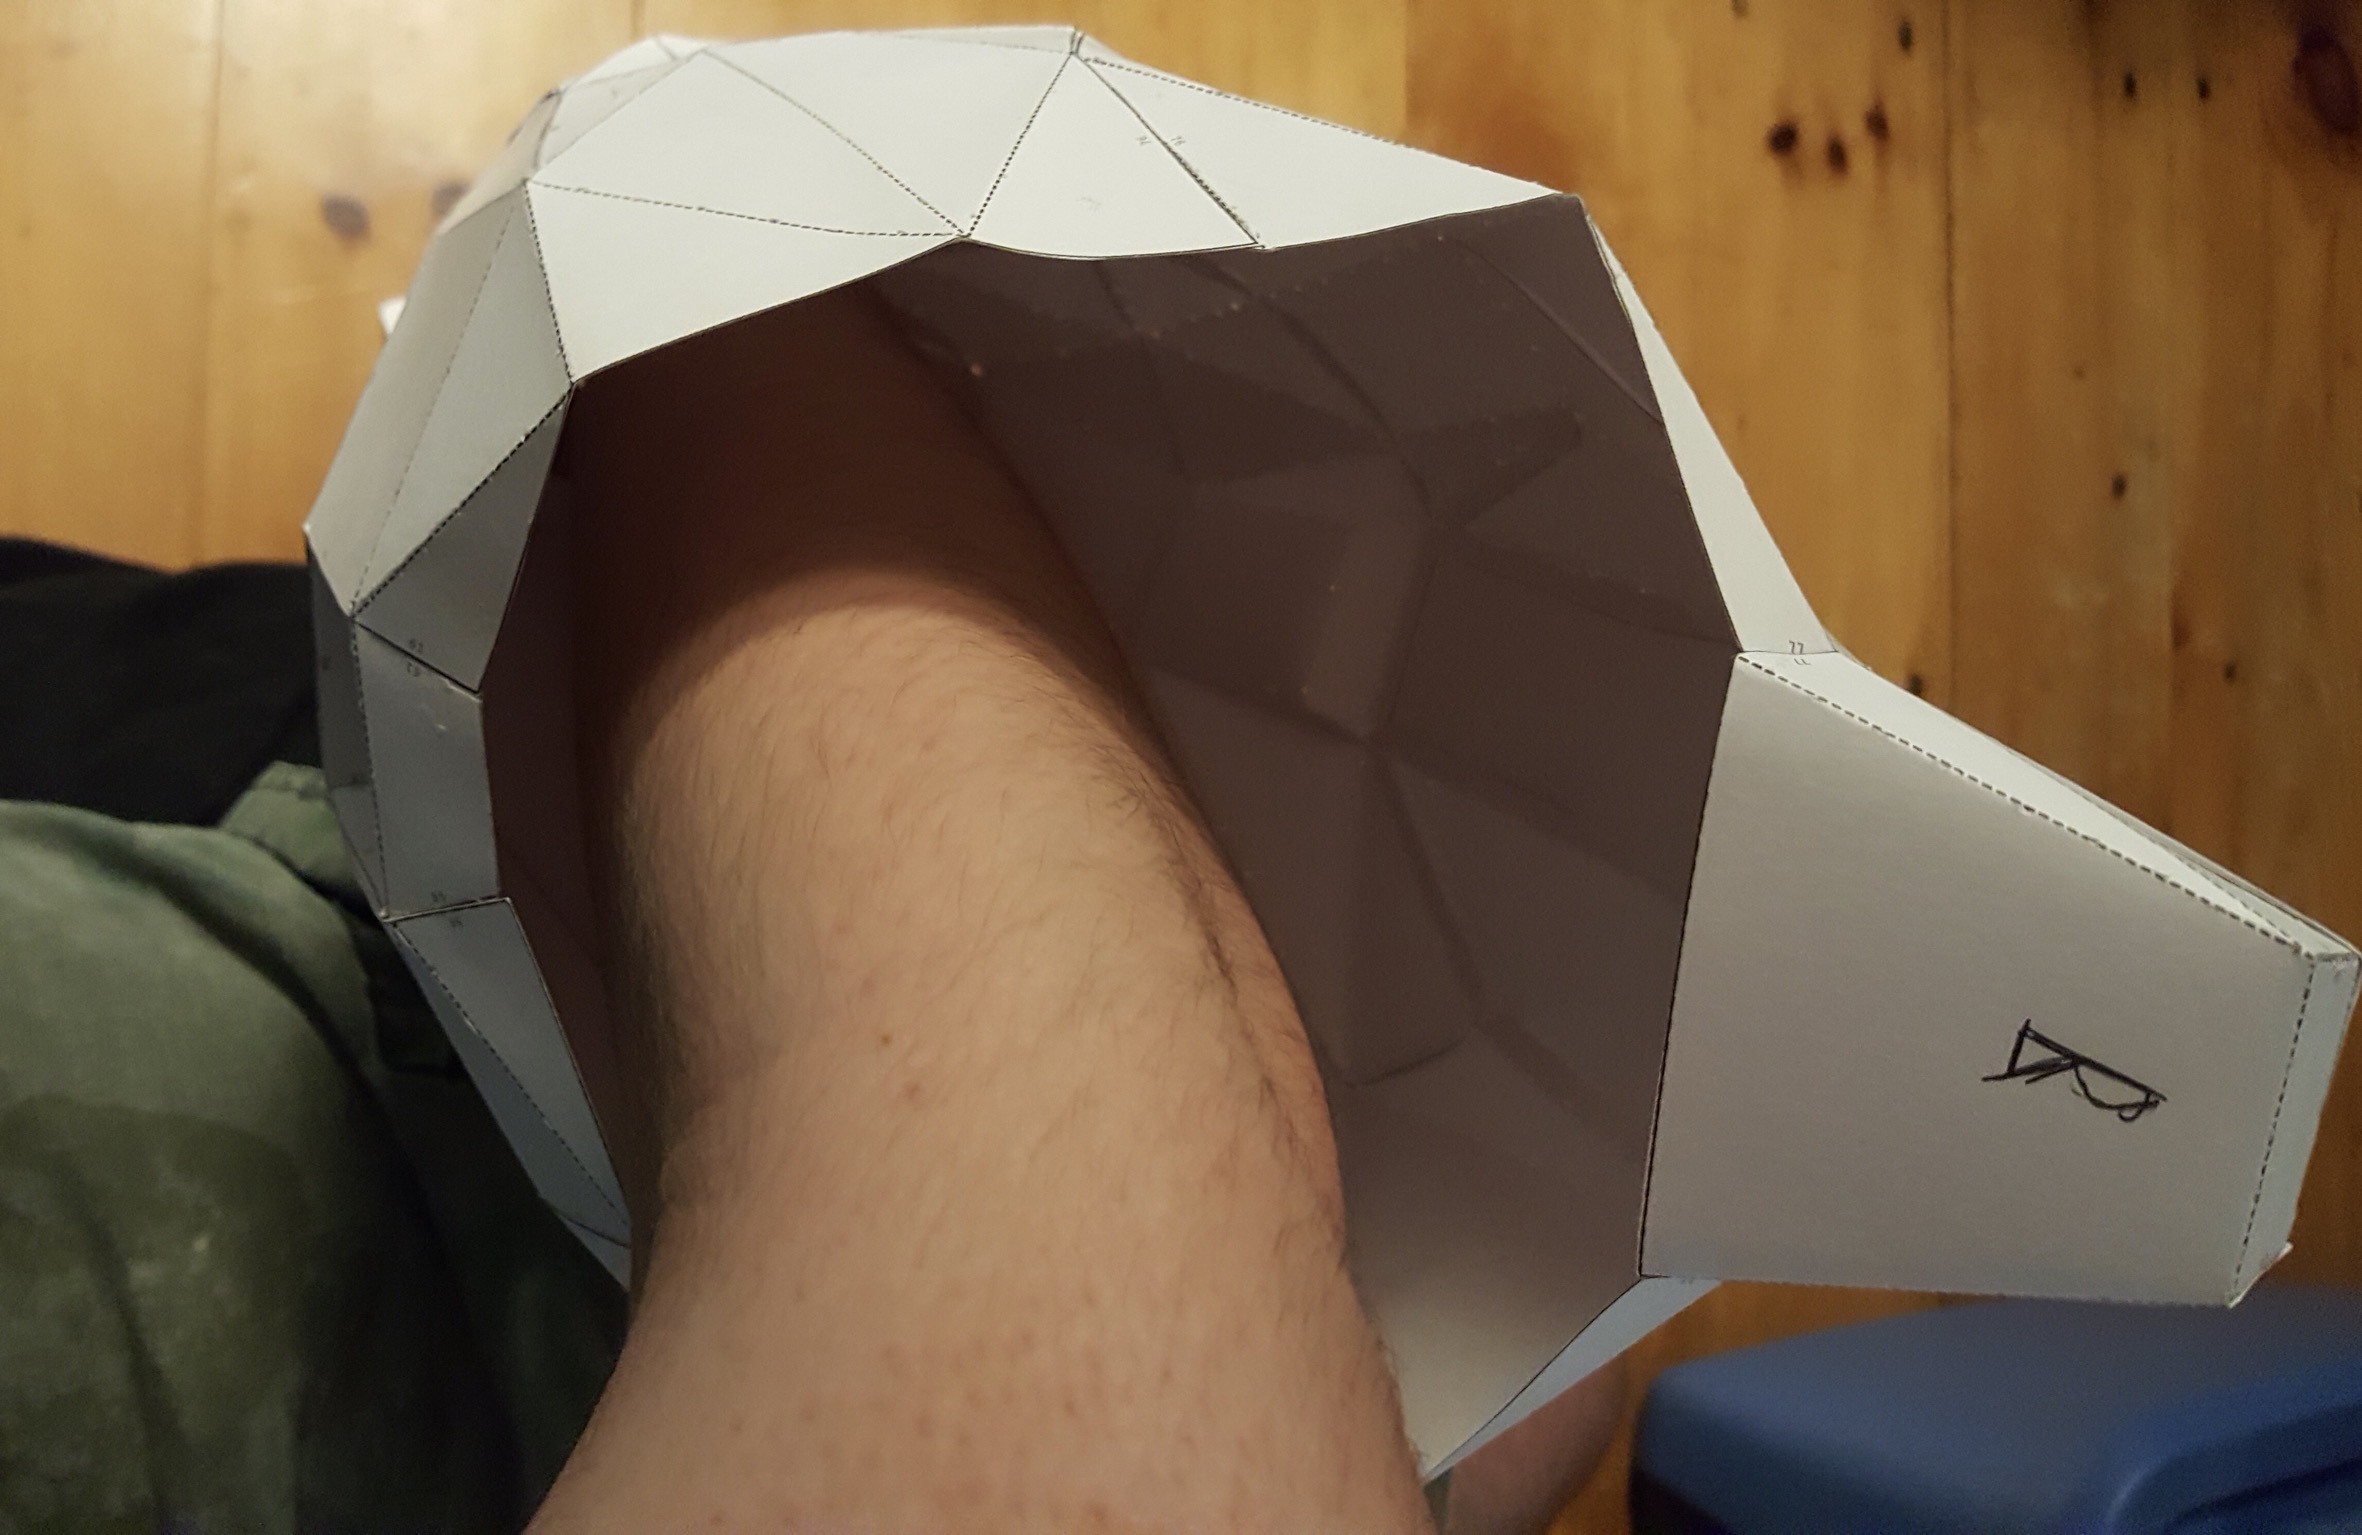
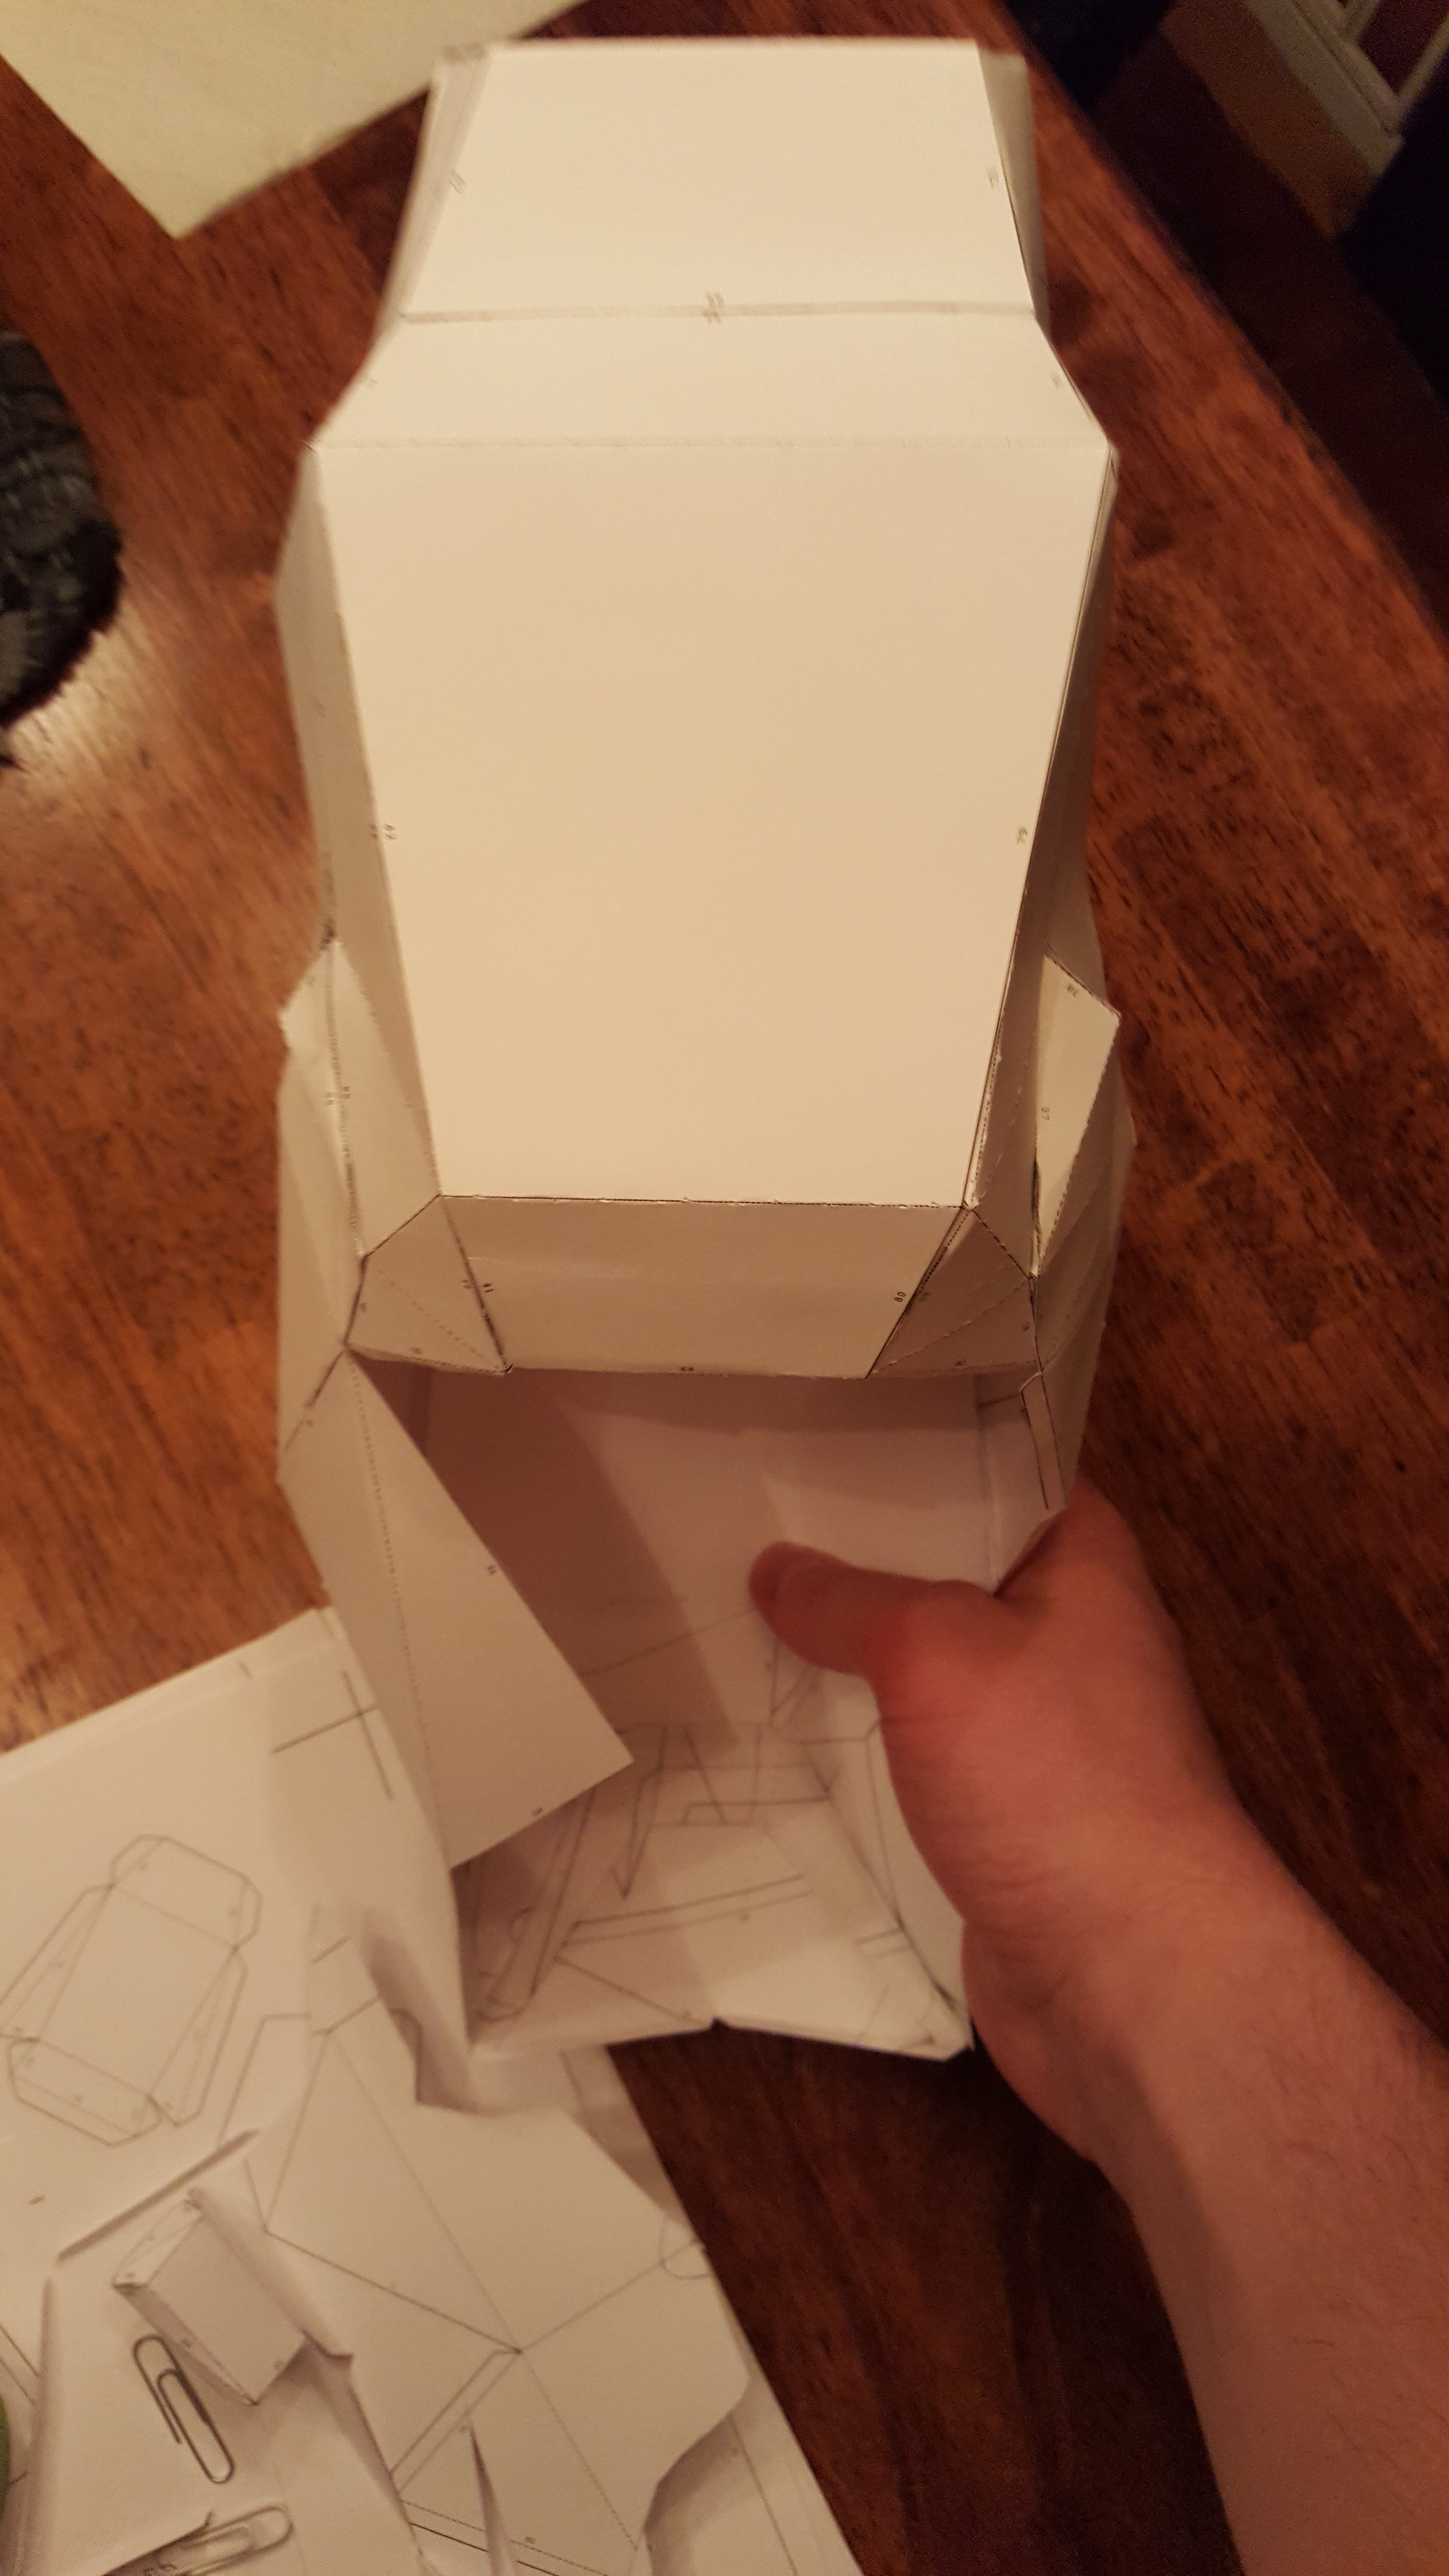
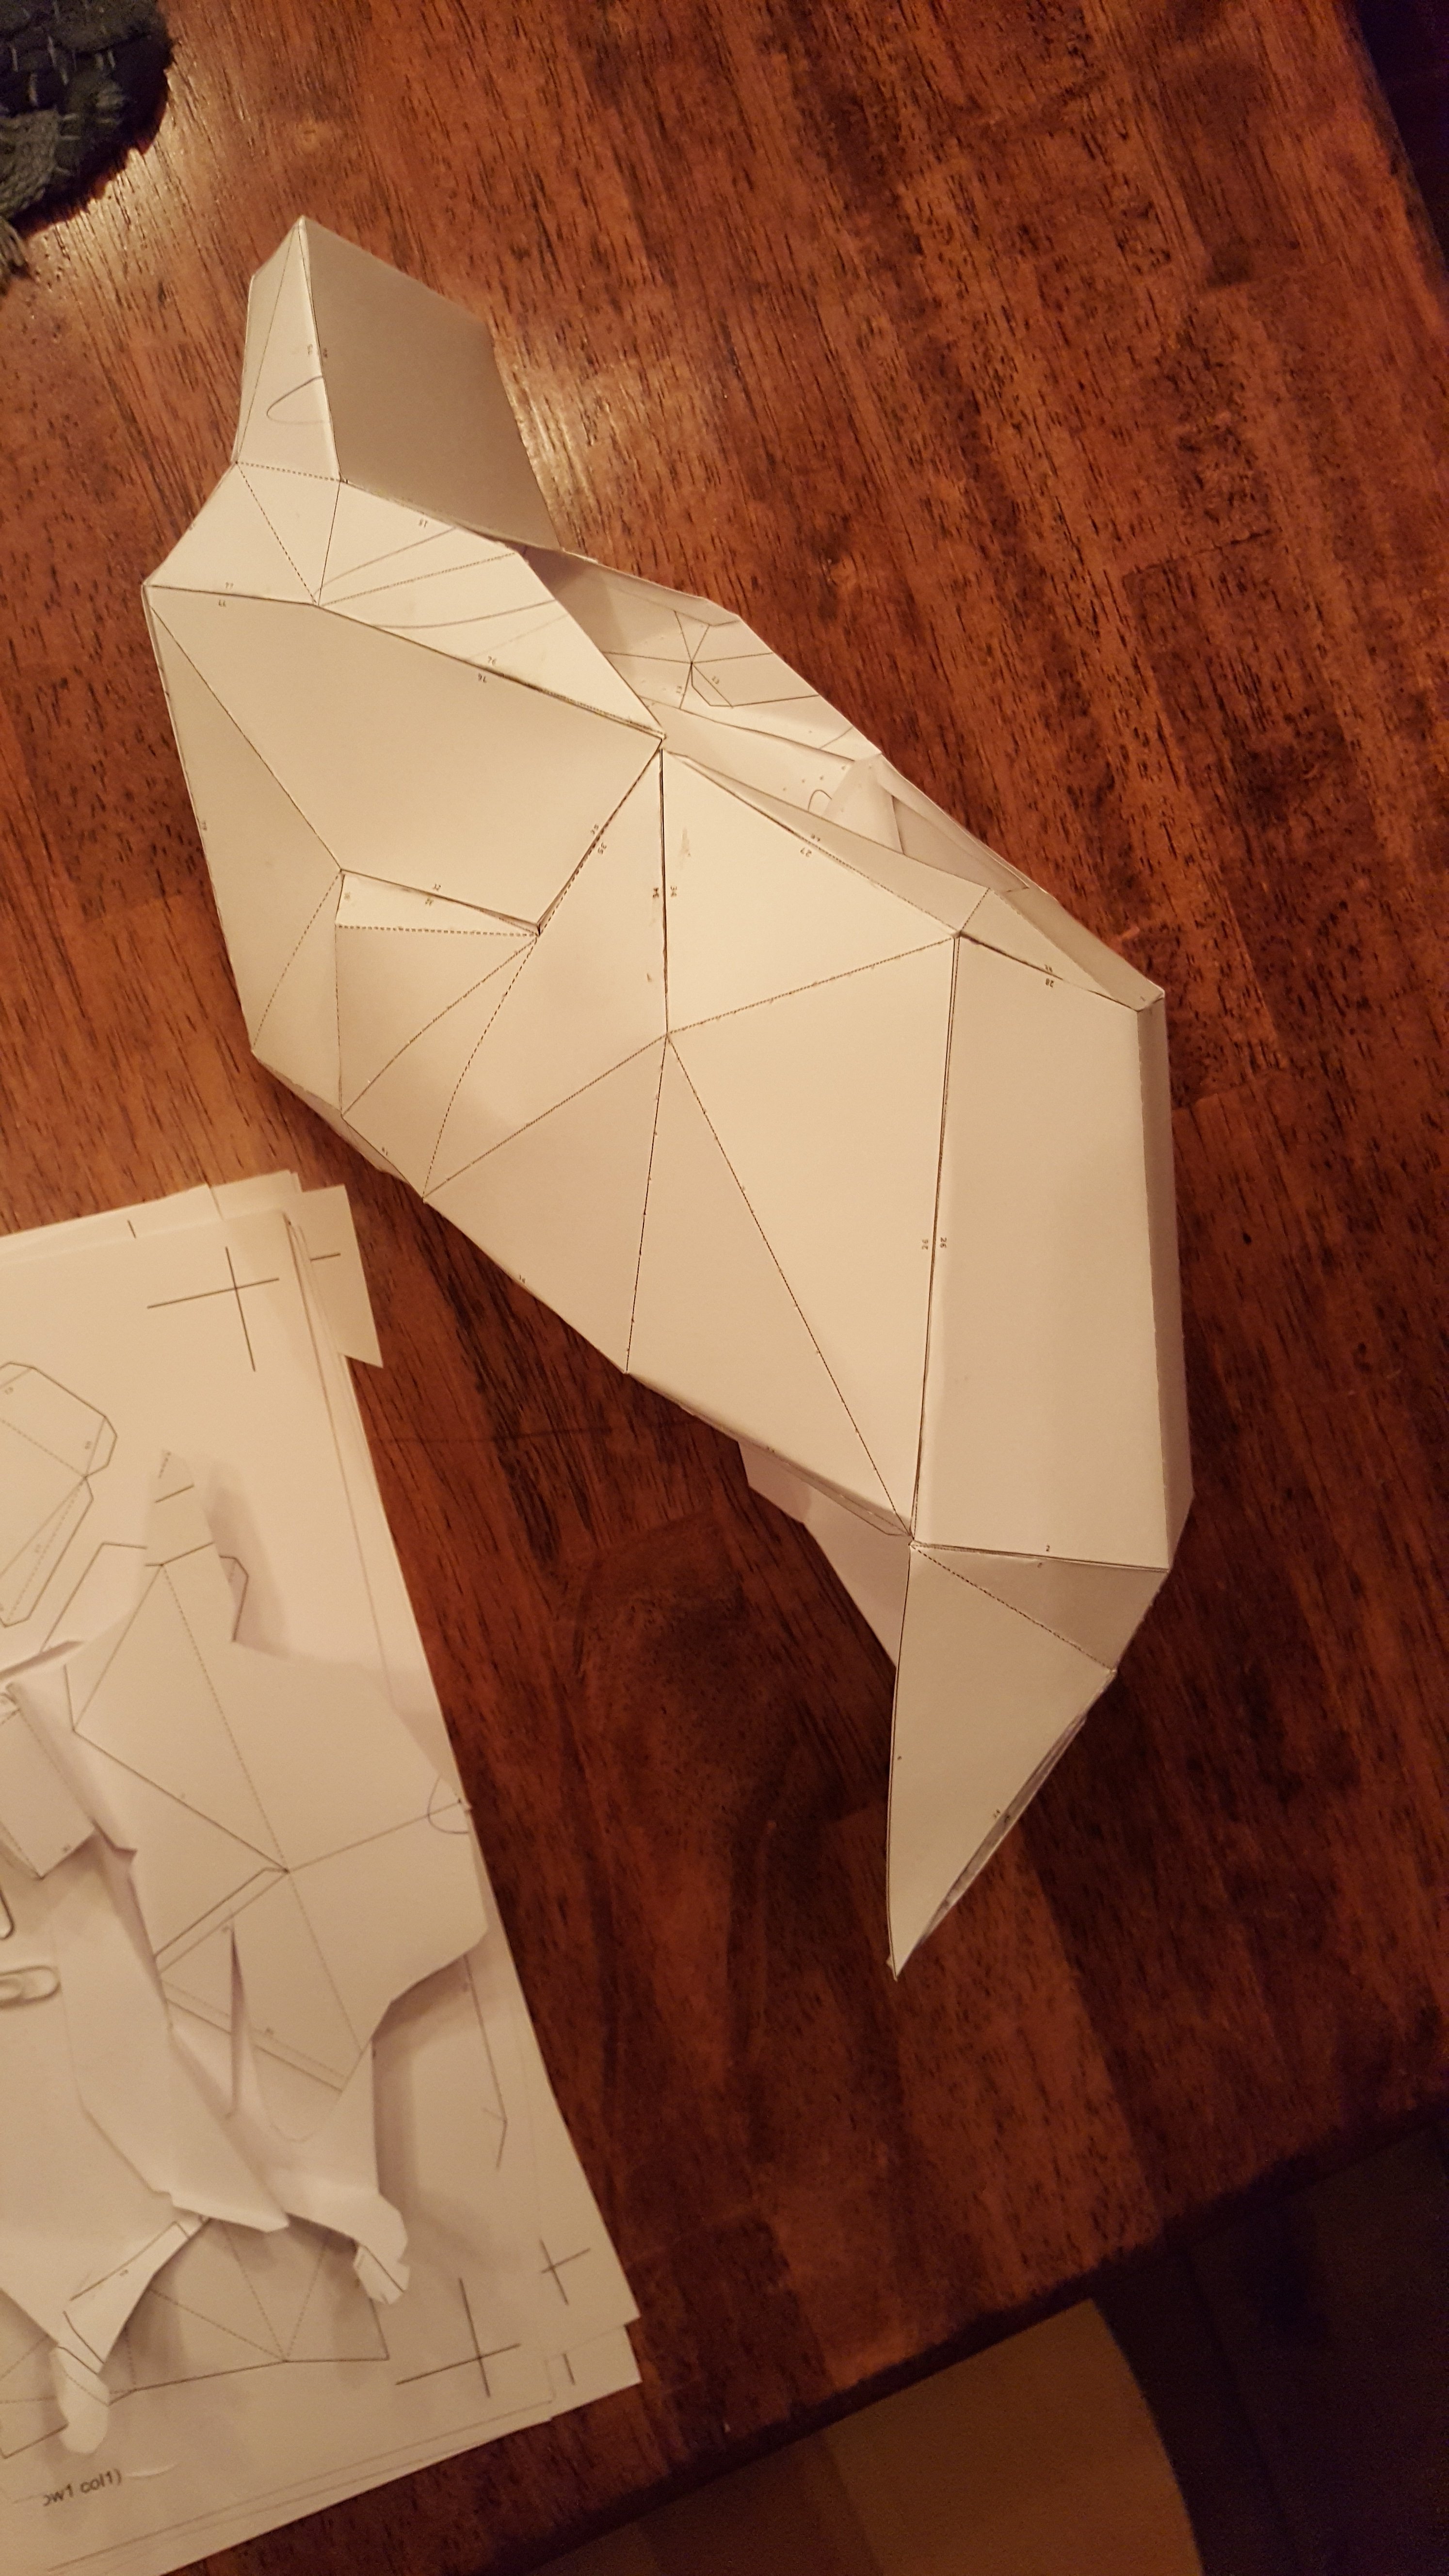
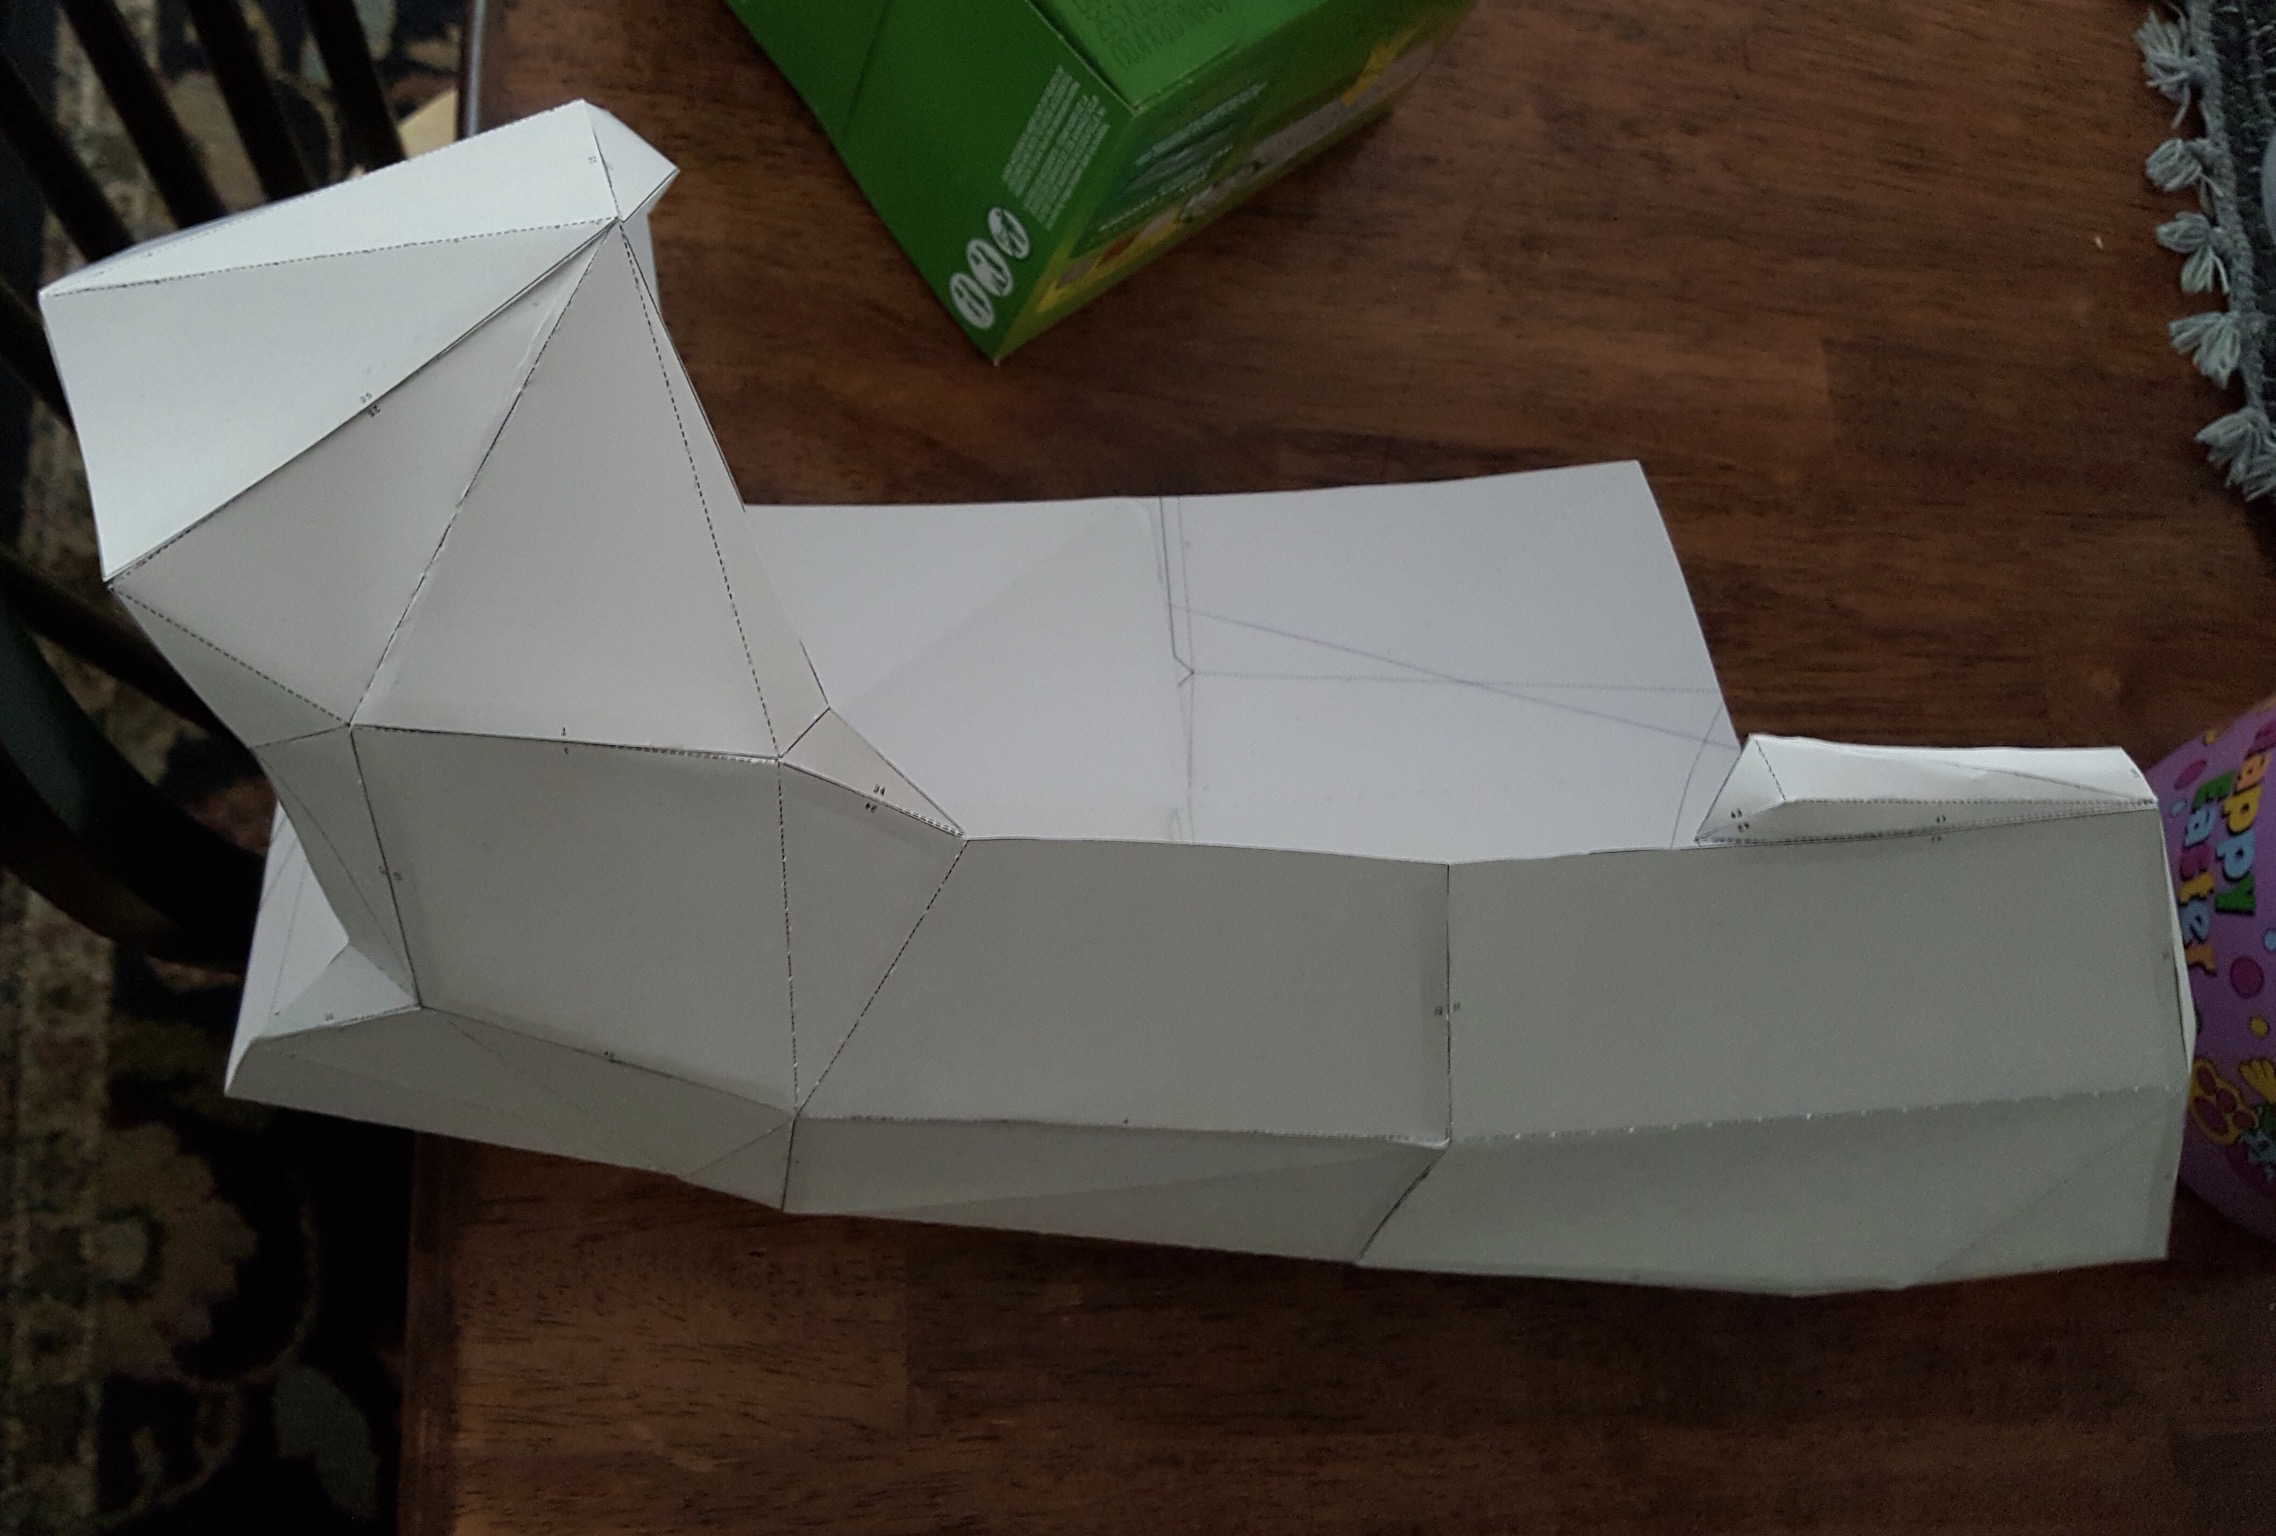
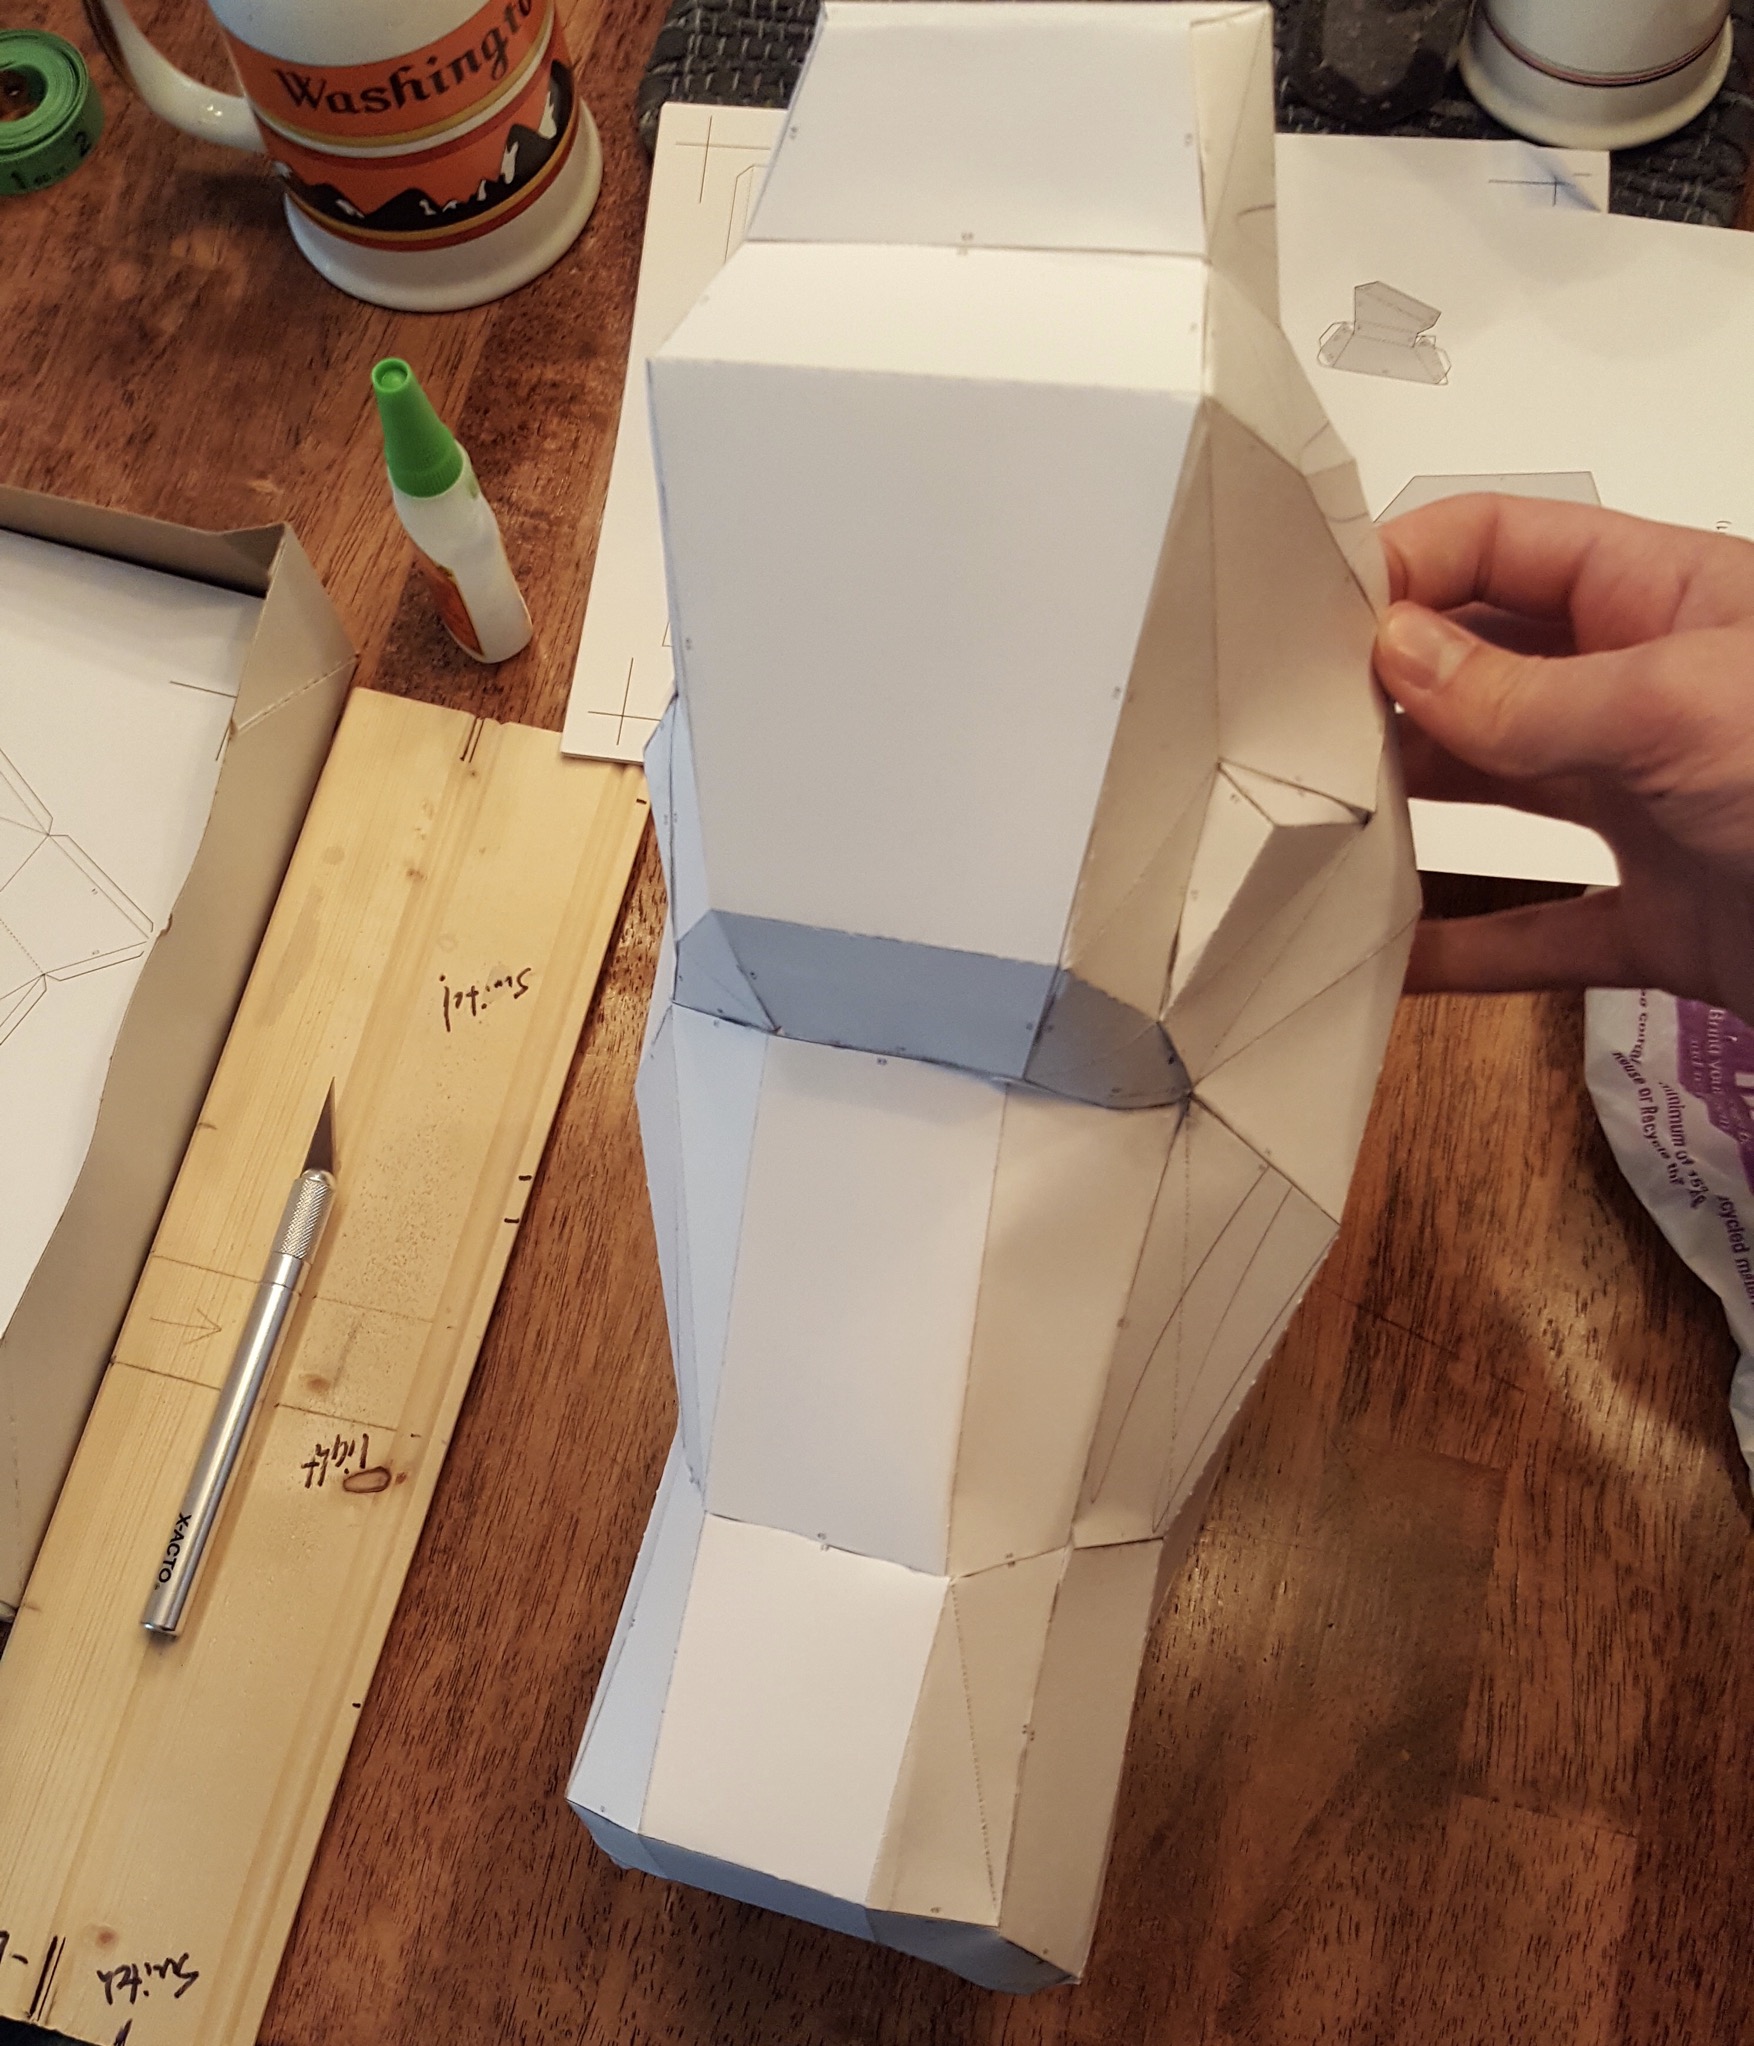
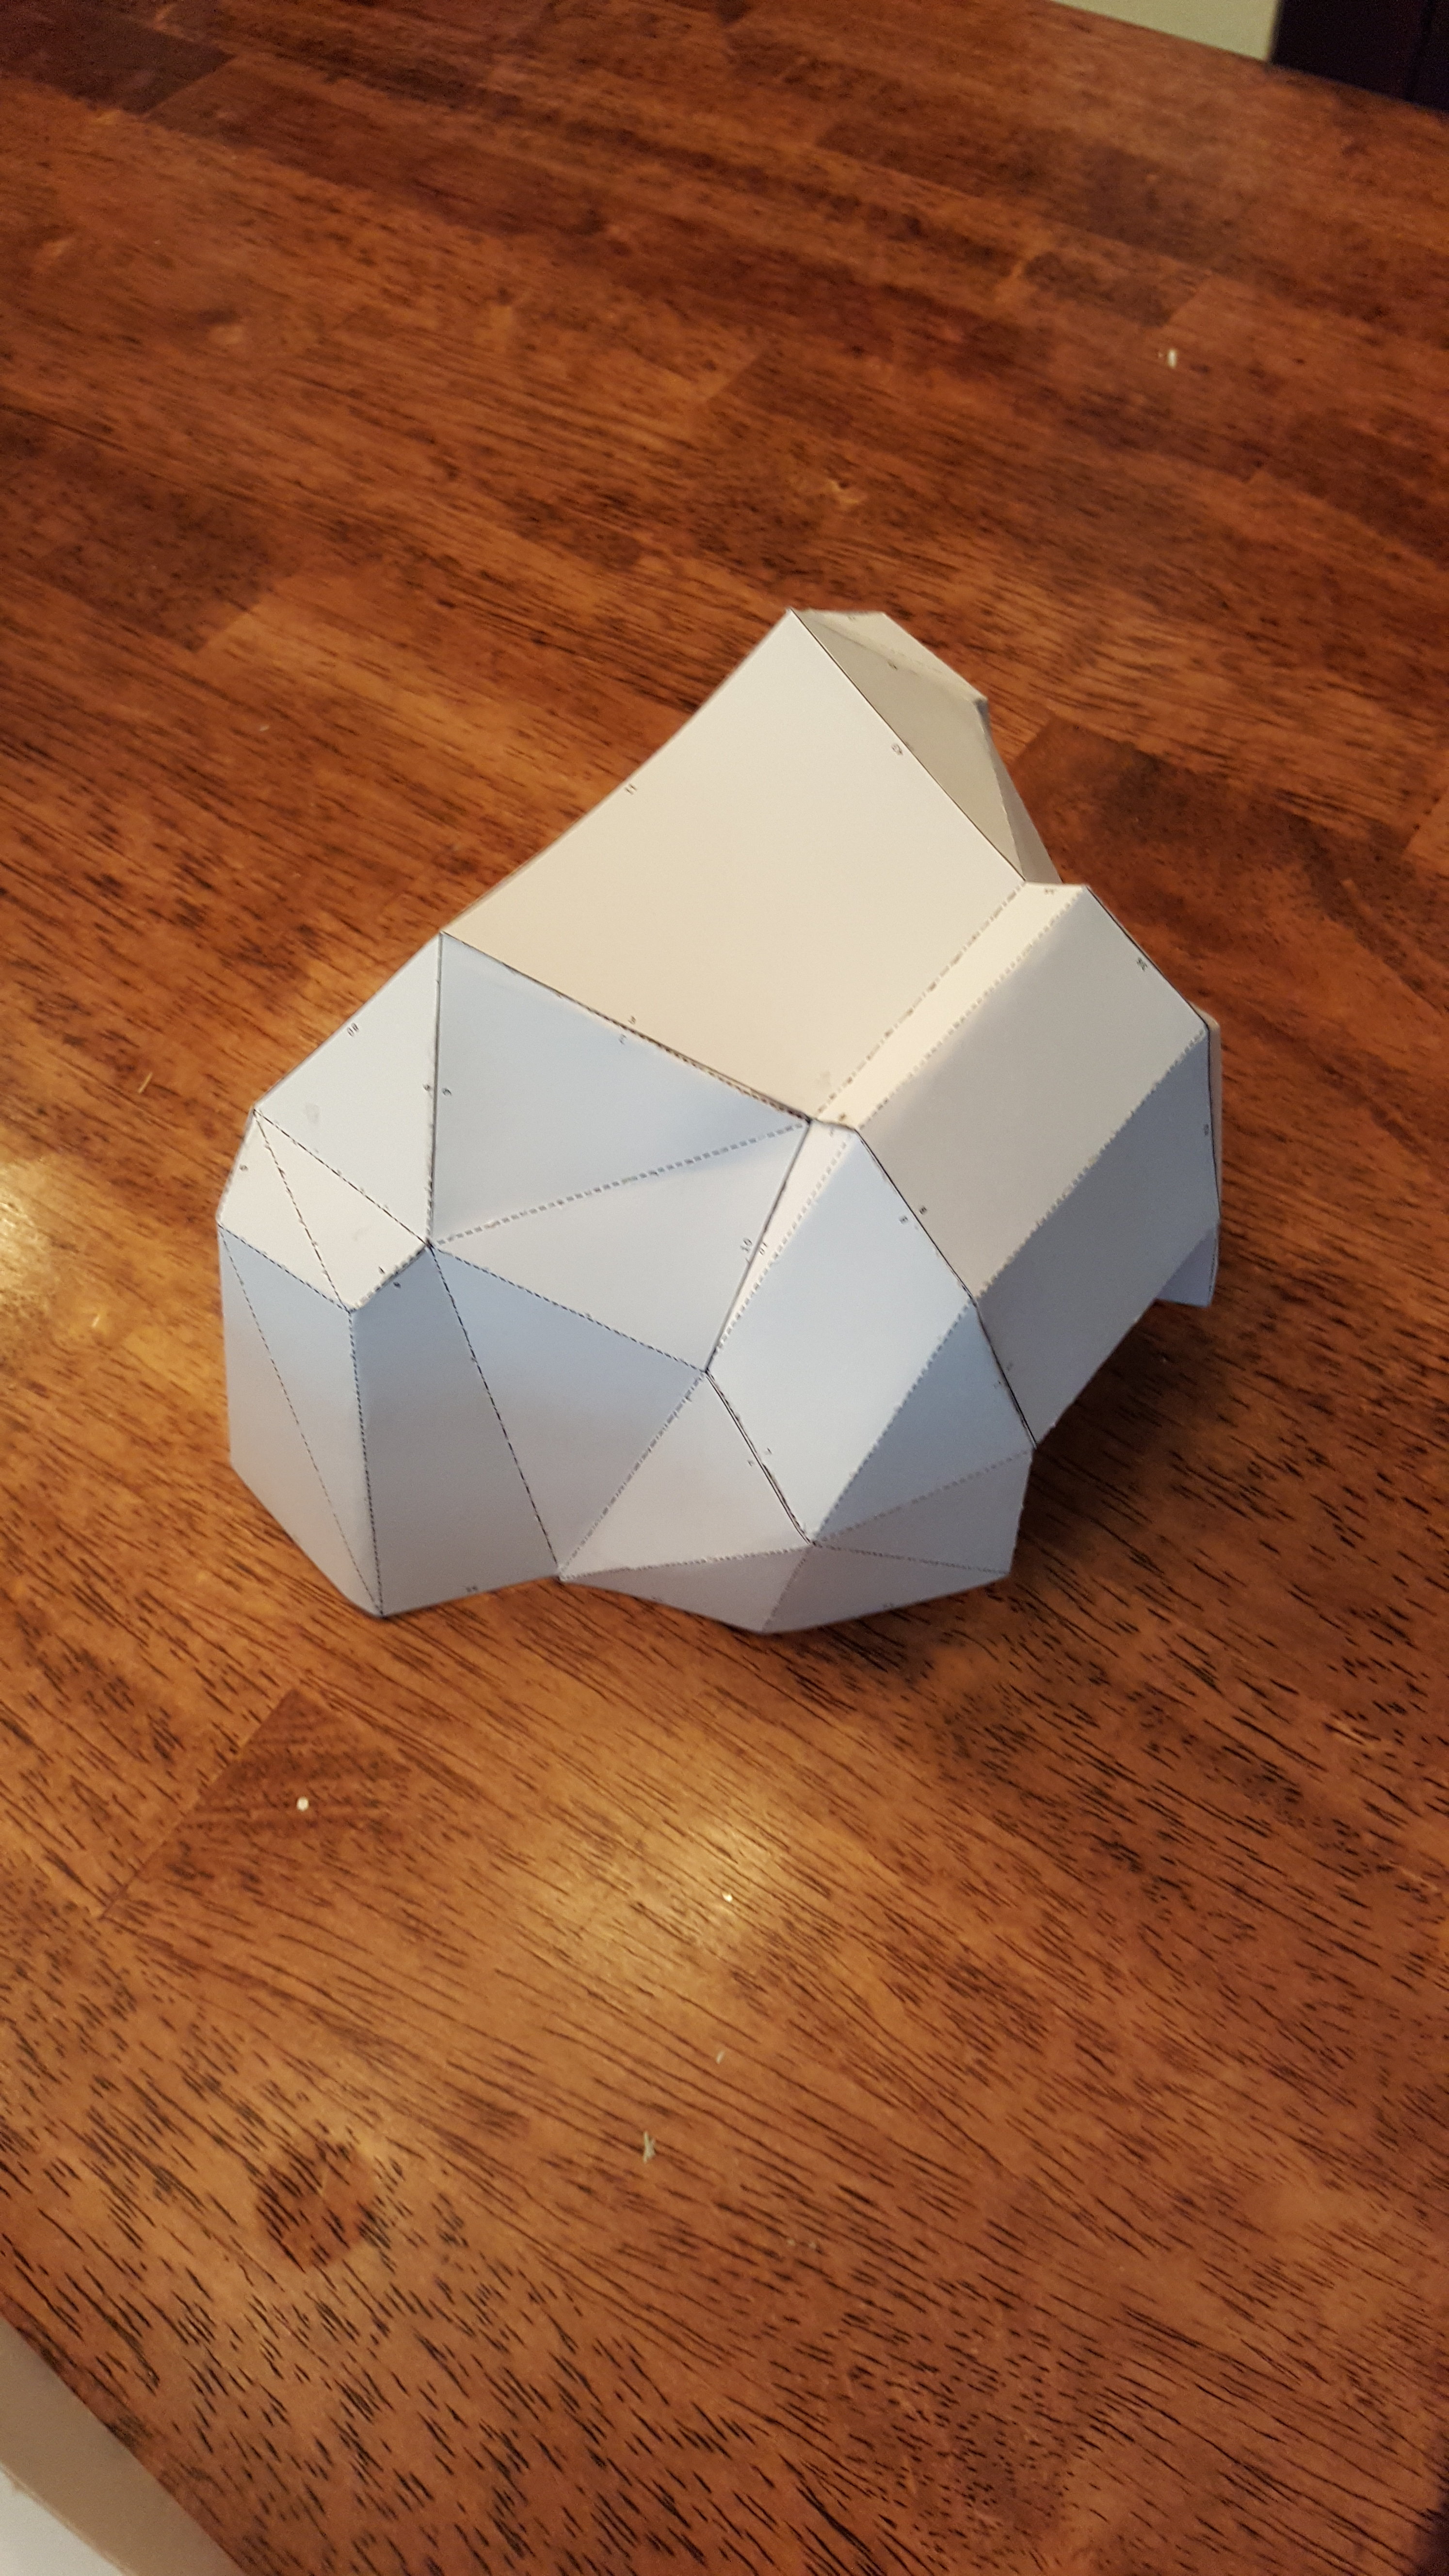
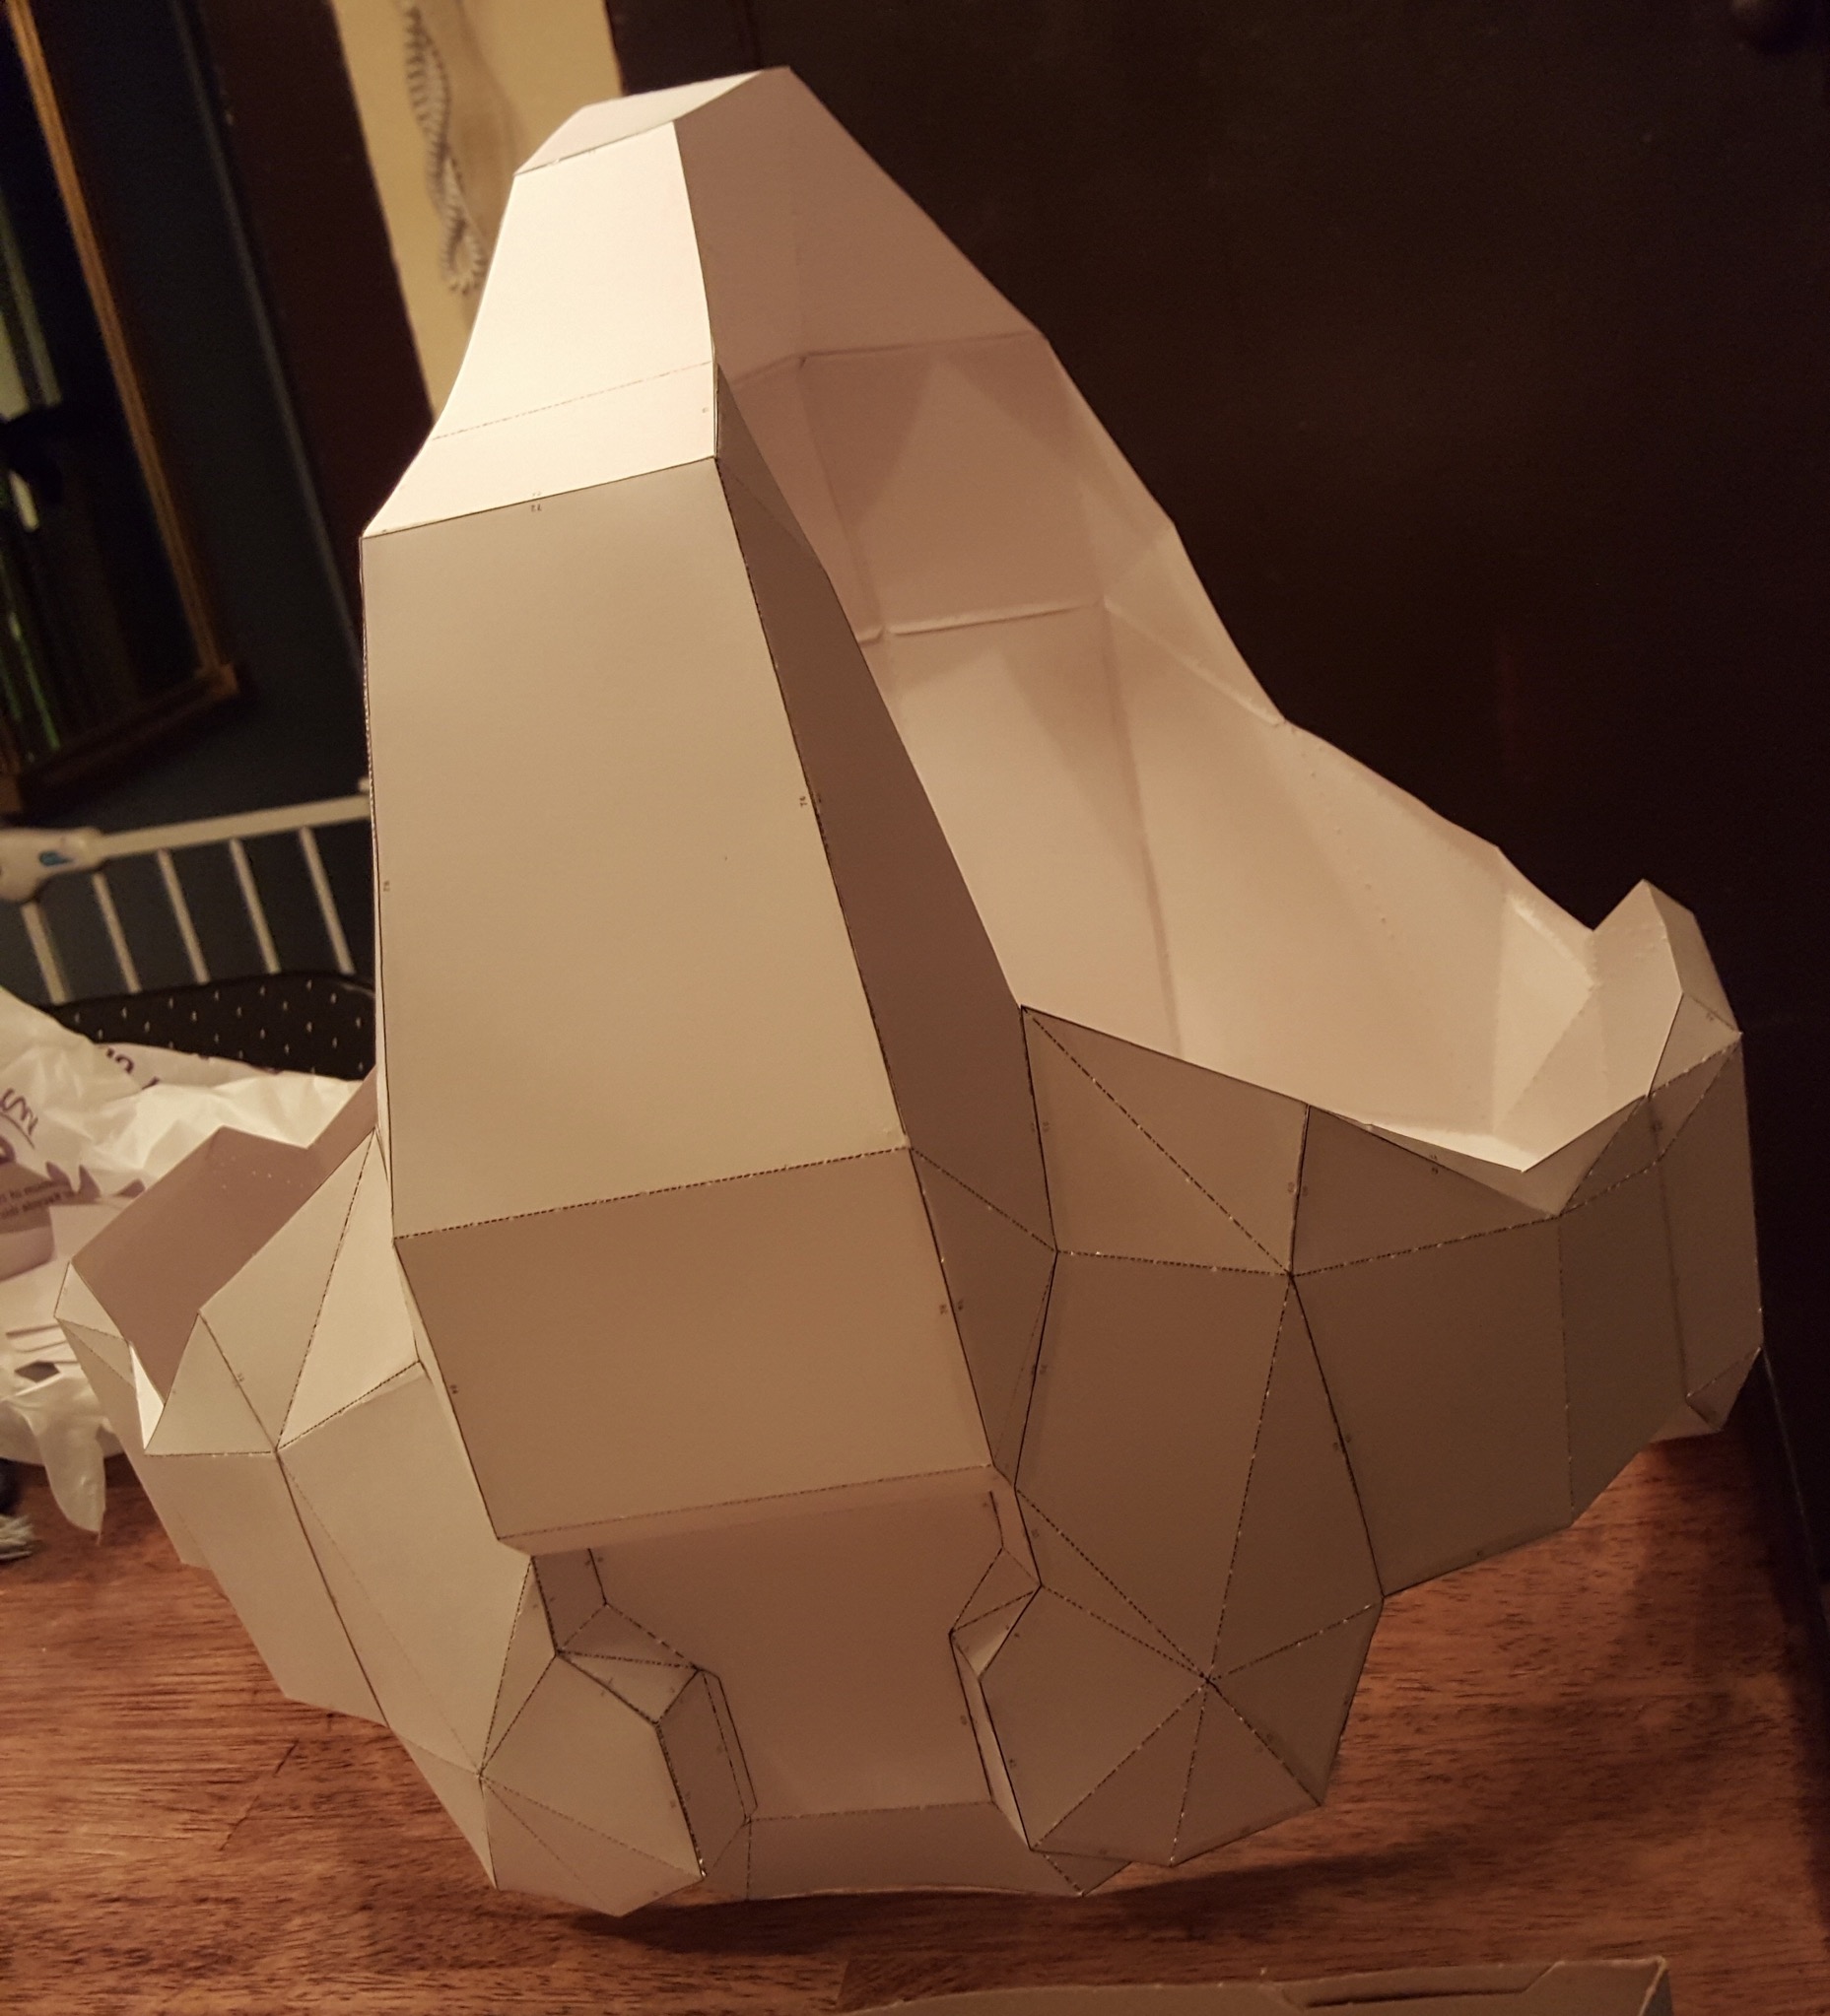
The plan is to build everything with cardstock, then add resin, fiberglass and Bondo. Then the weathering and painting as well.
Looking forward to getting started!
EDIT:
So, you may have noticed that the thread had suddenly jumped from a Halo 5 build to a Halo 3 build.
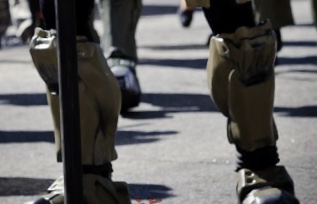
My original intent was to build the Helljumper armor from Halo 5. However, I realized a little while ago that there are some design problems with the actual layout of the armor.
For starters, the way then shoulders are built makes them so large that the act of raising my arms laterally becomes nearly impossible, as they appear to grind into the chest piece. Theoretically, this could also impede forward movement of the arms, making it hard to carry prop weapons.
In order for me to have even limited range of motion, I’d need to cut them down fairly significantly, and if I try to build them as described, the slightest error could potentially mean rebuilding.
Since this is my first ever Pepakura Project, I think it would be better served if I started with something more familiar to me, which Halo 3 armors are.
There are other areas on the armor that have a similar issue, and challenges with the exposed undersuit areas.
In summary, despite my eagerness to build it, my lack of time and experience threw a Warthog sized wrench in the works.
1 Chestpiece
2 Biceps
2 Gauntlets
1 Codpiece
2 Thighs
2 Shins
2 Boots
Remaining Pieces:
Helmet
Recon Chest Attachment
2 Handplates
Resined Pieces:
All except Helmet, chest and handplates
Hello!
It’s been a long time since I made any builds, aside from an old Artorias build back in high school and a freehand Halo costume that I made after graduation.
So, I figured that since summer break from college is coming up in a few weeks, I’d try my hand at a Halo armor build, this time using Pepakura.
I’ve decided that I’ll be building a set of Halo 3 Armor, with custom parts based off my own multiplayer character. They’ll be:
.Mk. V Helmet
.Recon Chest
.E.V.A Shoulders

Next step is to get the files and scale everything, which shouldn’t be too difficult.
I intend to get started once I fly back home, which is late April. I hope to have progress images by that time or early May by the latest, but we’ll see.
The plan is to build everything with cardstock, then add resin, fiberglass and Bondo. Then the weathering and painting as well.
Looking forward to getting started!
EDIT:
So, you may have noticed that the thread had suddenly jumped from a Halo 5 build to a Halo 3 build.
My original intent was to build the Helljumper armor from Halo 5. However, I realized a little while ago that there are some design problems with the actual layout of the armor.
For starters, the way then shoulders are built makes them so large that the act of raising my arms laterally becomes nearly impossible, as they appear to grind into the chest piece. Theoretically, this could also impede forward movement of the arms, making it hard to carry prop weapons.
In order for me to have even limited range of motion, I’d need to cut them down fairly significantly, and if I try to build them as described, the slightest error could potentially mean rebuilding.
Since this is my first ever Pepakura Project, I think it would be better served if I started with something more familiar to me, which Halo 3 armors are.
There are other areas on the armor that have a similar issue, and challenges with the exposed undersuit areas.
In summary, despite my eagerness to build it, my lack of time and experience threw a Warthog sized wrench in the works.
Last edited:


 .
.