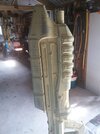
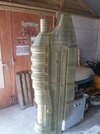
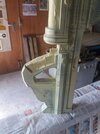
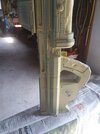
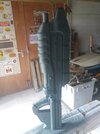
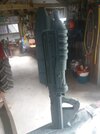
Today i made some real first forays into armorsmith and oh boy is it getting used to. in real life i'm a mechanical engineer. work daily with Autodesk inventor. everything is nicely measired, some cool traditional shapes and straight lines. Now in armorsmith its all free dragging around, eyeballing the scale and position of the parts.
Loving it XD

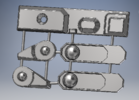
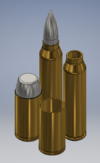
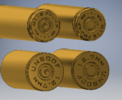
For now i got the legs done (bar knee pads). added in some free floating parts to be sorted later on.
Loving it XD
For now i got the legs done (bar knee pads). added in some free floating parts to be sorted later on.

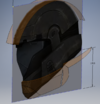
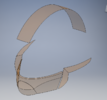
![20210125_222617[1].jpg 20210125_222617[1].jpg](https://405th-f28a.kxcdn.com/forums/data/attachments/302/302054-8c601712013277fb0e322f8e93e4e176.jpg)
![20210125_222626[1].jpg 20210125_222626[1].jpg](https://405th-f28a.kxcdn.com/forums/data/attachments/302/302055-ad6eb3ef952ba1c979c56b8409b633a8.jpg)
![20210125_223657[1].jpg 20210125_223657[1].jpg](https://405th-f28a.kxcdn.com/forums/data/attachments/302/302057-159940bea6d48f521e0ea68cc51cba76.jpg)
![20210125_223718[1].jpg 20210125_223718[1].jpg](https://405th-f28a.kxcdn.com/forums/data/attachments/302/302058-c2c6174d24467d839afca30f44670800.jpg)
![20210125_224828[1].jpg 20210125_224828[1].jpg](https://405th-f28a.kxcdn.com/forums/data/attachments/302/302059-4b040f0f6616042aed2cf3fc4189b0de.jpg)
![20210125_222411[1].jpg 20210125_222411[1].jpg](https://405th-f28a.kxcdn.com/forums/data/attachments/302/302046-dcc0bb98b8ba378dc92c330b45513b85.jpg)
![20210125_222418[1].jpg 20210125_222418[1].jpg](https://405th-f28a.kxcdn.com/forums/data/attachments/302/302047-75d710539ec69bb1d4d2cee4cf0f5c32.jpg)
![20210125_222430[1].jpg 20210125_222430[1].jpg](https://405th-f28a.kxcdn.com/forums/data/attachments/302/302048-c6307ee078c63436fad8397aecca579f.jpg)
![20210125_222519[1].jpg 20210125_222519[1].jpg](https://405th-f28a.kxcdn.com/forums/data/attachments/302/302050-48d504640688ce5506eff456f3d6b2b7.jpg)
![20210125_222354[1].jpg 20210125_222354[1].jpg](https://405th-f28a.kxcdn.com/forums/data/attachments/302/302045-9407f01baa1bfab34171c852e3c25523.jpg)
![20210125_222531[1].jpg 20210125_222531[1].jpg](https://405th-f28a.kxcdn.com/forums/data/attachments/302/302051-7d698ab979d56dd274bf3324d94b97d4.jpg)
![20210125_222557[1].jpg 20210125_222557[1].jpg](https://405th-f28a.kxcdn.com/forums/data/attachments/302/302052-7b4536f3498e79ee974929d0fc72fc02.jpg)
![20210125_222459[1].jpg 20210125_222459[1].jpg](https://405th-f28a.kxcdn.com/forums/data/attachments/302/302049-29f9c28a1aea0b4a62088ccb0b922b64.jpg)
![20210125_222743[1].jpg](https://405th-f28a.kxcdn.com/forums/data/attachments/302/302056-2c65bd1fa65697b20537d63cd9401364.jpg)
