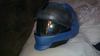
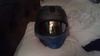
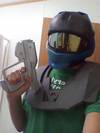
Out of curiosity, have you thought about making it out of foam? It takes away having to deal with the resin and fiberglass which is why I like it.It's still too cold in michigan to work with that stuff.
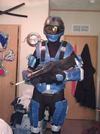
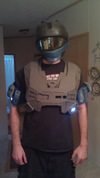
Anyway, nice work on what you got so far.
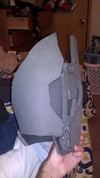
Also, for that power pack on the lower back, there IS a file that exists for it already. I can't remember where it's at, but I have the file. Might save you some time instead of making a file of it yourself.
I agree . Foam is a great alternative too fiberglass and resin. I am using it as well at the moment (I live in northern mighigan and it is FREEZING!)
And Halogoddess - I think we should start a michigan 405th group!