- Member DIN
- S068
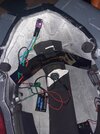
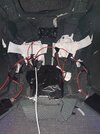
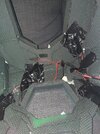
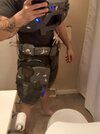
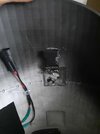
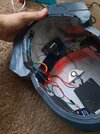
It's hard to tell based on the photo angle but there might be a short between your yellow and red wires in the second photo. Check for any solder spatter or stray wire strands that might be causing issues.Electronics!!
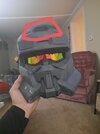
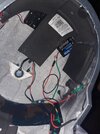
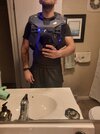
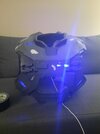
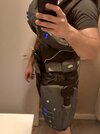
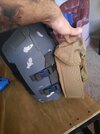
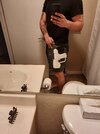
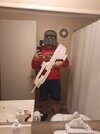
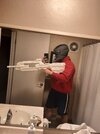
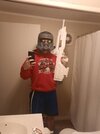
Got my stuff in the mail for both the helmet and armor lights. Started with the helmet to learn some basic soldering skills. The fan came out perfect! My only issue was with the mic. I believe I got it all connected right according to the diagram. Not sure what to do, is it because my wires are too big and they may be touching at the sound Amp? Or because I didn't close that second Out prong?
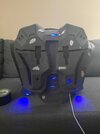
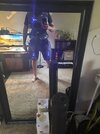
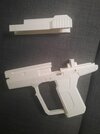
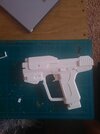
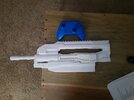
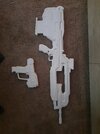
Going to tackle the lights tomorrow, still haven't found any good hdpe sheets. At least none off Amazon that seem to match what's recommended. I think I'm going to look for a thin cutting board tomorrow and see.