UPDATE:
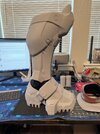
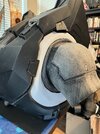
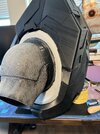
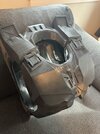
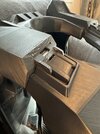
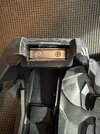
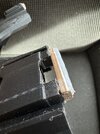
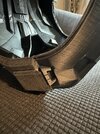
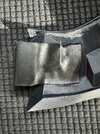
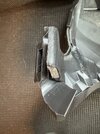
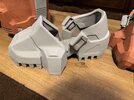
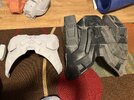
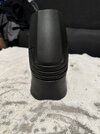
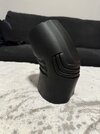
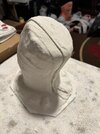
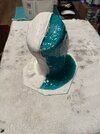
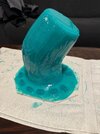
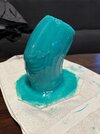
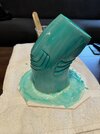
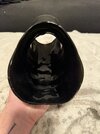
Just finished up my first attempt at a 2-part mother mold. Planning to use this method for the joints of my under suit. For this first attempt, I decided to use the elbow joint.
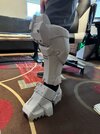
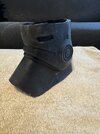
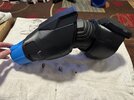
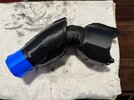
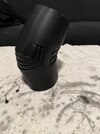
I printed out the joint on my 3D printer, sanded and smoothed the parts. I used BBDino platinum silicone, with a liquid thickener, to make the inner silicone sleeve. For the hard outer shell, I used some fast-setting plaster bandages. For the actual under suit, I did a 3 layer slush-casting with some PT Flex 50 that I got from
www.brickintheyard.com.
I used too much material for this first casting, and it ended up being about 3/8" thick in places. I was going for about 1/8" thick, to maximize strength and flexibility. Otherwise, I think it came out looking really good. That satin black finish is exactly what I was hoping for. We'll see how the subsequent castings come out, once I get my technique and product measurements dialed in to get the thickness I'm looking for.
Also, going to look for flexible paint to get some of the dark grey details on the under suit.


")