The Universe
Member
Dear Halo Fans,
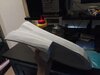
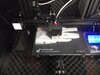
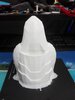
After almost two years on hold. I am glad to announce that development on this project will continue! Currently working on a 3D model from Halo 3 but I would like to add the details like the ones added in Halo Wars 2 to the ship.
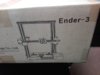
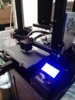
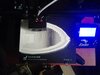
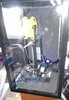
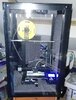
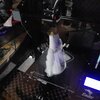
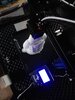
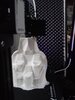
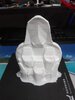
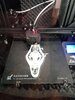
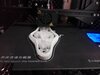
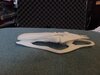
A option which I am also currently looking into is 3D printing the model by parts to achieve the requirements that were set at the beginning of this project (adding lights and other stuff to create a more interactive display). For now here are some close ups of the model I recently dusted off.
Stay tuned for upcoming content!
The Universe,

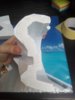
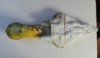
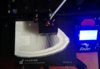
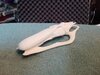
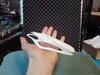
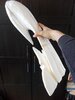
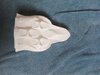
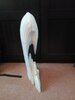
[Overview of the model]

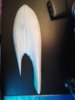
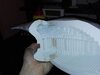
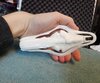
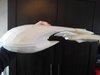
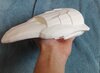
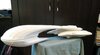
[Rear lower view]

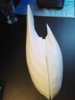
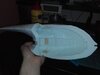
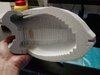
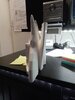
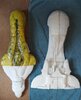
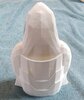
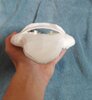
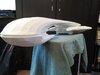
[Bottom view]

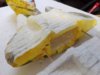
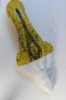
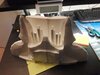
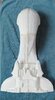
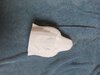
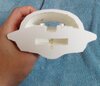
[Closeup centre Fuselage part]

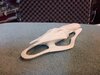
[Closeup main launchbay]

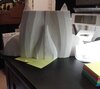
[Side Hangar doors]

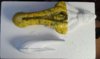
[Lower view of the three Repulsor Engines]

[Main plasma weapon & gravity elevator]

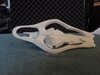
[Closeup showing symmetry between forward and aft located side hangar doors]
After almost two years on hold. I am glad to announce that development on this project will continue! Currently working on a 3D model from Halo 3 but I would like to add the details like the ones added in Halo Wars 2 to the ship.
A option which I am also currently looking into is 3D printing the model by parts to achieve the requirements that were set at the beginning of this project (adding lights and other stuff to create a more interactive display). For now here are some close ups of the model I recently dusted off.
Stay tuned for upcoming content!
The Universe,
[Overview of the model]
[Rear lower view]
[Bottom view]
[Closeup centre Fuselage part]
[Closeup main launchbay]
[Side Hangar doors]
[Lower view of the three Repulsor Engines]
[Main plasma weapon & gravity elevator]
[Closeup showing symmetry between forward and aft located side hangar doors]

 no problem. Just give me a fleet of Big Falcon Rockets from SpaceX and a home- depot wich orbits around the earth,